
Layout, Design and Features – inside …
Now we come to the intrinsic values of the Define S. In the lower part we recognize the typical cable connection, with which we can connect the control panel to the motherboard.
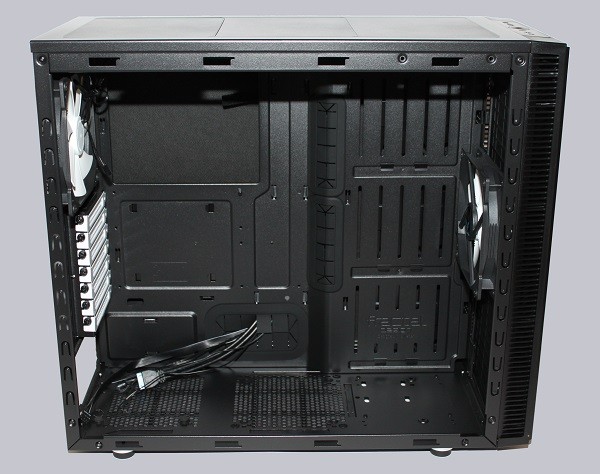
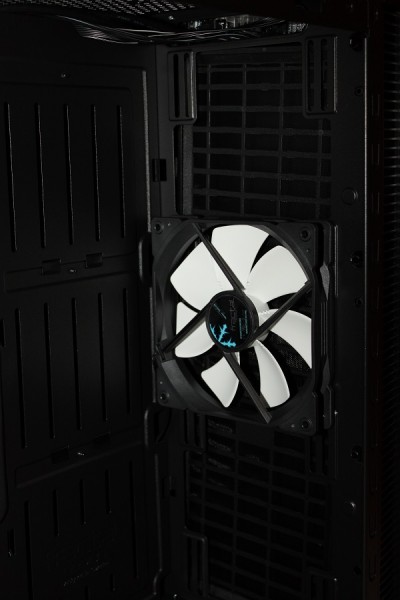
Looking at this picture we can see that there is no drive mounting cage. How exactly you mount the drives, we’ll come to that later. For now, we want to take a closer look at the front. There is a 140 mm fan mounted behind the dust filter. Here, however, the fan can be removed and a radiator with a length up to 360 mm can be installed.
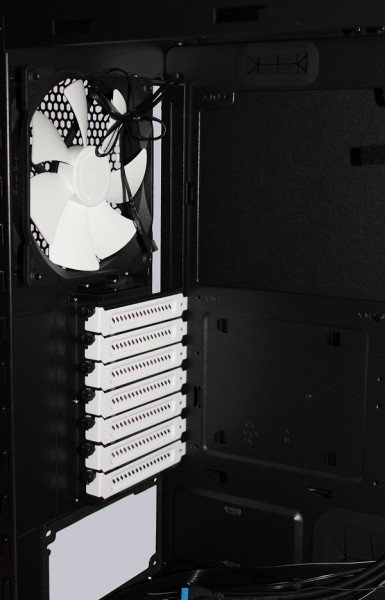
The back shows us the typical slot brackets, the recess for the motherboard panel and an additional 140 mm fan which may be replaced by a radiator with a maximum size of 140 mm in diameter.
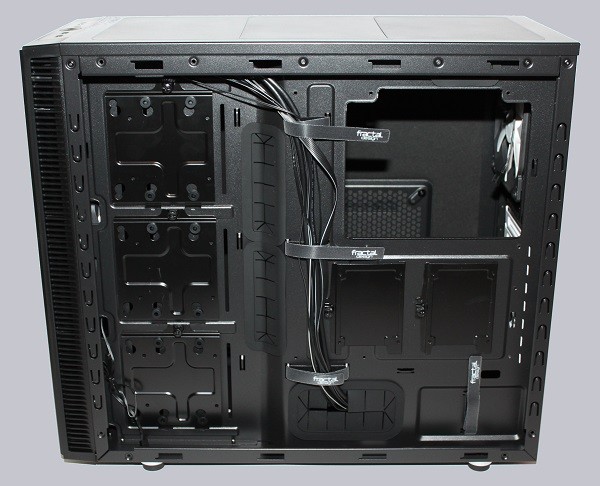
We do not want to let you wait much longer, so now we come to the clever motherboard tray. Here you can still see no drive cages at first glance, to mount the hard drives and SSDs. Do not worry, we were also suprised when opening the back for the first time. Therefore you can see here the practical Velcro fasteners for cable attachment and the holes with rubber sleeves for passing through the cables.
A closer look at the booklet …
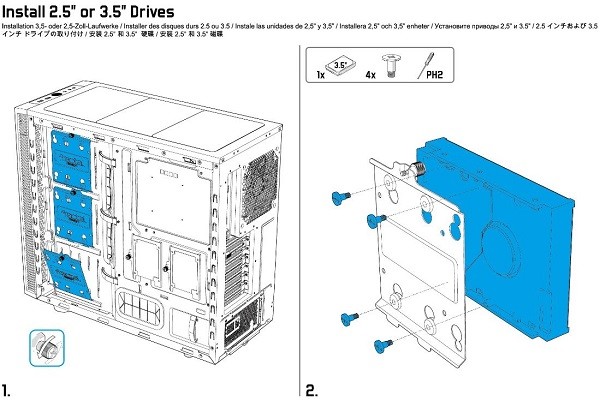
… shows us, how we can mount the drives the right way.
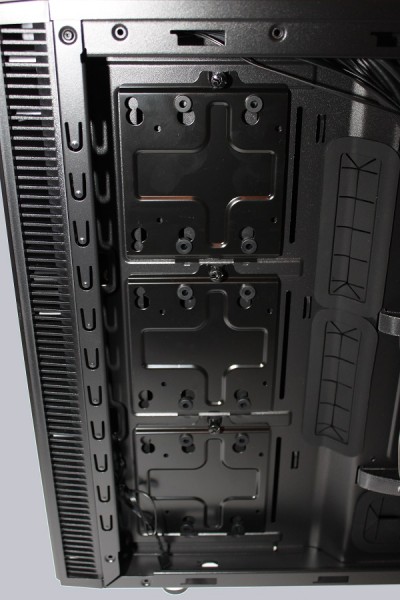
Subsequently, the brackets are remounted in place together with the hard drive. That explains why the housing is slightly wider than it would be common for a case of this type. It is not really mentioned in the manual but the experienced user might already noticed,that the smaller holders are there for mounting two additional 2.5-inch hard drives / SSDs.
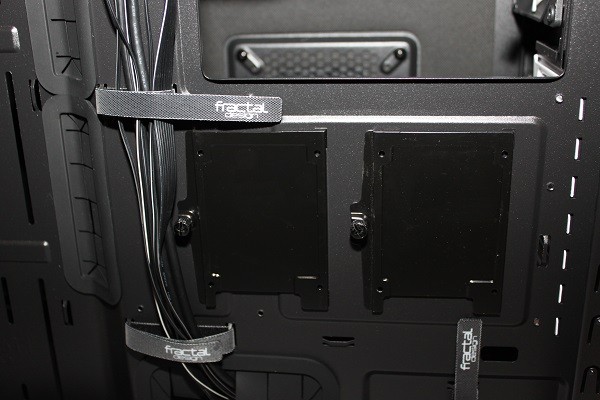
While this installation offers a clean installation room, it also unfortunately generates higher hard disk temperatures due to the lack of air flow behind the motherboard tray. Using SSDs is not so critical, but high RPM magnetic hard drives could raise temperature up to 10°C more. Here you only use SSDs or HDDs with slower RPM not to expose the drives to excessive wear.
Here is another look at the five brackets which can be used for drive mounting.
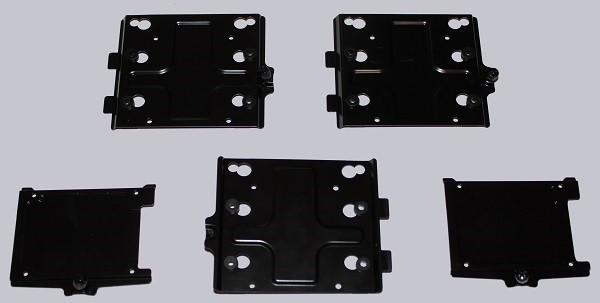
As you can see here, the holders are already equipped with rubber buffers to decouple the drives.
At the bottom of the case there are some drilled holes with standard measures. You are able to mount a common water pump (Eheim, Laing).
Fractal Design even thought about the smallest things: The bolt spacers for the mainboard and a little nut lie is included. You can easily mount the spacers with a Phillips screwdriver onto the motherboard tray.
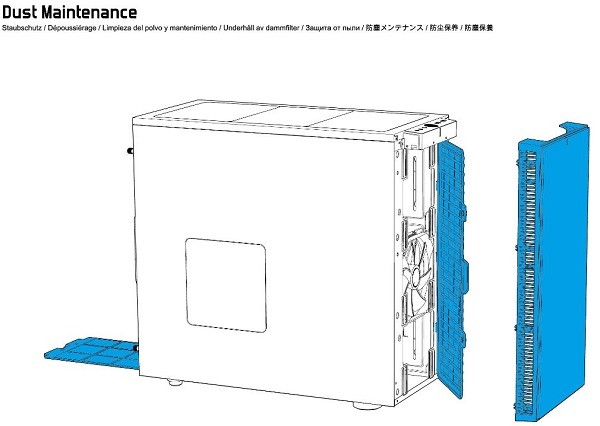
And of course, the filter change is slight of hand, which is also described in the manual.
Of course, the S Define offers many possibilites for the experienced modder. If you really need an optical drive you can mount a drive cage from an old case, use a laptop drive and perform a clean cut in the front.
But let’s be honest. Who wants to rebuild a beautiful, simple and space offering case?
Fractal Design Define S Result and general impression …

