
Layout, Design and Features – inside …
Now we come to the interior of the NZXT S340 case. After removing the side door we can see the following picture.
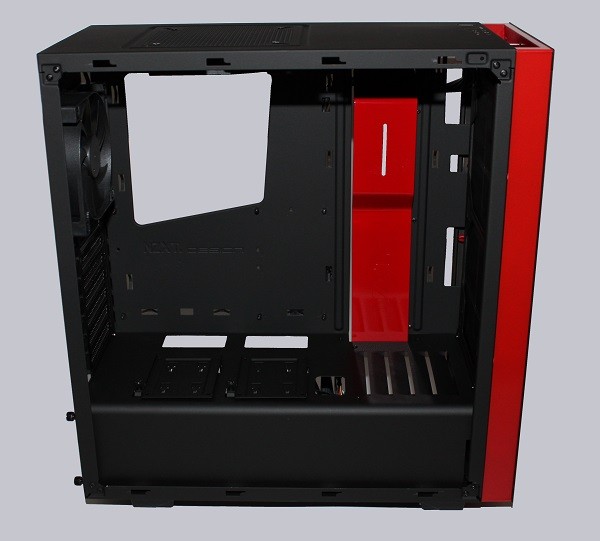
Here you can see immediately the big red bar, in addition to the right side of the motherboard.
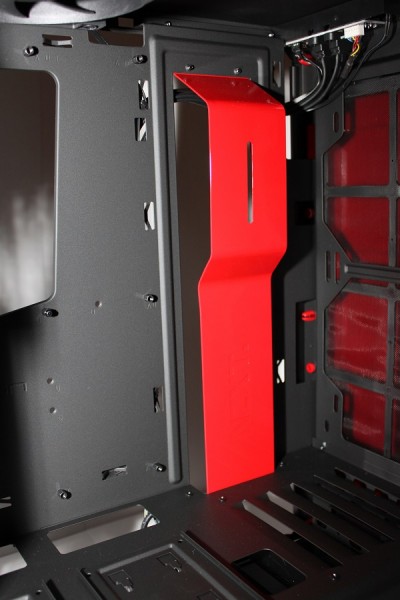
According to the manual, it is a cable management bar. Behind it, the power connector on the motherboard and SATA can perfectly hide and lead to the back of the chassis.
Optically definitely more attractive than a simple hole in the rear wall.
We continue our journey to the bottom of the S340. In big towers quite common, surprised us the existence of a double bottom in a mid tower.
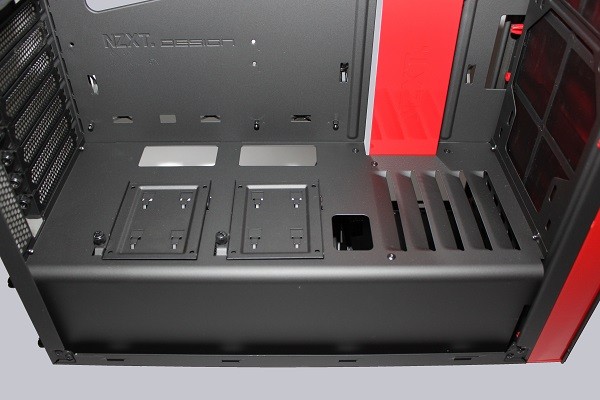
Visually, it adds well in the overall design of the case. On the right side the vents can be seen that supply the underlying level with fresh air, or dissipate the warm air upwards.
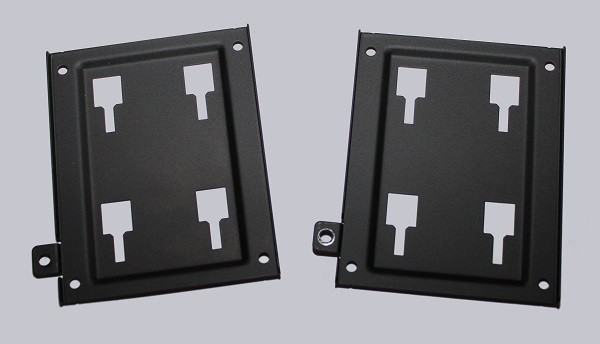
The left side includes two holders which can be removed for installation of the SSD / HDD.
But we now come to the region below the motherboard.
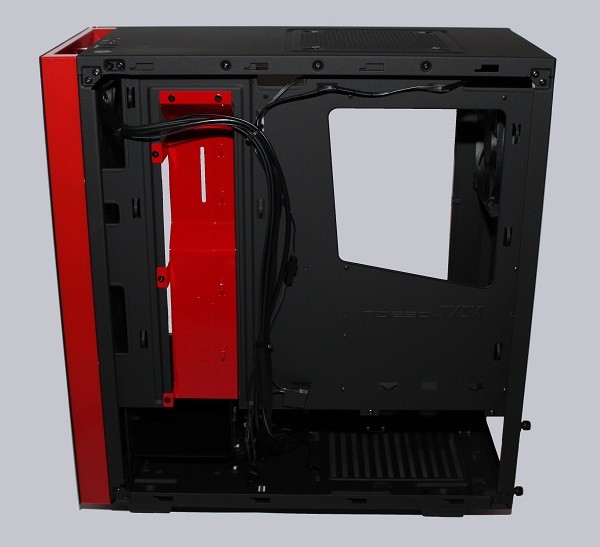
In the rear part a long power supply fits comfortably and the front part is home to the 3 1/2 inch drive bays. If you have a standard power supply, an assembly of a water pump in the middle would be quite conceivable.
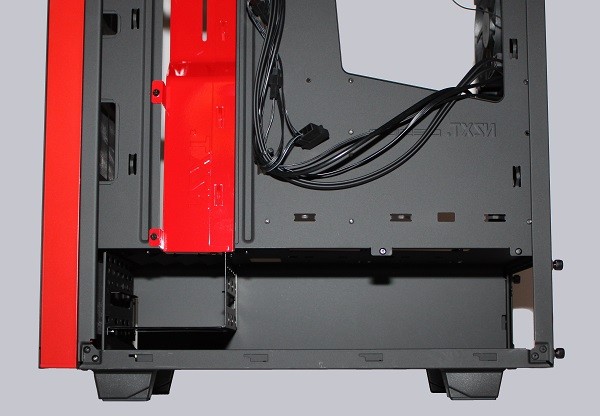
Thanks to the spacious design the cabling is very easy and visually well done. Even the large CPU mounting hole makes the installation or changing of the CPU cooler very easy.
Another feature of the NZXT S340 are the built-in filter mats. A large mat is installed in the front.
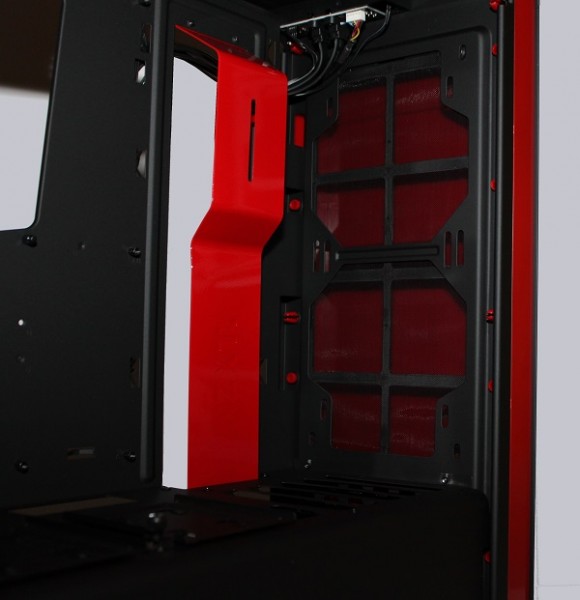
For ventilation of the case, the already installed 120 mm fans of the FN V2 take care.
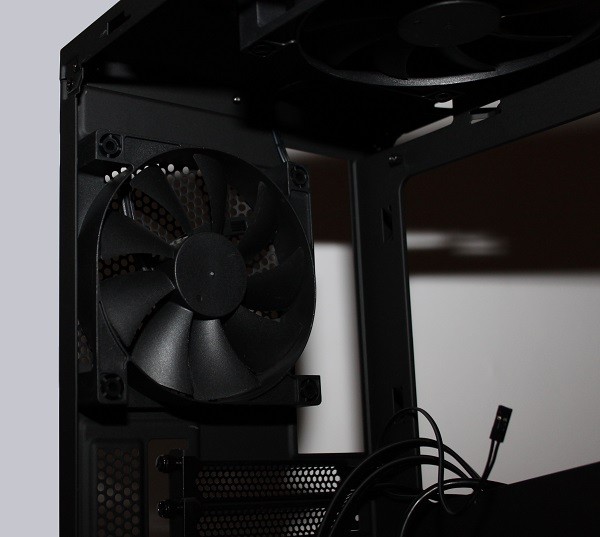
Let us take off the front plate …
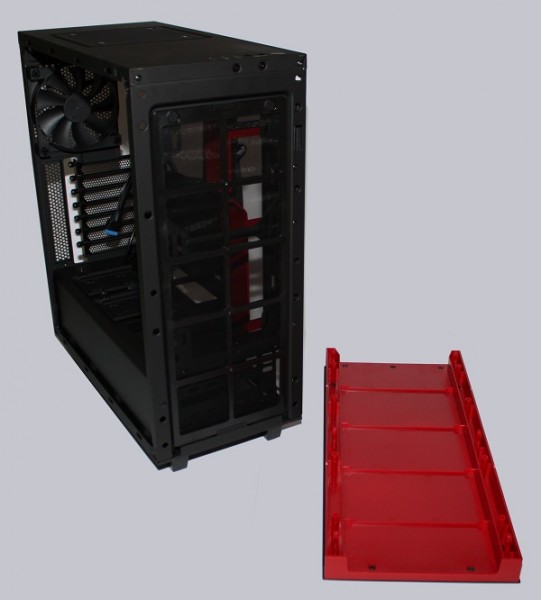
… and take a closer look at it.
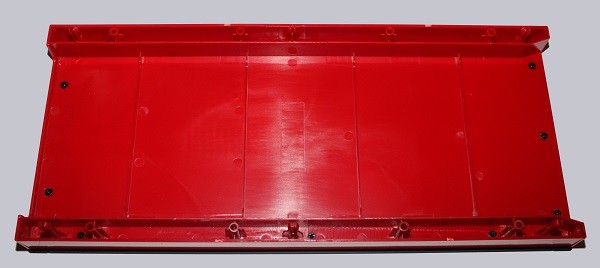
It is made of red ABS plastic which unfortunately has a somewhat less good workmanship. Although it has the charm of a LEGO brick, you can hardly see that when it is mounted, and is so far not a critical element.
Behind it there is the filter mat …
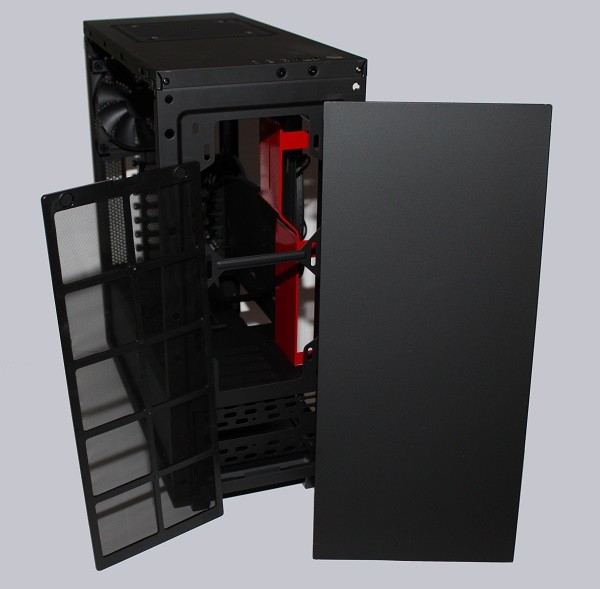
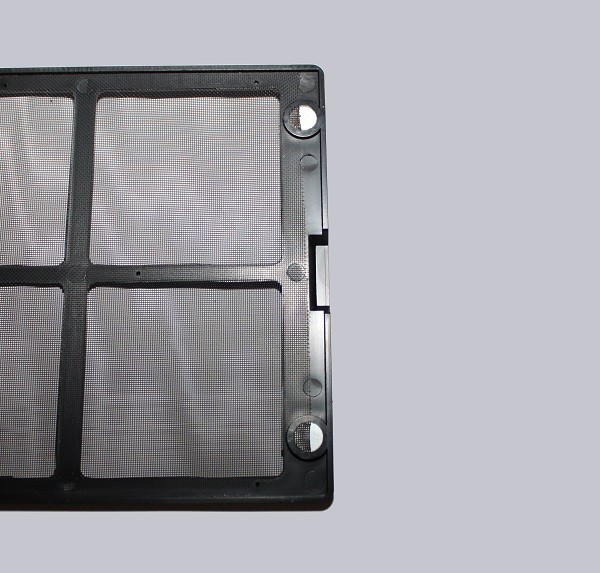
… which can be easily removed for cleaning by small built-in magnets.
NZXT S340 Result and general impression …

