
Layout, design and features interior …
All of the casing panels can be removed easily with two thumbscrews each. This lets you take a look at the basic structure of the case.
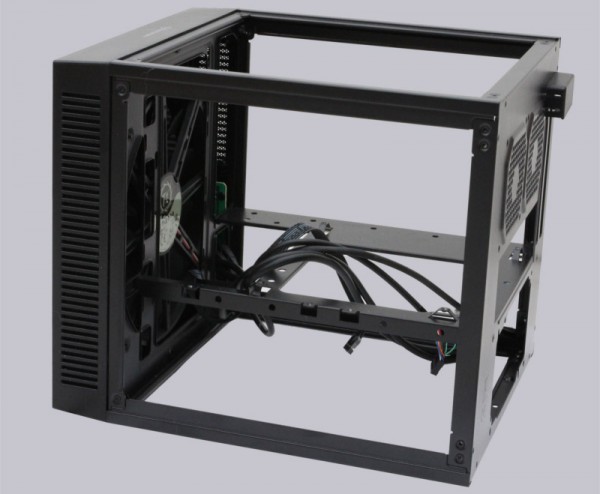
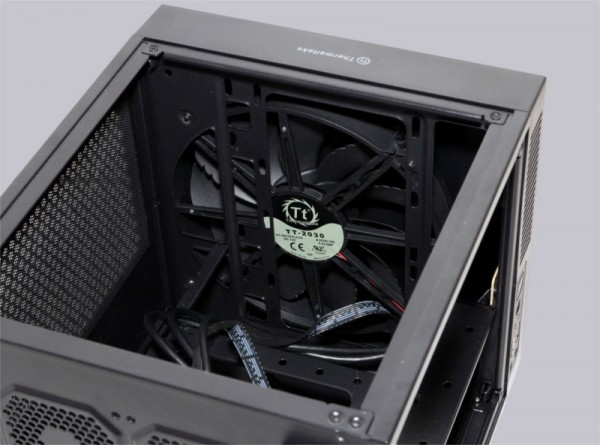
The aforementioned 200mm fan is a real eye-catcher. If needed it can be replaced with a 140 or 120mm radiator or fan.
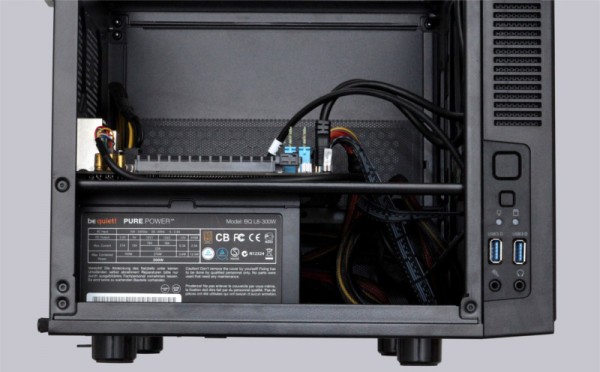
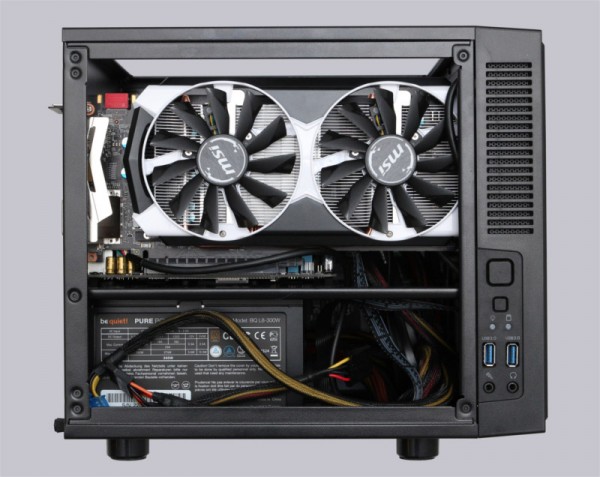
A second important feature is the two-chamber-design. The PSU sits below the mainboard and can take in air from below the case. With this layout there is enough space between a full-sized PSU and the front fan for the whole cable harness of our non-modular PSU. Alternatively this space can be used for a radiator which can go all the way to the top through an opening.
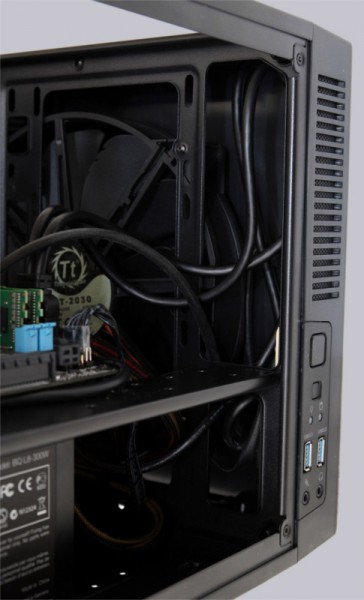
There is some more space between fan and front panel which can be used to hide some of the cables to improve airflow. Another way to use this space is for video cards longer than 255mm.
HDDs/SSDs can be attached to one of the two mounts which can each carry a maximum of one 3.5″ and one 2.5″ device.
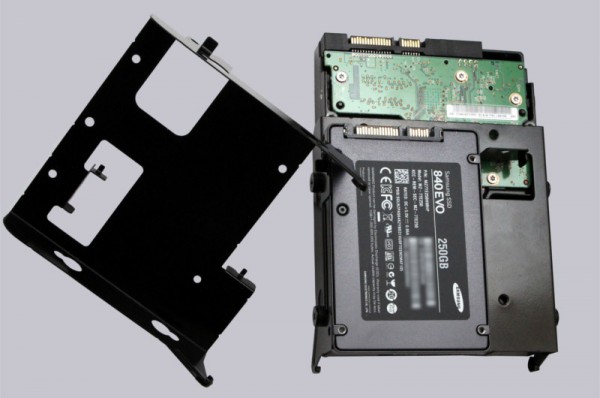
HDDs are mounted with isolating screws and SSDs can even be mounted completely without screws if you want to.
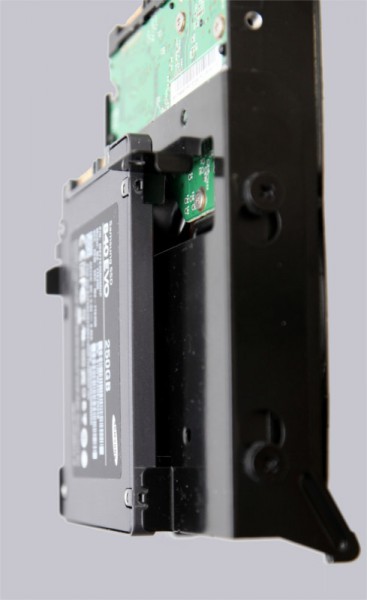
The trays are mounted between motherboard and side panel.
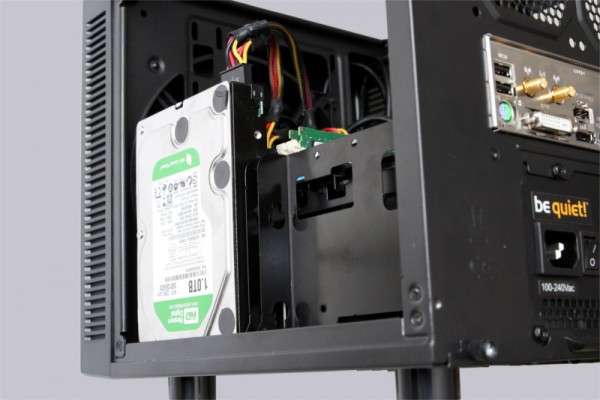
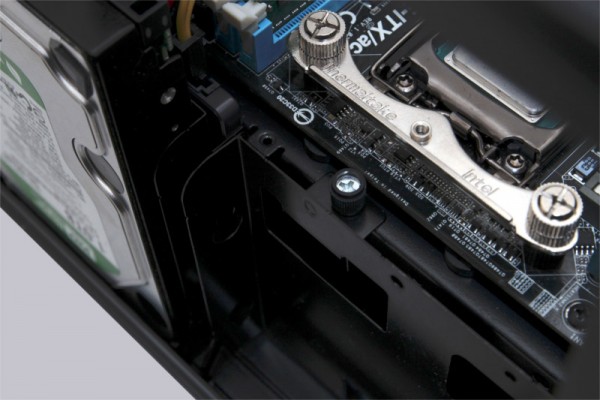
The mounts can be attached to the case with thumbscrews and are therefore easy to remove.
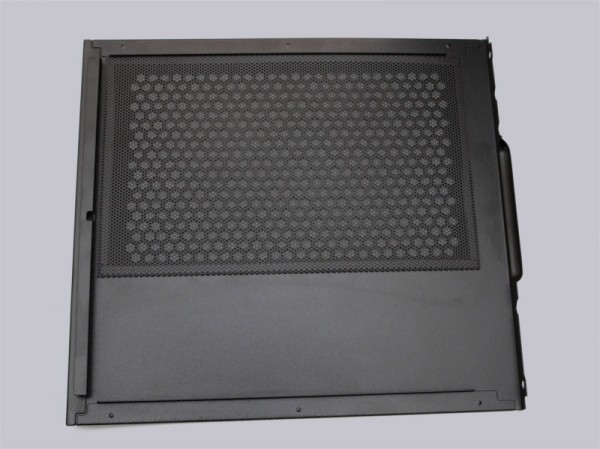
The dust filters are attached to the side panels with magnetic strips and can be removed quickly for cleaning.
The Suppressor F1 is relatively big for an ITX case. You can fit medium sized CPU cooler and some pretty big video cards inside. We decided to use the the top-blow cooler Thermaltake Big Typ Revo because of its capability to cool some of the motherboard parts.
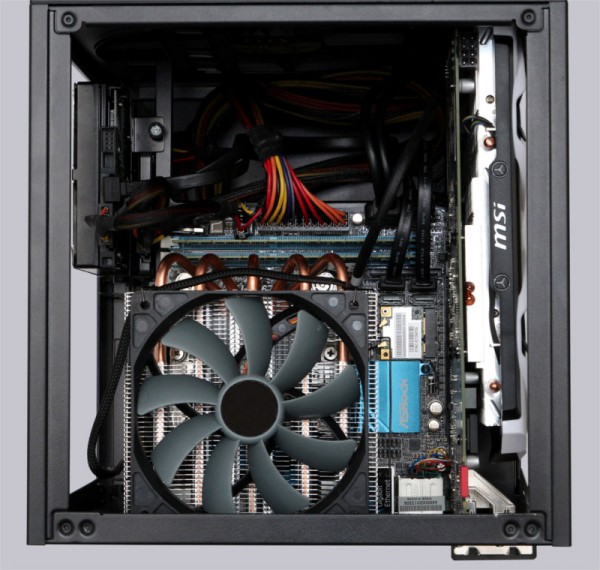
The video card is a GeForce GTX960 with a length of 273mm.
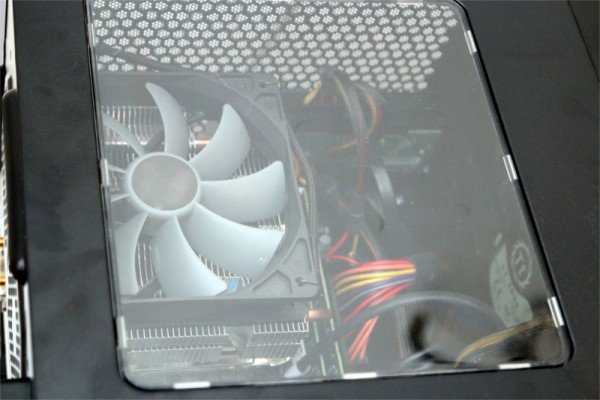
You can admire your hardware through the window.
Thermaltake Suppressor F1 result and general impression …

