
BIOS and Overclocking …
Get fast to the right UEFI settings …
ASRock X370 Taichi BIOS and Overclocking
ASRock X370 Taichi UEFI BIOS Update
ASRock X370 Taichi overclocking
ASRock X370 Taichi memory settings
ASRock X370 Taichi voltage settings
ASRock X370 Taichi Overclock even easier
ASRock X370 Taichi BIOS undervolting
ASRock X370 Taichi Fan control
BIOS and overclocking …
Let us continue with the BIOS / UEFI Setup options and the UEFI overclocking. By pressing F2 or Del during PC boot, you get access to the UEFI Setup.
The ASRock X370 Taichi UEFI has a graphical interface that allows intuitive operation with the mouse, or can be operated still as usual with a keyboard.
As we’ve also explained in the previous ASRock AB350 Gaming K4 review, the usual ASRock EZ Mode – Easy Mode is currently (yet?) not available on AM4 motherboards. But the well-known graphical interface is usually the best choice especially for OC enthusiasts. The entry page offers basic information such as the installed CPU, the UEFI version, the installed DDR4 memory with dual channel support, a language selection, time and date.
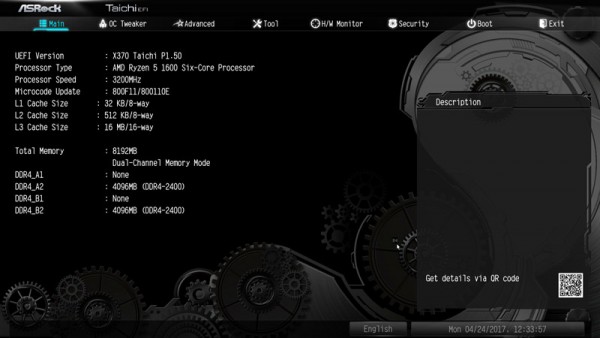
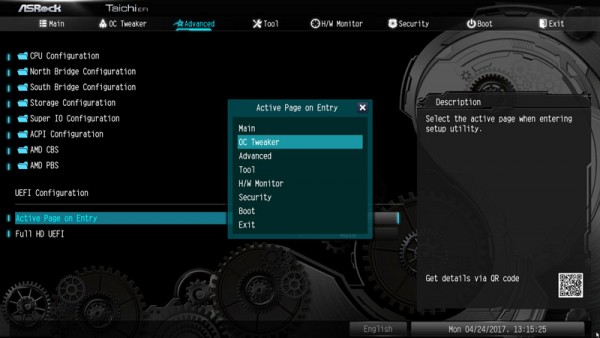
Also the System Browser view, ASRock Tech Service and the My Favorite menu is (yet?) not available at this ASRock X370 motherboard, but it has a selection to view the UEFI in Full HD and also offers the Active Page on Entry selection, where you can decide which UEFI page you want to see when you enter the UEFI Setup. This is very helpful mainly for overclocking, since one have to enter the OC Tweaker menu very often to find the best OC settings. Or you just add all necessary points to the My Favorite overview and start directly to the My Favorite overview page. At the ASRock X370 Taichi you find the Active Page on Entry option and the Full HD UEFI selection in Advanced.
UEFI BIOS Update …
Before we begin with the UEFI overclocking settings, we first update the UEFI BIOS to the latest version. To flash the UEFI update ASRock offers some possibilities, e.g. the very simple Instant Flash or the ASRock Internet Flash with a direct connection to the Internet. By the so-called ASRock Instant Flash option in the tool screen or via F6 during PC start you get into the ASRock Instant Flash utility. You can easily flash a previously downloaded ASRock BIOS without a boot CD or similar by simply starting the ASRock Instant Flash utility. Just select the BIOS Flash ROM from the desired drive, like an USB stick.
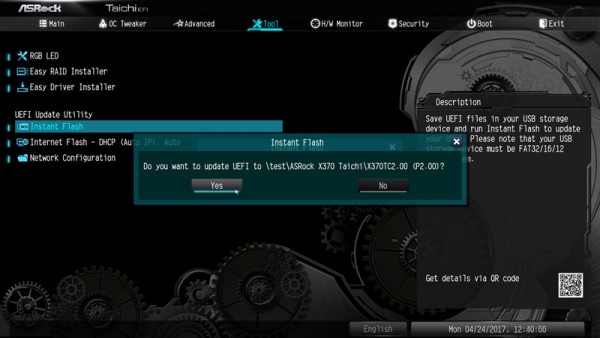
This time we’ve selected the ASRock Instant Flash option and checked on ASRocks’ web page, if and which UEFI version is available. The board was supplied with the BIOS P1.50. At testing date, the UEFI BIOS version P2.00 was available as latest download, which we updated of course immediately.
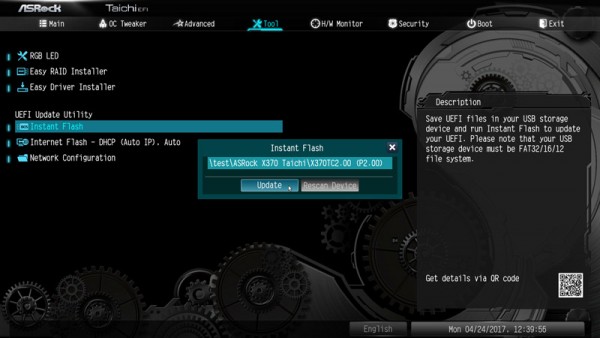
Just confirm the UEFI Update and the new UEFI will be installed immediately.
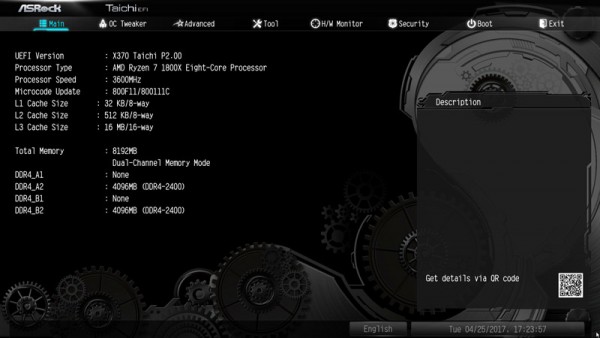
The new UEFI version is available after a restart and can be checked directly on the entry page, here with the AMD Ryzen 5 1600 CPU.
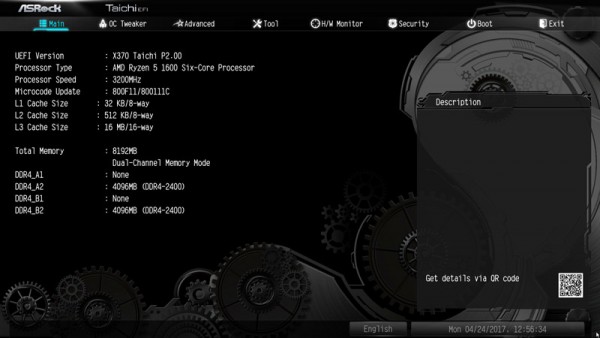
Additionally, we have tested the X370 motherboard with an AMD Ryzen 7 1800X CPU to see the results of this High-End X370 with at this time fastest AMD processor.
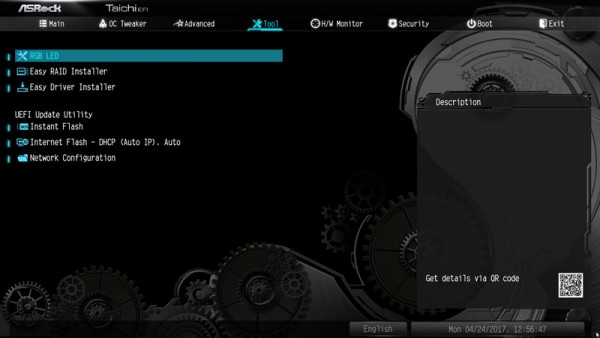
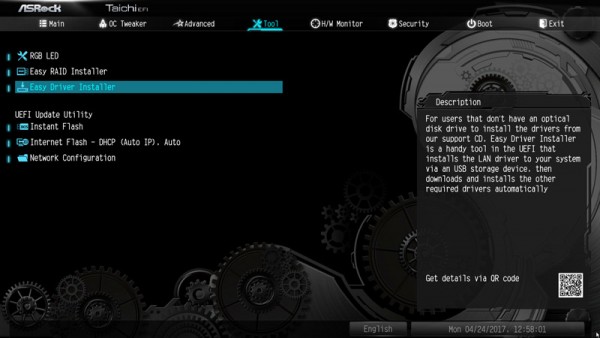
The RGB LED entry is located on the Tools page.
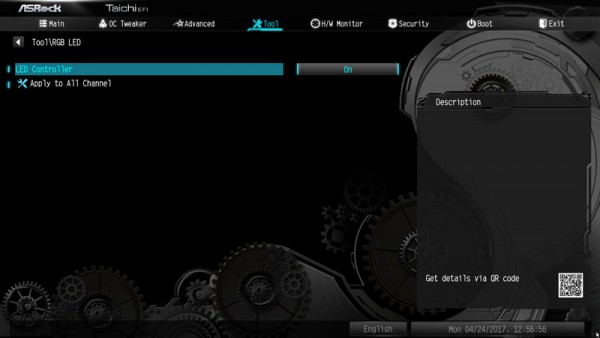
In the ASRock RGB LED menu of the Z270 series it is possible to do all RGB LED settings already in the UEFI. Not so with the ASRock AMD motherboards. Here is at review date just a selection to activate or deactivate the lighting. All other settings have to be done – as shown on the previous page – over the provided ASRock RGB LED Software.
Anyone who has dealt with the AMD Ryzen issue will certainly have heard about some problems with the first-time AMD driver installation. But ASRock makes it very easy for the user to download the latest drivers with the easy driver installer.
ASRock X370 Taichi overclocking …
Now let’s get to AMD Ryzen overclocking with the X370 chipset on the ASRock X370 Taichi motherboard. ASRock split the OC-Tweaker settings for this ASRock X370 Taichi in CPU Configuration, DRAM Configuration and Voltage Configuration. These are summarized on a single page to remain easy to manage.
Let’s start at the top – contrary to the B350 chipset, there are significantly more OC setting to choose; and now also BCLK settings, once to the overclock mode is set from auto to manual. This is important especially for memory OC.
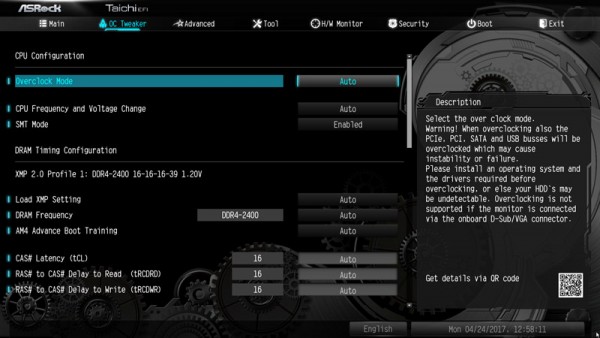
Thanks to the extra Hyper BCLK Engine II clock generator the BCLK/PCIE frequency is available from 100 MHz up to 200 MHz. This frequency is very important for a lot of frequency values also with AMD Ryzen processors, which can get quickly too high. For this reason, you should carefully increase the BCLK host clock, for example for RAM overclocking.
In our tests the board could be stable overclocked to very high 125,96 MHz BCLK !
In CPU configuration at manual selection there are two more important OC options for AMD AM4 CPU Overclocking: CPU frequency and CPU voltage, but more on that later at the voltages.
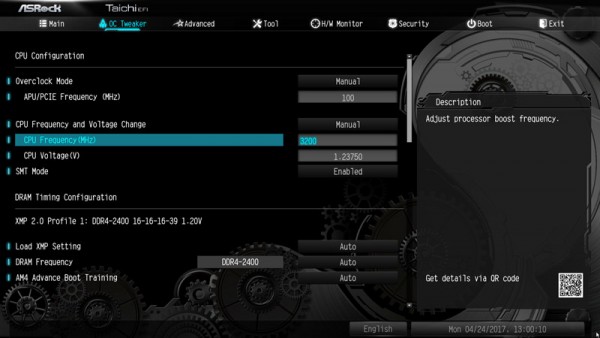
AMD Ryzen 5 and AMD Ryzen 7 processors have an unlocked multiplier so that you easily can increase the CPU frequency. With the AMD Ryzen 5 1600 CPU (default clock 3200 MHz at a CPU ratio of 32x) the ASRock X370 Taichi motherboard offers a range from 1600 MHz up to 6300 MHz without raising the bus frequency.
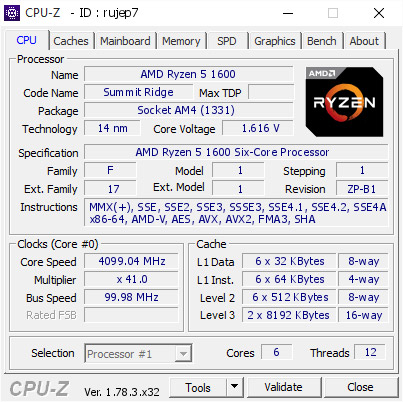
How easy it is, we tried summarily with the AMD Ryzen 5 1600 CPU and with highly increased VCore – as reported in our AMD OC Forum under AMD Ryzen 5 1600 OC – from 3200 MHz on even higher 4099,04 MHz. Although not prime stable, but you can see, how high the cheaper CPUs can be overclocked.
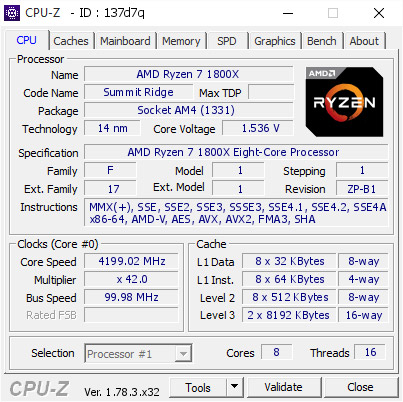
With highly increased VCore the AMD Ryzen 7 1800X CPU could be overclocked from the original 3600 MHz to 4199,02 MHz – also, there’s an AMD Ryzen 7 1800X OC topic in our AMD overclocking Forum.
ASRock X370 Taichi memory settings …
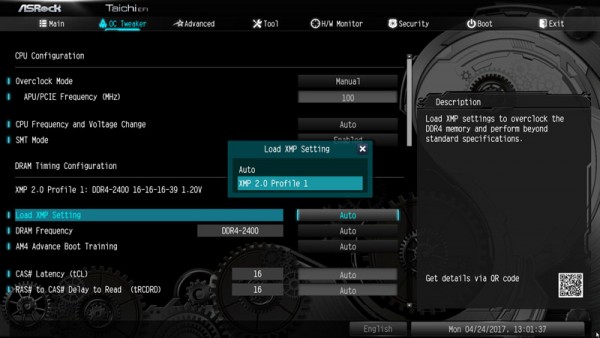
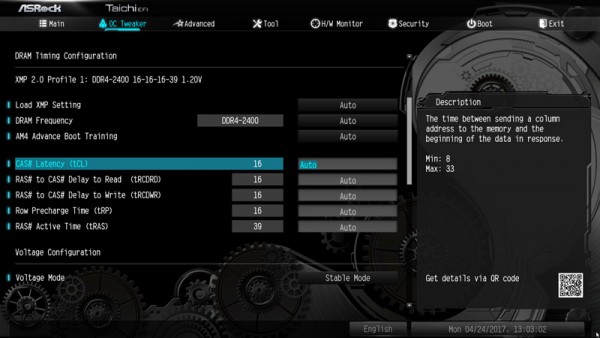
In the DRAM configuration menu you will find all important memory settings. Thanks to XMP support, XMP memory modules can be set correctly with one mouse click in the UEFI.
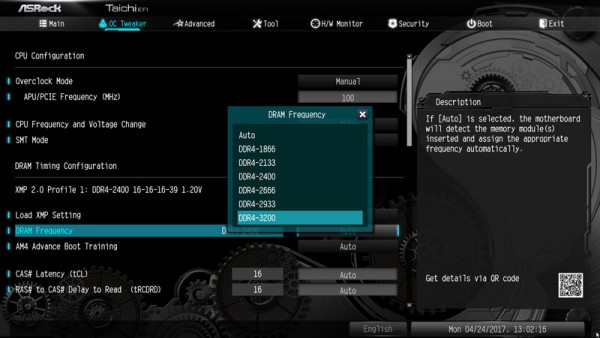
Alternatively, you can select the values manually. For DDR4 memory clock you can choose for example values of DDR4-1866 to DDR4-3200.
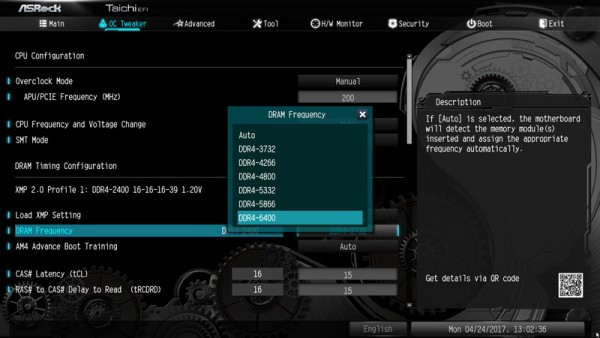
Thanks to the ICS Hyper BCLK Engine II clock generator chip, you can increase the BCLK/PCIE frequency and thus select a DDR4 memory clock at least theoretically up to DDR4-6400.
Optionally you can manually adjust all DDR4 timings.
ASRock X370 Taichi voltage settings …
Now we come to the voltage settings that can be adjusted in the UEFI.
A very important point in the OC Tweaker BIOS is the choice between the stable mode and OC voltage mode – after changing to OC mode, significantly higher voltages are available!
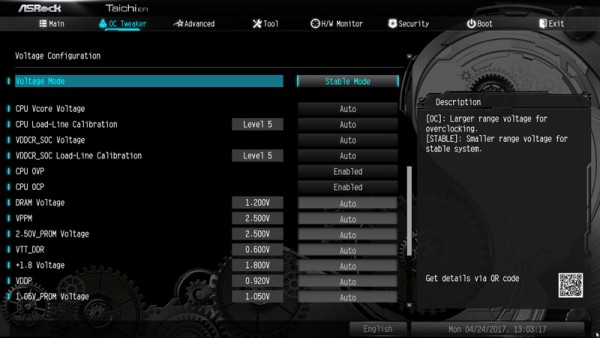
CPU Core voltage can be set to fixed or offset value.
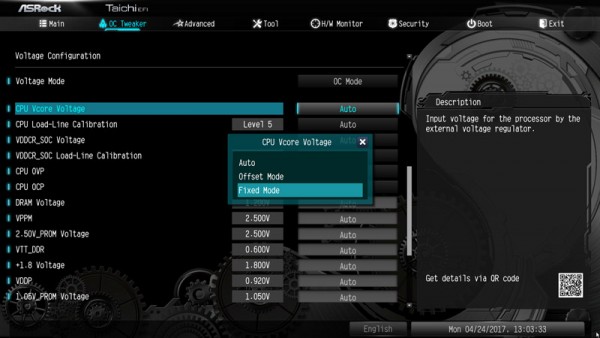
With fixed in OC mode for the AMD Ryzen 5 1600 test CPU a VCore can be adjusted up to 2.50000V! This is of course much too high, but nevertheless LN2 overclockers will enjoy. In addition the X370 motherboard has VTT_DDR from 0.500 to 1,200 volts, VDDCR_SOC 0.9000 to 2.5000 volts or offset, VPPM voltage 2.000 to 3.200V, 2.50V PROM voltage from 2.000 to 3.300V, +1.8V voltage between 1.700 and 3.000V, VDDP voltage from 0.800 to 1.560V, PCH +1.05V voltage 0.950 to 1.250V, CPU load line calibration 1 to 5, with which you can well overclock the CPU of AMD Ryzen.
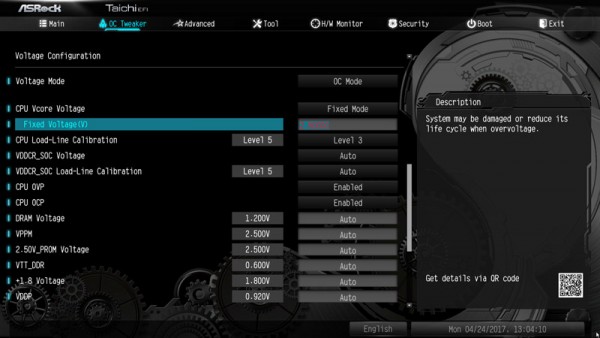
The DDR4 voltage can be increased between 1.100 and 2.235V for high DDR4 memory overclocking or undervolting.
ASRock X370 Taichi easy overclocking …
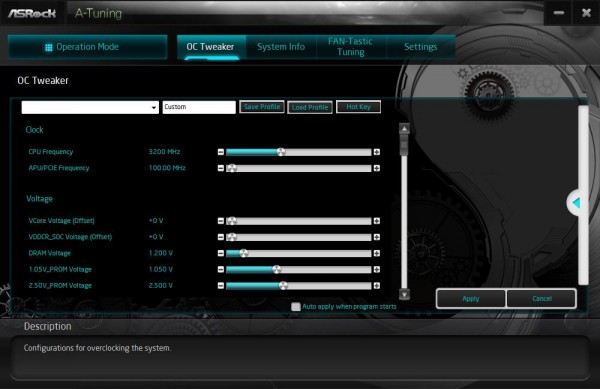
Who rather would like to overclock in Windows, can make many of the above voltage and frequency settings even with the ASRock A-Tuning tool or as shown in the soon published AMD Ryzen OC guide you can also overclock with the AMD Ryzen Master UI Tool.
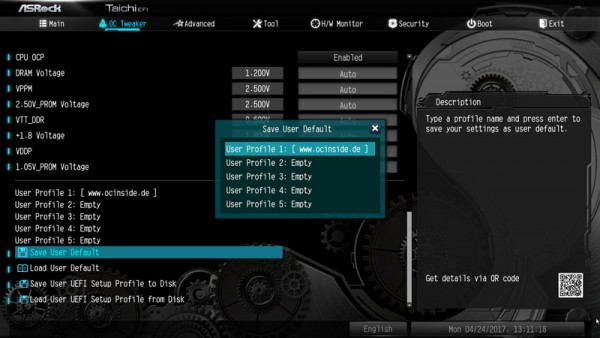
Once the desired settings are found, you can save up to five different OC Tweaker BIOS settings with names in the UEFI.
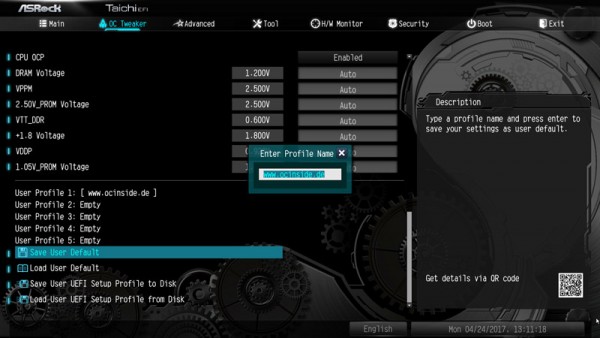
For example, you can save balanced BIOS settings, overclocking settings and undervolting settings or Office and Gaming settings in an user profile of the UEFI to load them very quickly at any time.
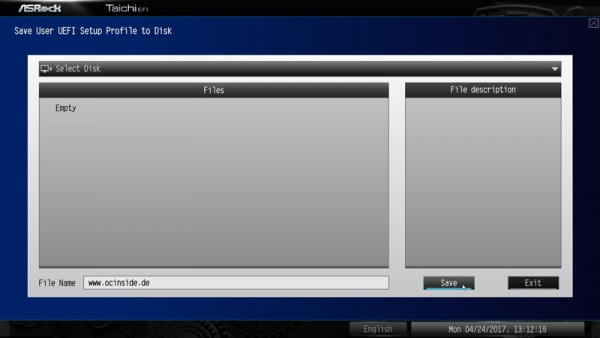
Also interesting is the Save User UEFI Setup Profile to Disk option. Just click it to save your own UEFI settings on the hard drive or an USB stick.
BIOS Undervolting …
The downclocking or underclocking is also tested in this review. It was possible to lower the AMD Ryzen 5 1600 CPU frequency down to approx. 3200 MHz. Of course, underclocking is like overclocking outside of the manufacturers specification, so it is necessary to have some luck. ASRock gives several options for easy PC underclocking / downclocking.
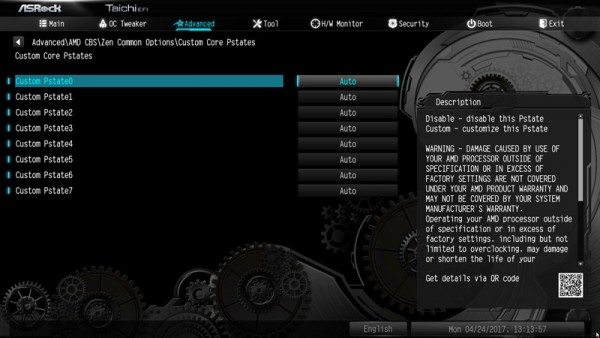
Very hidden is also at this X370 board the P-states setting, which is very interesting for AMD Ryzen optimization.
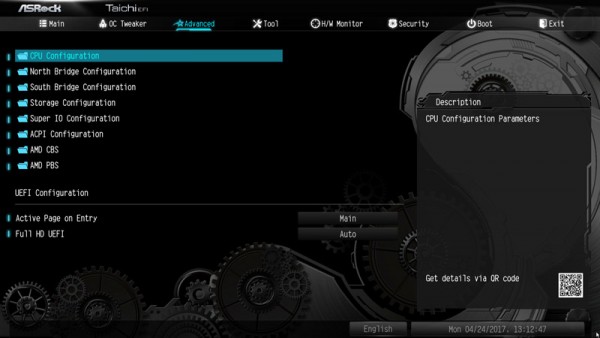
Of course there are more UEFI settings like CPU Configuration, North Bridge Configuration, South Bridge Configuration, Storage Configuration, Super IO Configuration, ACPI Configuration, AMD CBS menus and the AMD PBS menus.
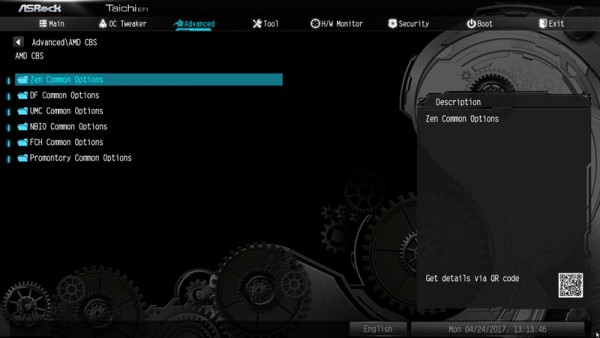
New are mainly the AMD Ryzen settings in the AMD CBS sub-menu, where you can set the previously mentioned Custom Core PStates in Zen common options.
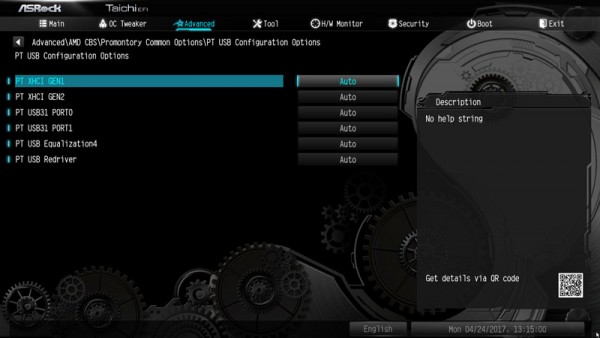
In Advanced -> AMD CBS -> promontory Common Options -> PT USB configuration options you will also find the USB ports. If you had found this before publishing this detailed test as newcomer, you should have received a OCinside sticker 🙂
Here we like to have a better overview in order to make all the important settings as usual – whether they are physically in the Northbride, Southbridge or in any other chip on the motherboard is not interesting for most users.
But we know ASRock, we think it will soon give a BIOS update, which makes such basic settings much easier to find … may be they could do this by an additional search function in the UEFI, which we as OCinside would like to suggest 😉
Fan control …
The UEFI Setup of the passive cooled X370 Taichi motherboard offers extensive temperature fan control options. The settings for the fan controller can be found in H/W Monitor directly below the temperature and voltage display.
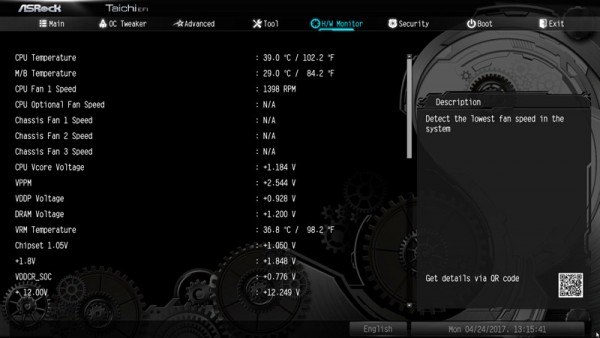
Here are settings for the CPU fan, chassis fans or W_Pump switch.
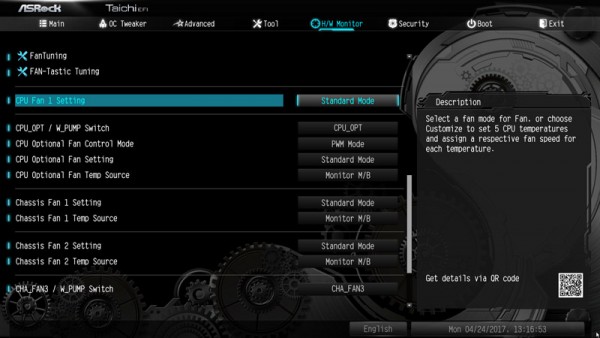
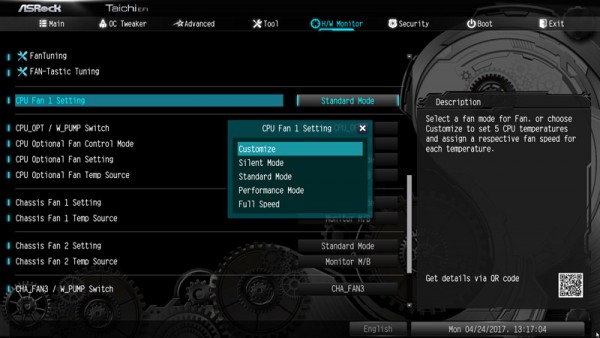
You have the choice between Customize, Silent, Standard, Performance and Full Speed.
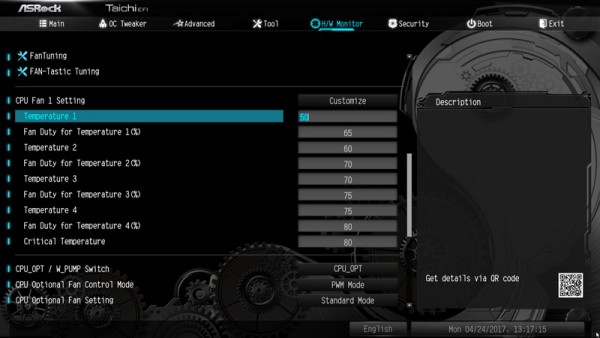
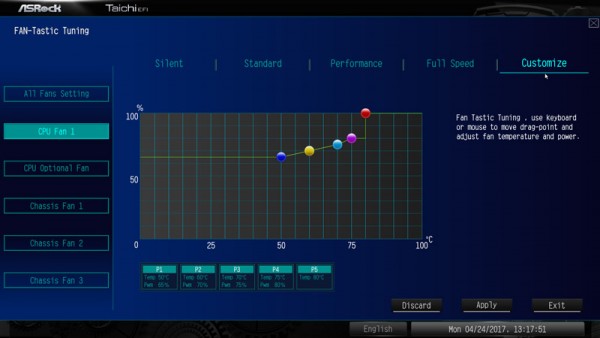
In Customize mode there are several temperature steps available to assign a certain fan speed.
Contrary to the ASRock AB350 Gaming K4 motherboard, ASRock has again implemented the graphical interface in the UEFI setup for controlling the fans. You can find the FAN-Tastic Tuning menu also in the H/W monitor and thus can make all the settings very clearly. Simply select the respective fan connector on the left and select the mode on the right side: Silent, Standard, Performance or Full Speed.
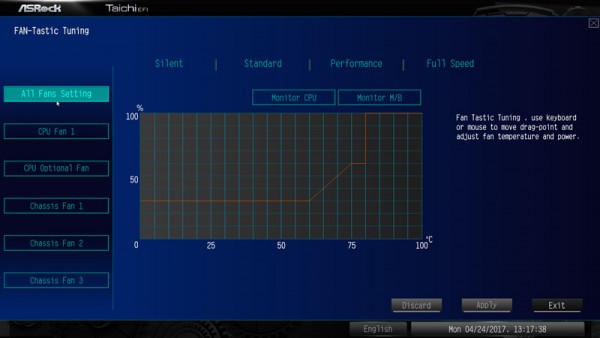
In Customize mode, you can set all values directly in the chart and save.
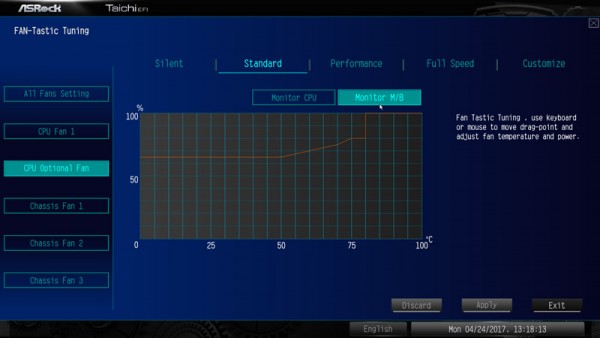
For the chassis fan connectors you can even select, which source you want to use for temperature measurement – Monitor CPU or Monitor Motherboard. Then click on apply and save the values.
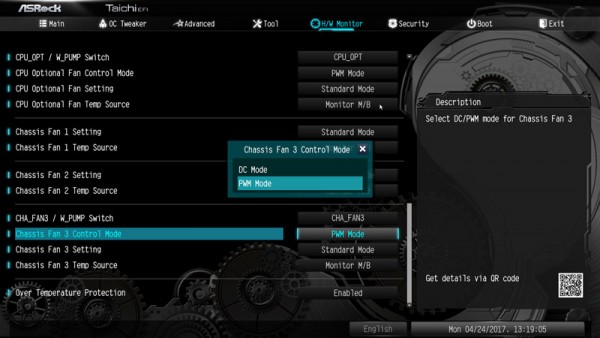
And even on a control of the 3-pin chassis fan was thought.
Who would rather set the values in Windows, you can use also the ASRock A-Tuning tool.
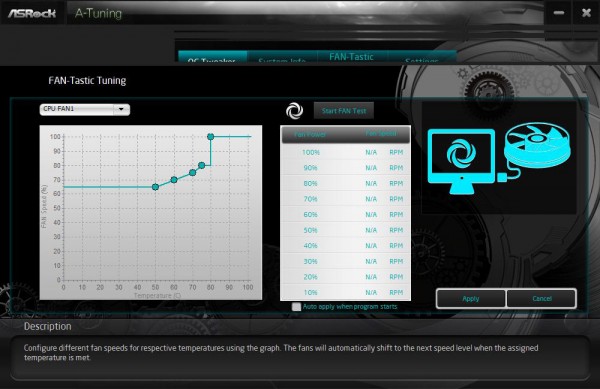
You can usually get along without an expensive Fan Controller, because the fans are controlled with this fan control based on CPU or motherboard temperature.
ASRock X370 Taichi energy consumption …

