
Installation …
Already with the predecessor models we could praise the fast and uncomplicated assembly. Only two cross screws are needed to fix the metal brackets to the radiator base. This time, however, two more brackets are used, each mounted with two additional cross screws. These mounting brackets have different holes and are therefore compatible with the current Intel LGA2066 and LGA 2011-3 sockets as well as the AMD AM4 and of course with the AMD TR4 socket (Sp3r2). This is what it would look like if the additional brackets were already mounted.
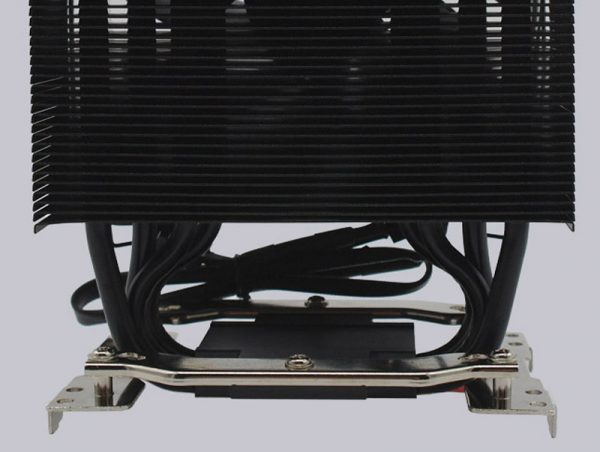
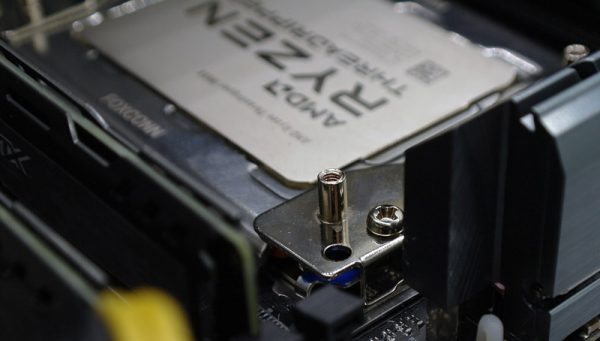
However, the radiator is mounted slightly differently on the TR4 socket. After the AMD Threadripper installation (see video), the two brackets mentioned above are first mounted on the socket. Since we received one of the very first samples in advance, there was a little problem. As you can see here, the blue lever collided with the bracket during assembly. The problem was solved immediately after our early sample from Arctic by slightly modified brackets.
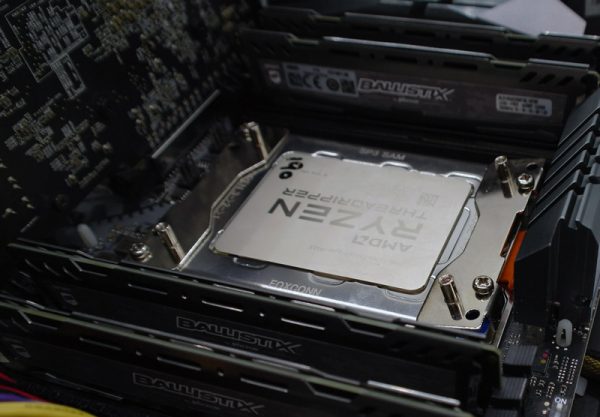
Here you can see the two installed mounting brackets, whereupon the radiator is screwed with the four cross screws.
Then the BioniX fan can be mounted again with the clamp, you should be careful that the anti-vibration stickers do not come off and the fan sits centrally on the heat sink. This is what the finished AMD Ryzen Threadripper test system looks like, consisting of an ASRock X399 Taichi ATX motherboard and the AMD Ryzen Threadripper 1950X CPU.
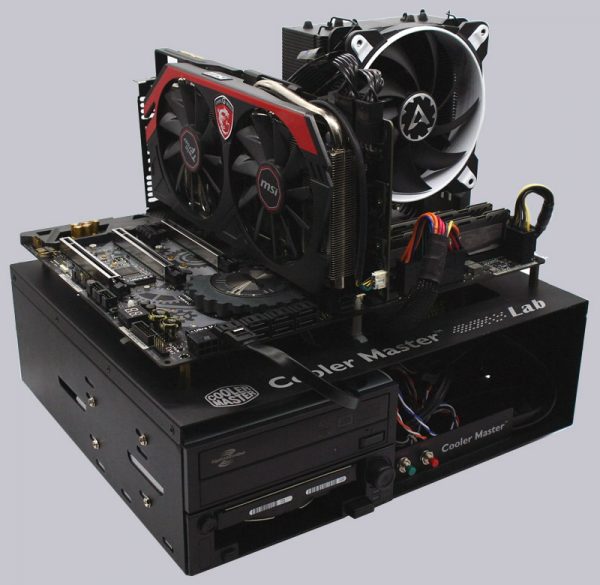
To show what small dimensions the cooler can handle and for comparison with the previous Arctic Freezer 33 eSports One we also mounted it on the ITX system, consisting of an ASRock X299E-ITX/ac motherboard with the Intel Core i9-7900X CPU.
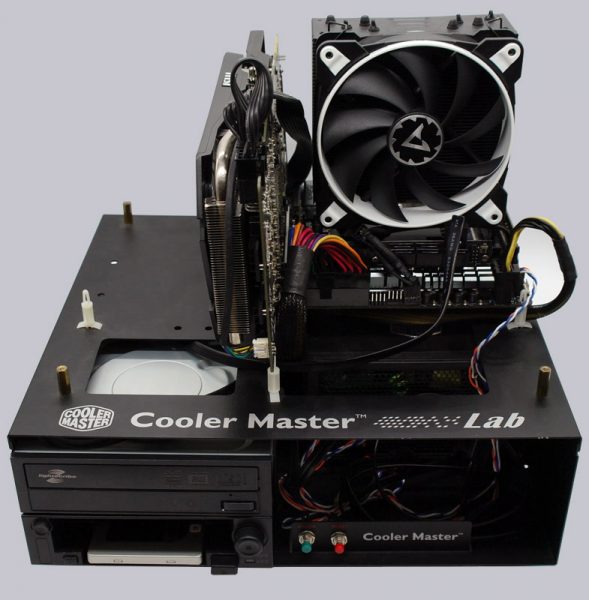
All in all, the installation is relatively quick done even without instructions. For improvement we only suggest screws with hexagonal head or thumbscrews to be able to turn them with mounted fan. Maybe Arctic will take this suggestion to heart with their next coolers.
Arctic Freezer 33 TR test setup and results …

