Construction, design and features …
The Cooler Master Q300L and Q300P are based on the same basic configuration. So let’s take a look at the Q300L and find out later what differences the Q300P can have.
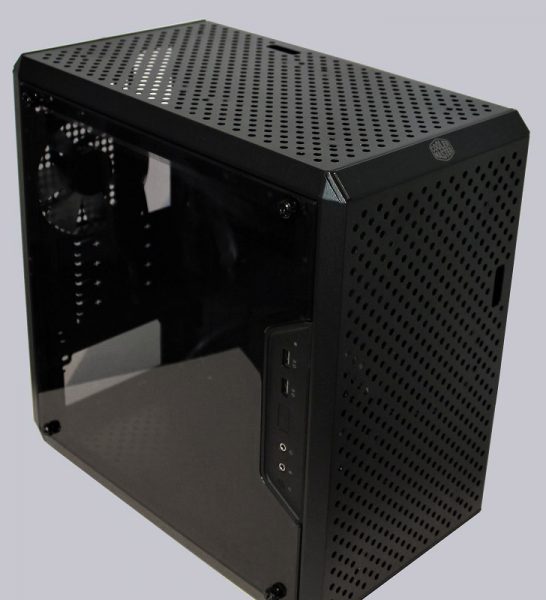
In the Q300L, we first notice the mesh grids on the front and on the lid, which show a pretty mosaic pattern.
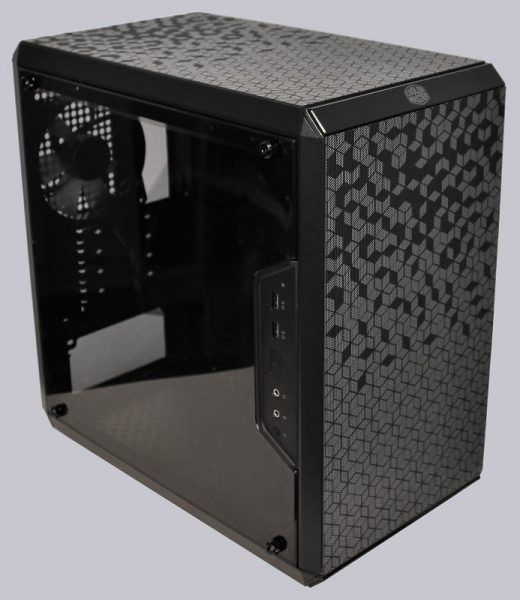
The grids themselves are rather simple in design: magnetic stripes are attached to the edges to hold the grids in place.
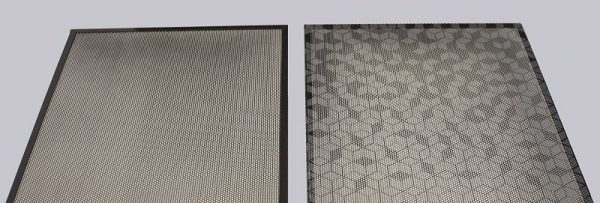
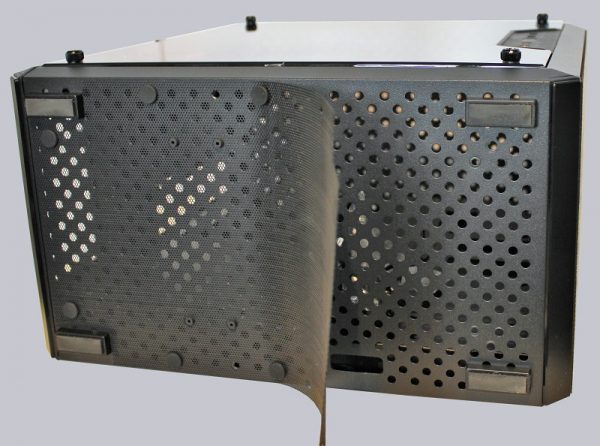
If you take them off, you see underneath the many holes at the chassis, which should ensure good airflow.
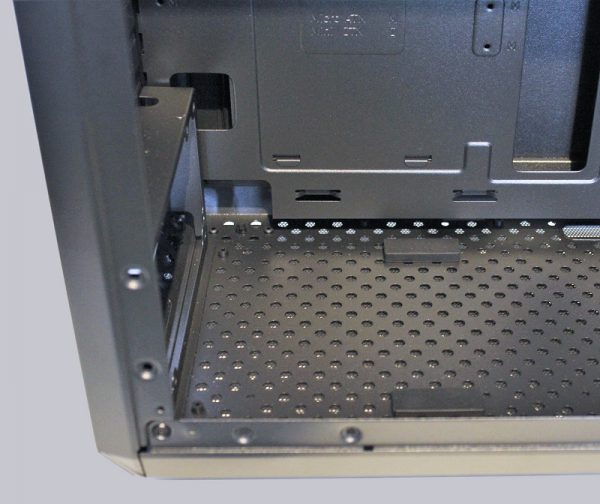
The mesh grids are therefore not only there to look pretty, but also serve as a dust filter. The design also continues on the ground, albeit without a mosaic pattern. Here, the case is also perforated in a wide area and provided with a dust grille, which can be easily attached and removed by means of rubber mounts.
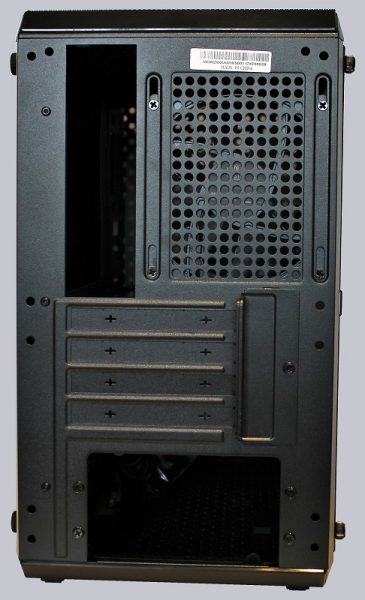
At the back we find the pre-mounted 120mm fan which can be adjusted in height by means of long holes. In addition, the holder for the power supply. Although it looks like that at first glance, the power supply can only be installed with the fan facing down. The bezel can or must even be removed for installation, but can not be re-mounted rotated by 180 degree.
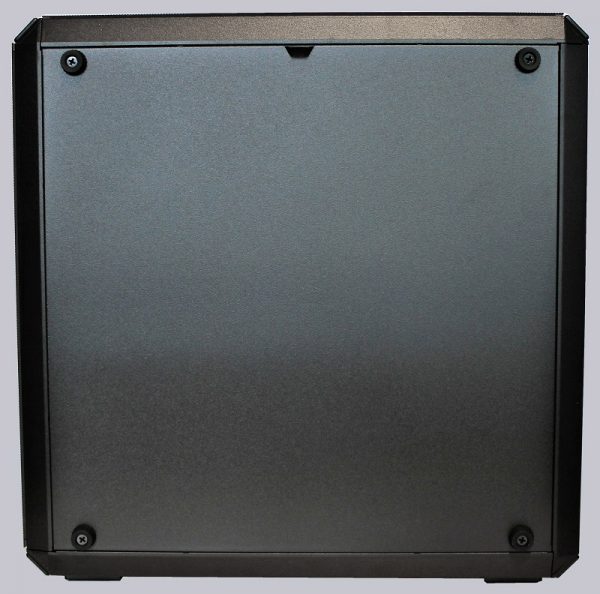
The right side looks a bit unspectacular at first, but on closer inspection we notice that the screws holding the side part in position can also be housing feet at the same time, so that you can also operate the PC lying on its side – clever!
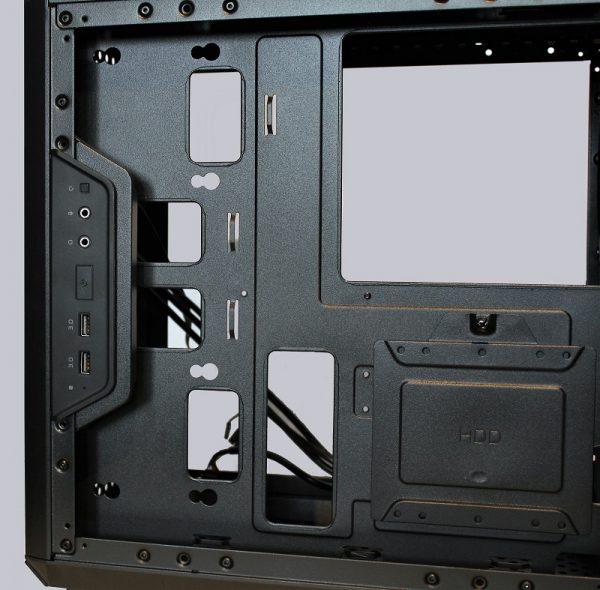
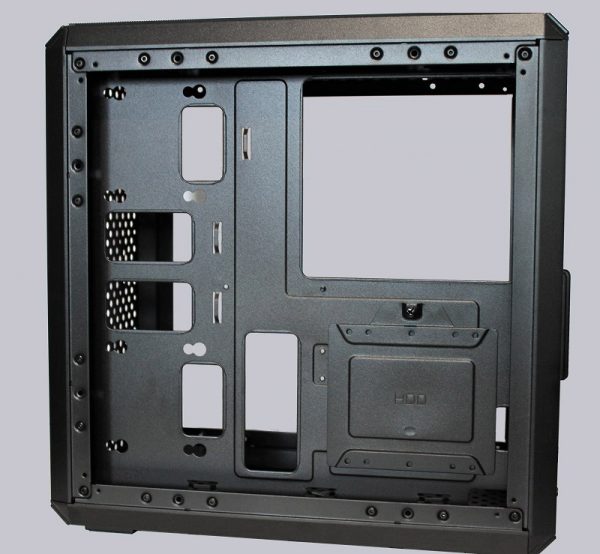
Behind it are the installation options for a 3.5″ drive and two 2.5″ drives, sensibly positioned ports for all necessary cables and plenty of space for cable management.
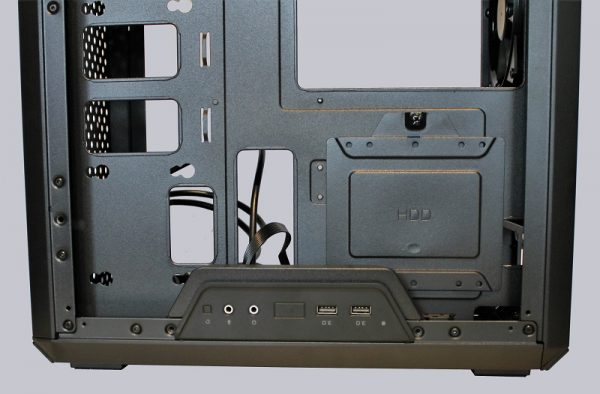
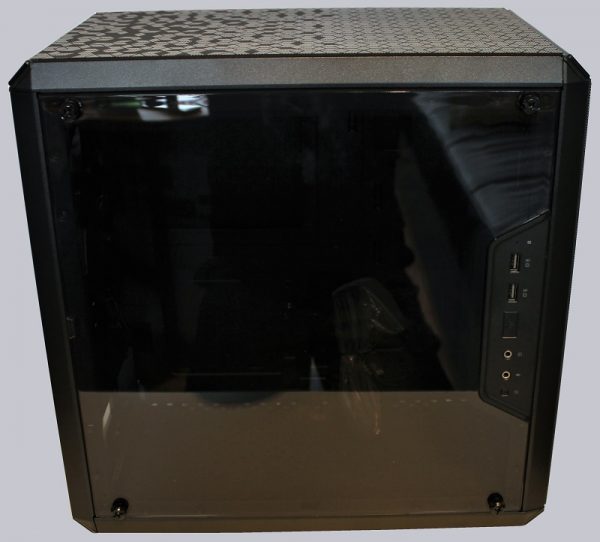
The other side is dominated by the frameless acrylic window, which gives us the opportunity to skillfully stage all PC components. In addition, we find here the front panel with Power / Rest button, 2x USB 3.0 and microphone input and headphone output.
The front panel also has another clever feature: It can not only be mounted centered …
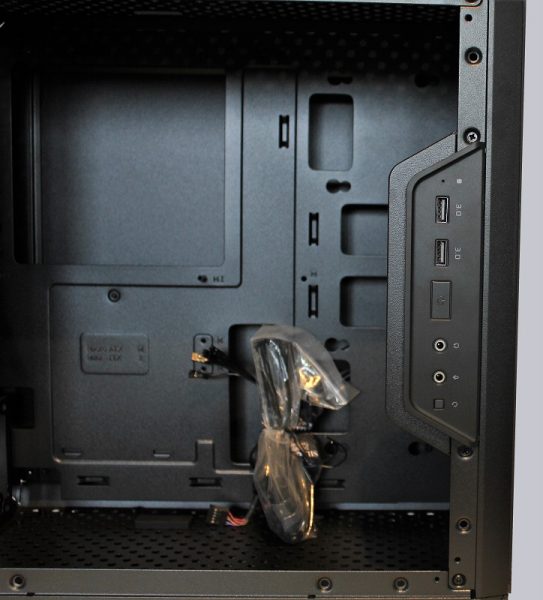
… but in a few screw turns also below …
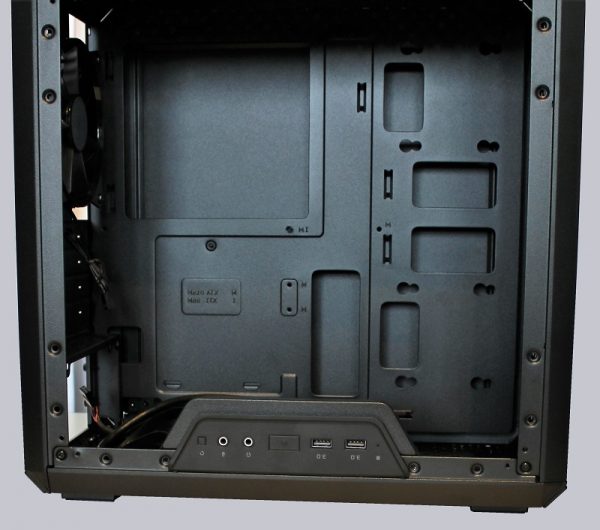
… or at the top. The window has been designed just as long as wide, so it can easily turn.
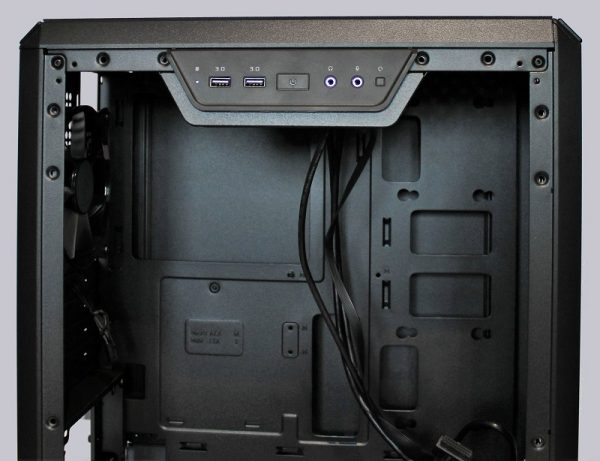
And not only that. Assuming you have the PC to your left, the front panel can even be moved to the right side of the case. And also above …
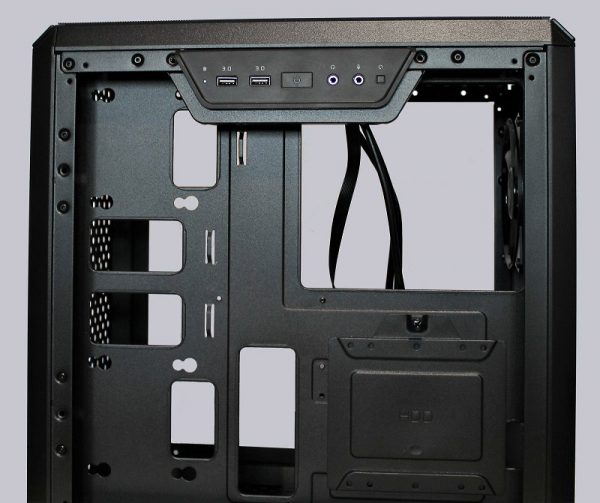
Therefor the window and the side panel simply swap. The only drawback: Due to the newly won “view” you should give the cable management a lot of effort 😉
The case interior offers no further surprises. At the bottom we find two rubber elements for the power supply assembly.
Now let’s see what the differences are with the Q300P. The most striking are certainly the four unscrewable handles that make the case the ideal LAN party companion and the additional dark-mirror acrylic elements on the front and lid.
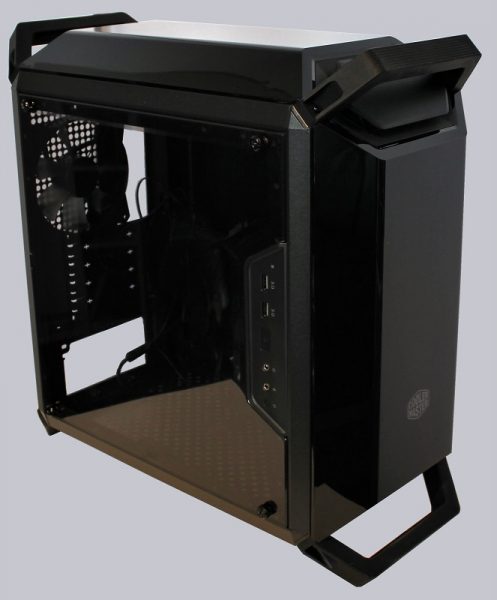
In addition, the trim on the top hides an RGB module, with which the case would like to draw attention to itself from the outside.
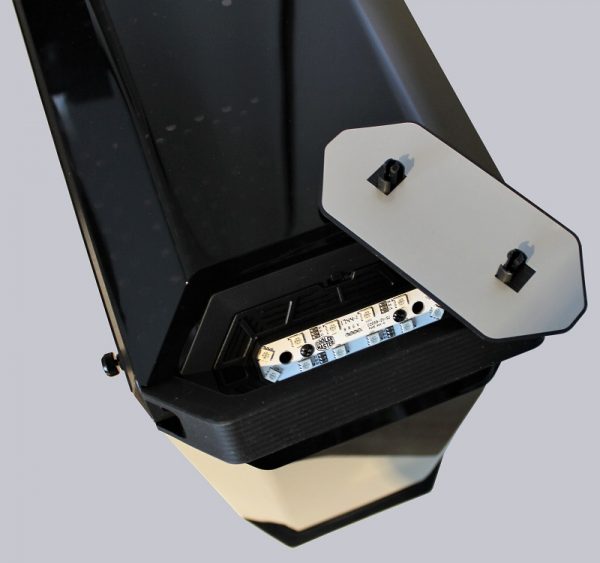
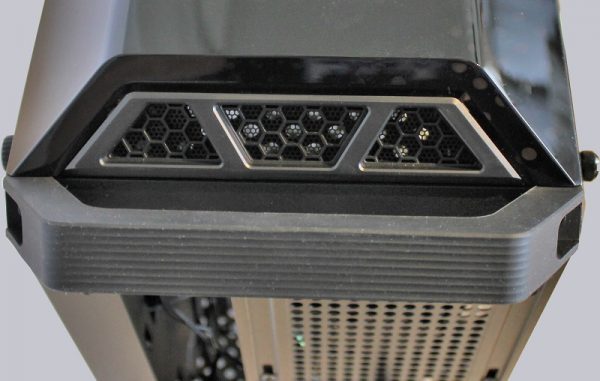
The other end of the acrylic elements is used for air supply for front and top and is veneered with mesh insertion.
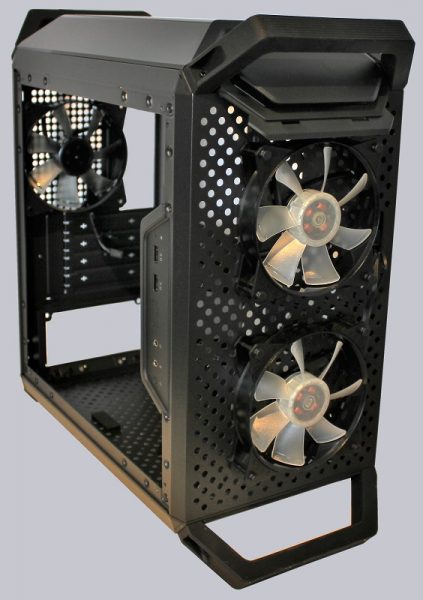
Because of the acrylic elements, the fans, unlike the Q300L, are installed outside instead of inside. The Q300P is already pre-assembled with two 120mm RGB fans.
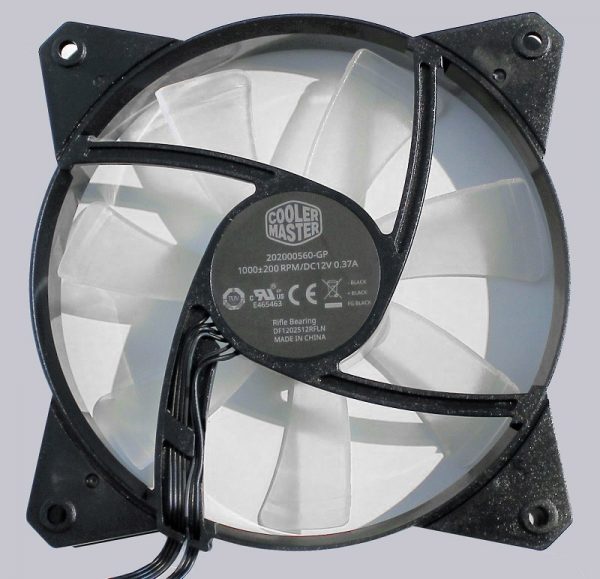
The fans remind us a bit of the already tested Master Air Airflow fans. However, they have no rubber coupling and are only equipped with a 3-pin connector. In addition, each fan has a normal 4-pin RGB connection cable.
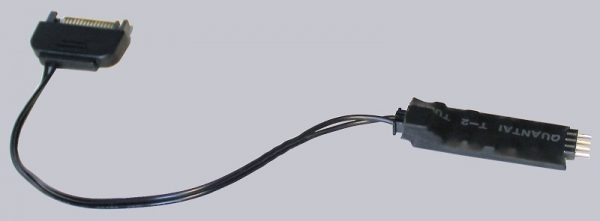
In the case of the RGB controller we were confused: Cooler Master uses a heat-insulated piece of printed circuit board with SATA power supply cable. The individual modes are then switched by means of a button.
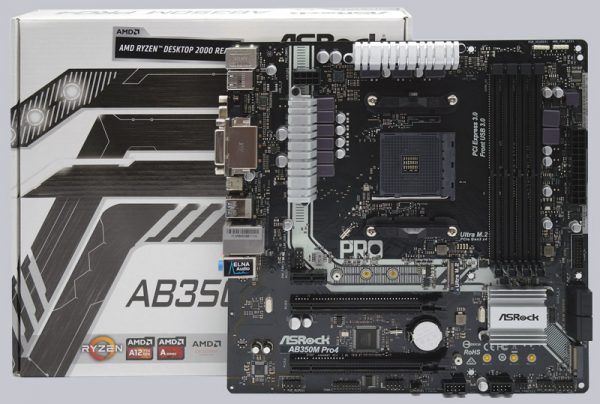
We tested the two cases with the ASRock AB350M Pro4 motherboard. The ASRock AB350M Pro4 is available very inexpensive *Ad and is even designed with the AM4 socket already for the new 2000 series AMD Ryzen 7, AMD Ryzen 5 and AMD Ryzen 3 processors with integrated GPU. So you can build an enormously cheap PC.
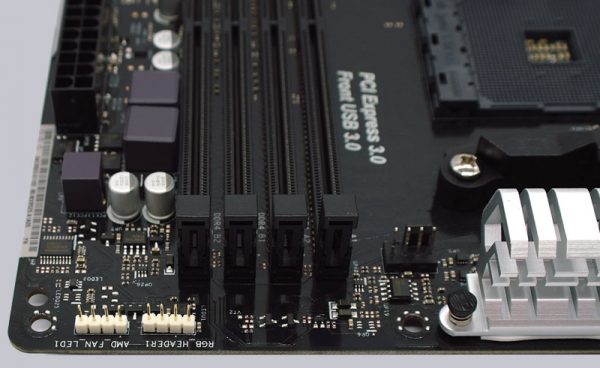
Fortunately, the ASRock AB350M Pro4 Socket AM4 motherboard has a RGB connector so you can sync or control it.
Cooler Master MasterBox Q300L / Q300P field test …


