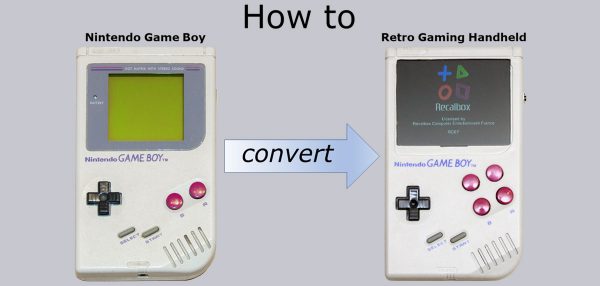
After the Arcade Machine DIY Guide today we have a very special tutorial for the readers on OCinside.de! We show step by step how to build a Retro Gaming Handheld from a 30 year old Game Boy using Raspberry Pi Zero. You can play your favorite games from the beginning of the console age to the last millennium on a single Retro Gaming Handheld in color. Unlike the original Game Boy, this even works in the dark without any additional lighting. How the conversion works and what you should keep in mind is shown in detail in the following instructions from the Nintendo Gameboy to the Gaming Handheld!

Thanks for the support …
Many thanks for the support to daniel.
All you need for the Retro Raspboy DIY guide is an old Nintendo Game Boy Classic (or a new Game Boy Case e.g. here from Amazon *AdRaspberry Pi Zero with or without WLAN *Ad3.5″ TFT *Ad, micro SD card with min. 8GB, some additional push buttons and buttons as well as some electrical components and some skill in handling a soldering iron.
Have fun reading and if you have questions, you can post them around the clock in our Forum to our Community, where you can always get help with all your questions about PC, overclocking and everything else related to it.
The Retro Gaming handheld components currently cost about 90 Euro (Game Boy case about 15 Euro, Raspberry Pi Zero about 25 Euro, 3.5″ TFT about 30 Euro, 8GB Micro SDHC card about 7 Euro and for other components about 13 Euro 02/2019).
Here you can buy a finished Retro Gameboy. *Ad
Here we go!
Let’s start with the Retro Gaming Handheld Display …

