Layout, design and features …
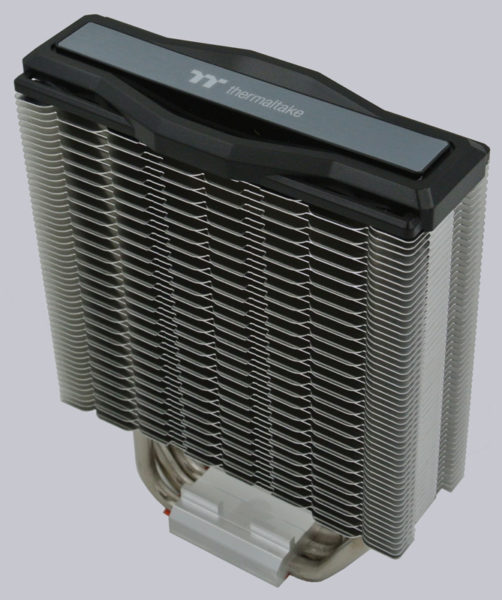
After we have freed the cooler from the packaging material, we can take a first look at the naked heatsink. It looks relatively slim and is also very light. Otherwise, it has a high-quality build and makes a good impression. At the upper end, we find a discreet but stylish cover with the Thermaltake logo.

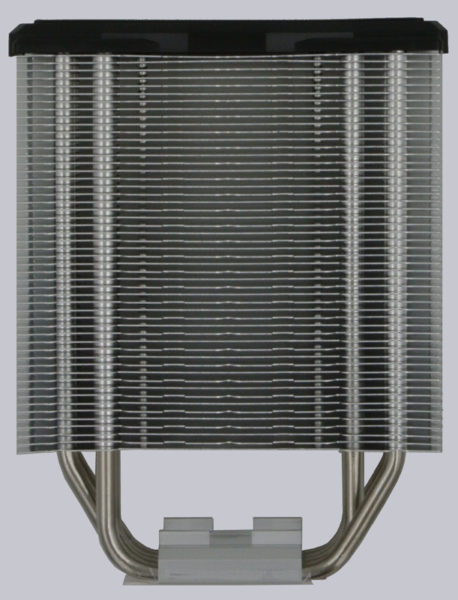
Viewed from a different angle, we can clearly see the 4 nickel-plated 6 mm thick copper heatpipes. These ensure an even distribution of the dissipated heat in the heat sink, which consists of aluminum fins.

On the underside, we find a direct heatpipe design (HDT) instead of a solid copper plate. This means that the heatpipes have direct contact with the CPU heatspreader instead of being heated via a copper or nickel plate. This is supposed to provide better heat transfer from the CPU to the cooler.

Here we would like to note that this is also true as long as the heat generated by the CPU is evenly distributed on the heatspreader, but more on that later …
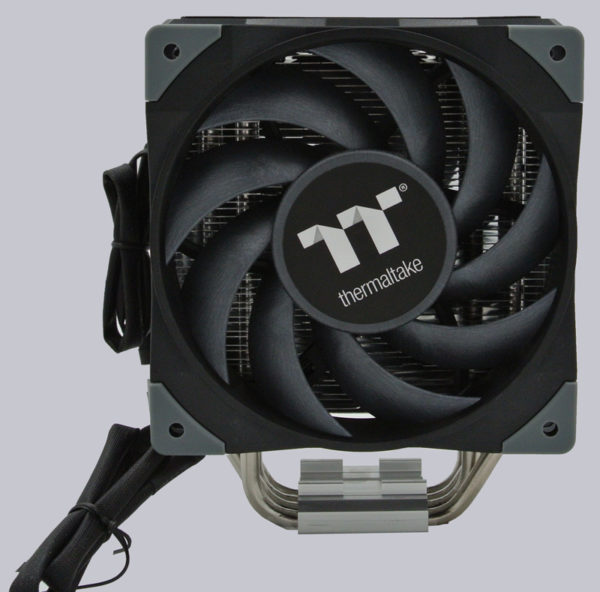
The further assembly is quite simple if you follow the instructions. After you have attached the corresponding brackets to the fans with the help of a Phillips screwdriver, they are simply plugged into the heat sink.

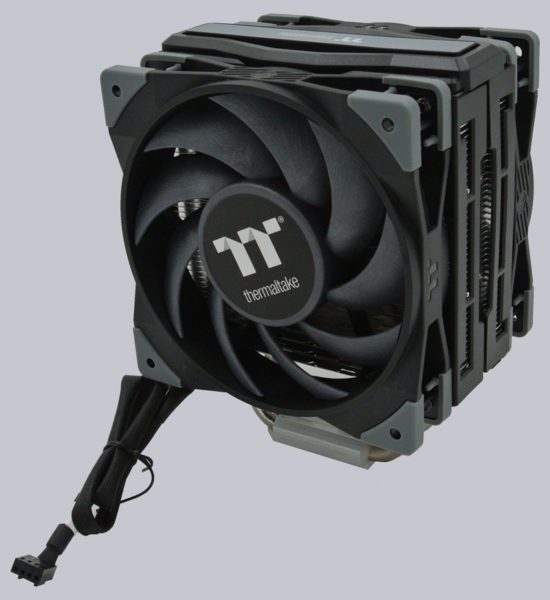
Once the two Thermaltake TT-1225 fans are then appropriately plugged into the heatsink, the cooler immediately looks much more appealing and potent. The matte/black plastic, along with the gray accents, makes for a great appealing overall look in our eyes.

Thermaltake Toughair 510 Montage und Installation …

