
Layout, design and features …
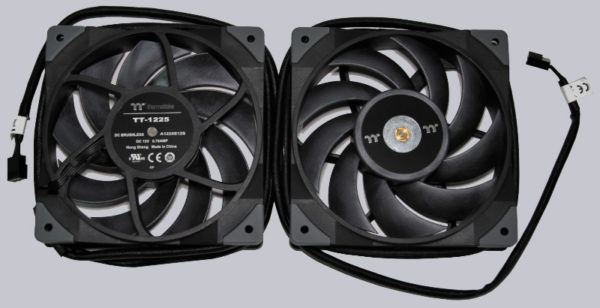
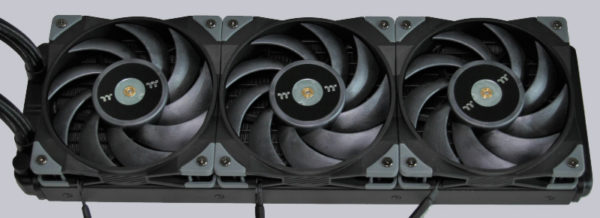
Let’s take a look at the Toughfan fans first. We already had these separately in the ToughFan 12 review and were so taken with them that they were able to win our purchase tip award. However, we can see one difference: the fans included with the Toughliquid AIO water cooling system have
80cm long cables
! This really gives you maximum flexibility in the arrangement in the case.
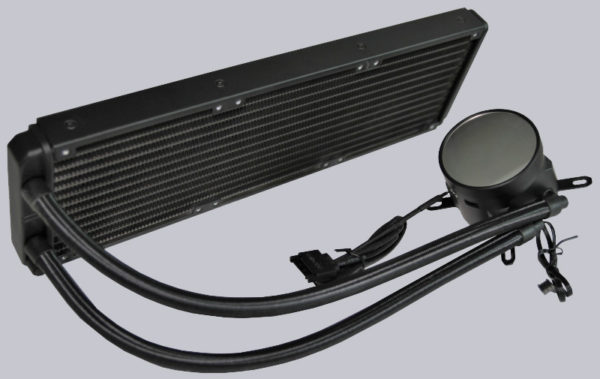
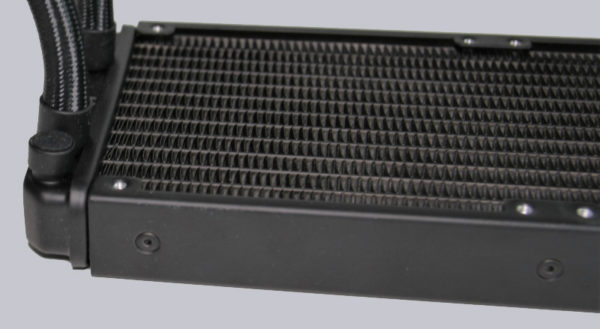
The Toughliquid 360 ARGB cooling itself first presents itself as usual: radiator, sleeved hoses and a usual 360mm aluminum radiator.
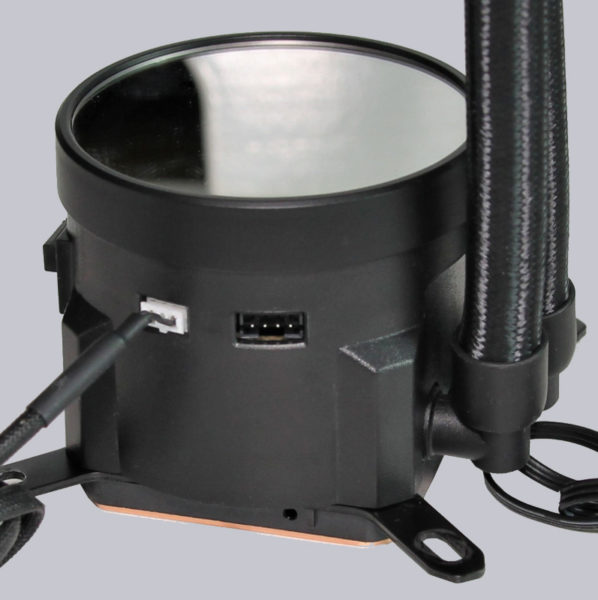
Of course, the finer details can be found in the details. The Thoughliquid cooler and the integrated pump are supplied with power via a 3-pin connector. In addition, there is a connector for the power supply of the lighting and an optional additional connector, if you want to operate the cooler via a separate ARGB controller.
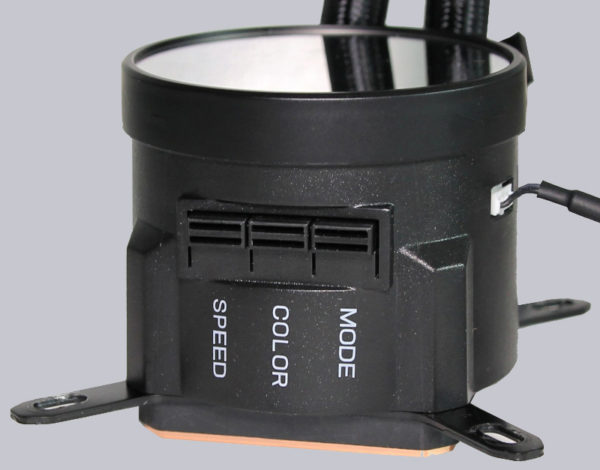
If you do not, you control the integrated lighting via 3 buttons directly on the radiator. An unusual but quite interesting solution!
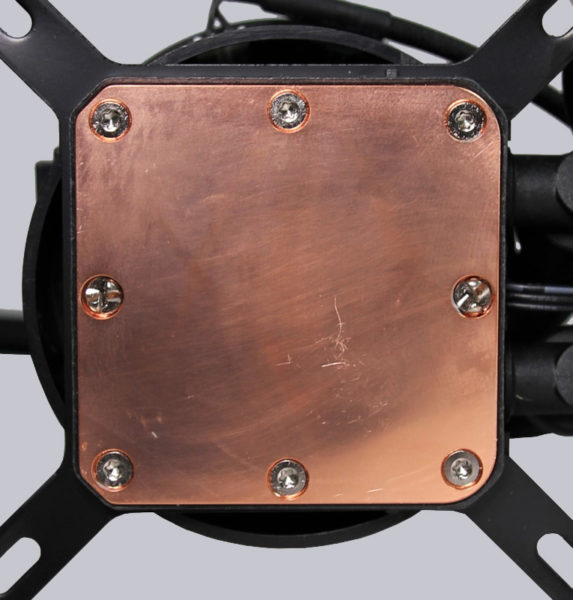
Since we are not the first to take a closer look at the test sample this time, the cooler base has already been assembled a few times, so we will refrain from an overly precise surface assessment to be fair. However, it has been ground smooth so far.
We still find one small detail on the radiator: a kind of filling nozzle, which should certainly be interesting for AIO modders.
We conclude our review with a picture of the mounted fans, which already makes us want to benchmark 🙂
Thermaltake Toughliquid 360 ARGB Installation …

