
Layout, design and features interior …
The plastic front panel can be easily pulled off with a hearty jerk from below. Behind it, the very pretty aRGB fans are revealed. It is also nice that they are white!
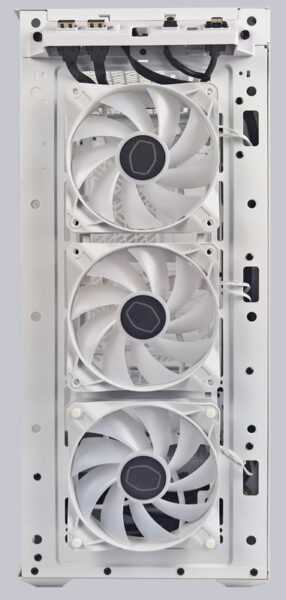
The front fans were attached using two different mounting methods: The bottom fan is attached with four plastic pins, …
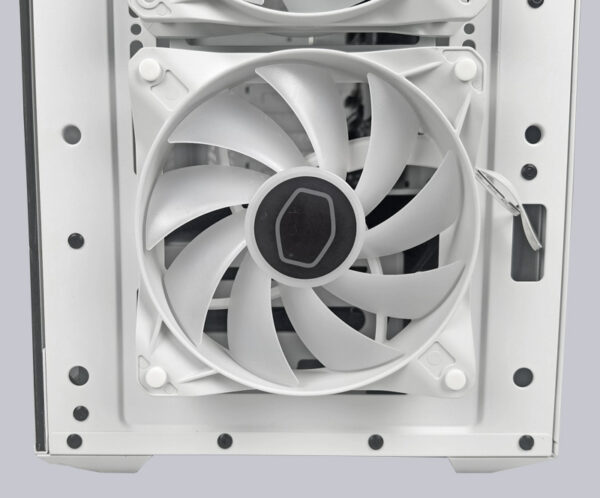
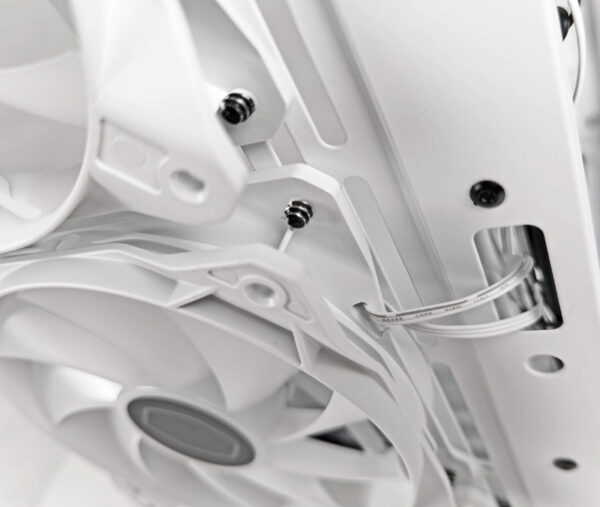
… the upper two fans were screwed on with the usual screws.
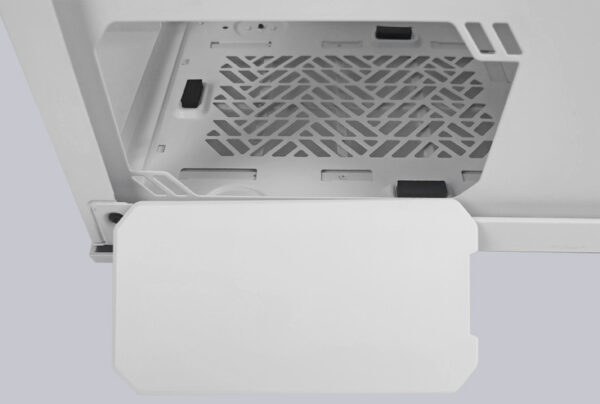
The interior also offers an Airduct tunnel for the power supply. If you use the Cooler Master XG 650 Plus power supply that we tested, you can remove the cover and see the display on the power supply.
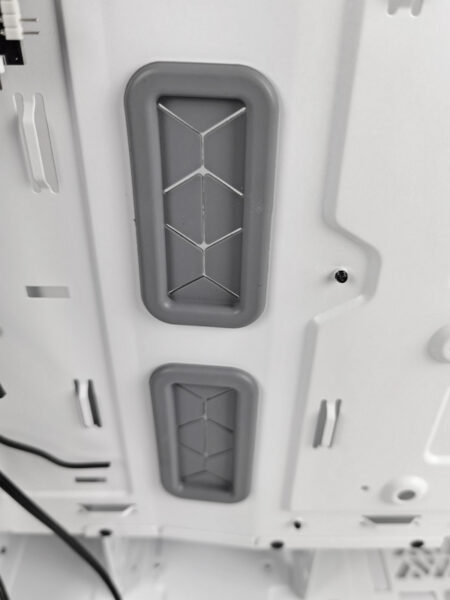
The cable grommets are each equipped with a rubber cable protector so that no cables can be damaged.
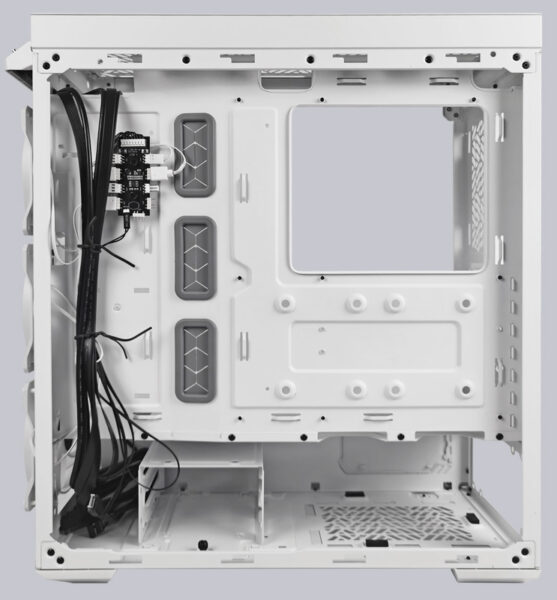
Behind the rear panel there is enough space for cable management. The RGB/fan controller and the HDD tray are also located here. On the right side, two SATA SSDs can be installed above the power supply slot.
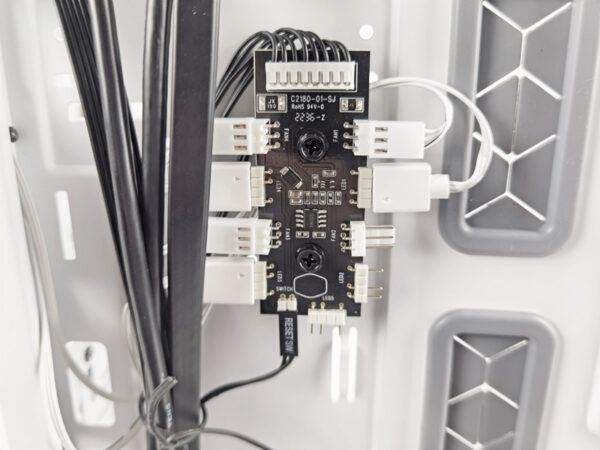
There is also an RGB/fan controller on the back. Here you can control up to 4 fans and up to 5 additional ARGB components. Of course, it would be even better if you could control all assignable fan slots – there are 7 of them.
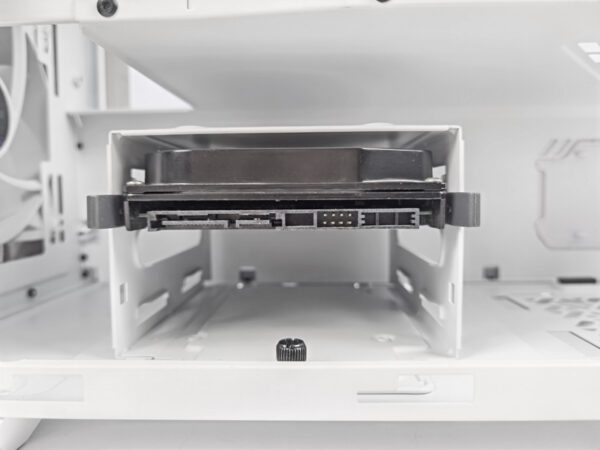
The drive tray holds a total of two 3.5″ HDDs as well as an SSD that can be mounted on the tray. The tray could also be moved one more point to the right, but even with a short PSU, the space is very limited in both positions. It would have been nicer if the tray could have been moved one more point to the left.
Cooler Master MasterBox TD500 Mesh V2 Practical testing …

