
Installation …
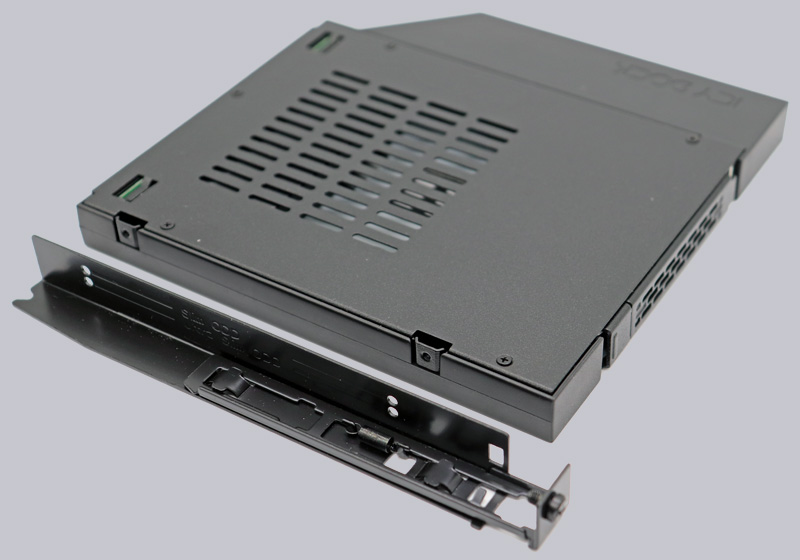
Installing the removable rack in the PC housing is very simple. You slide the Icy Dock MB604SPO-B Drive Bay into the case or, as in our case, into a test bench, screw it tight with up to four fine-thread screws, which are included in the scope of delivery, or lock it in place with the quick-release fasteners of the respective case and connect the 6 cables for data (4x) and power (2x). Depending on the air circulation in the enclosure and the choice of SSD, you can optionally increase or stop the fan and that’s it.
It is important to remember to attach this mounting rail to the Slimline ODD drive or to the MB411SPO-1B Slimline ODD to SSD frame shown here before inserting it into the MB604SPO-B, as it is almost impossible to remove the drive from the removable frame without this rail with eject mechanism. We initially overlooked this and promptly received the receipt, as the drive can hardly be pulled out. So it’s better to screw it on directly and save time afterwards 😉
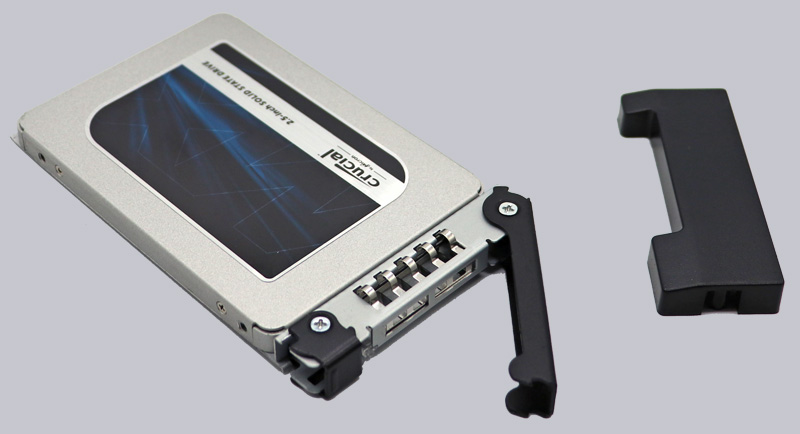
After removing the transport lock, the SSD or HDD is now mounted on the EZ Slide Tray using four screws.
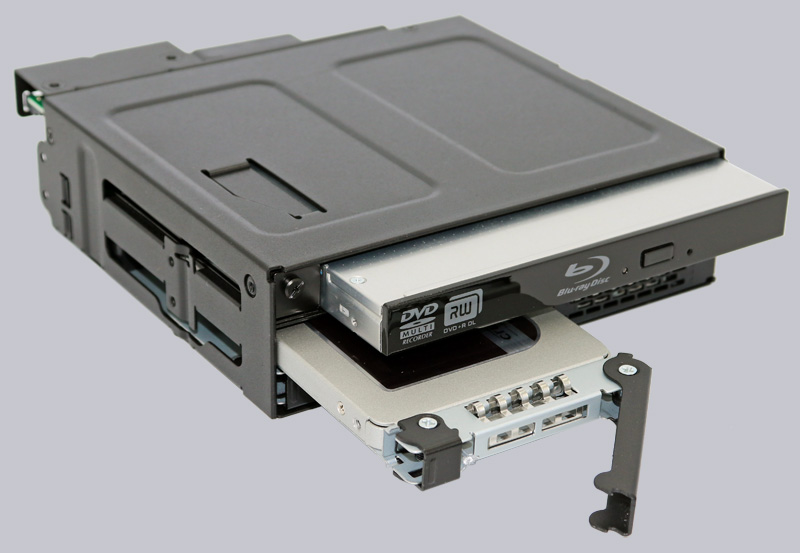
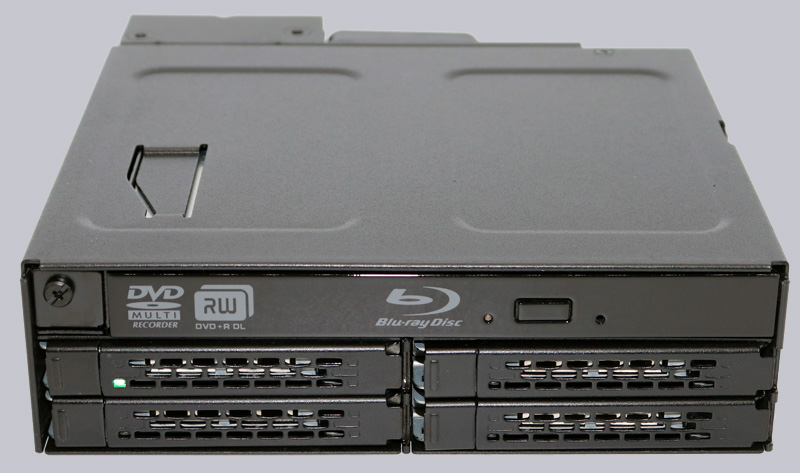
Now you can either slide the EZ Slide Tray together with the SATA SSD into one of the four slots of the Icy Dock MB604SPO-B or even create a fifth removable frame slot using the Icy Dock MB411SPO-1B. Here we have inserted a 12.7 mm high Blu-ray combo drive at the top (and initially forgot the eject rail) and installed the MX500 SATA SSDs from Crucial underneath in the slots of the removable frame.
This is what everything looks like when installed …
Overall, installation is easy and can be completed in just a few minutes.
And now we come to the practical testing …
Icy Dock MB411SPO-1B und Icy Dock MB604SPO-B Practical testing …