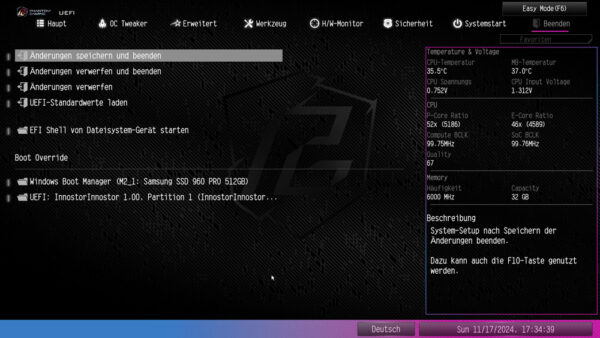
BIOS …
Now we come to the BIOS or UEFI setup options and the UEFI overclocking. You can access the UEFI setup by pressing the Del or F2 key after switching on the PC.
The ASRock Z890 Lightning WiFi UEFI BIOS has a graphical user interface that allows intuitive operation with the mouse or can still be operated conventionally with a keyboard. In the following we would like to refer to the test of the ASRock Z790 Riptide WiFi. In this test, all ASRock BIOS functions are described excellently, so that we only present the BIOS here and do not need to go into all the individual functions again.
As usual with the current ASRock Intel motherboards, there is the ASRock EZ Mode – Easy Mode – which offers a clear entry page with a lot of important information and yet does not appear overloaded. Basic information such as time, date, CPU temperature, motherboard temperature, CPU voltage, initial hardware details, fan speeds, hard disk configuration, RAID mode and fan settings can be accessed with a single click. In addition, the ASRock Z890 Lightning WiFi has a CPU temperature display as a diagram and a CPU cooler preset selection integrated on the ASRock EZ Mode input page in the UEFI.
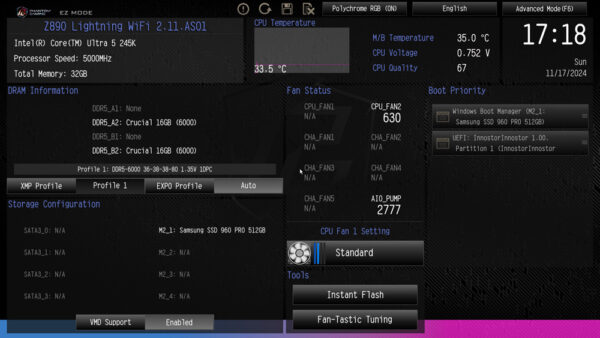
Of course, you can also change the language, in the following in German.
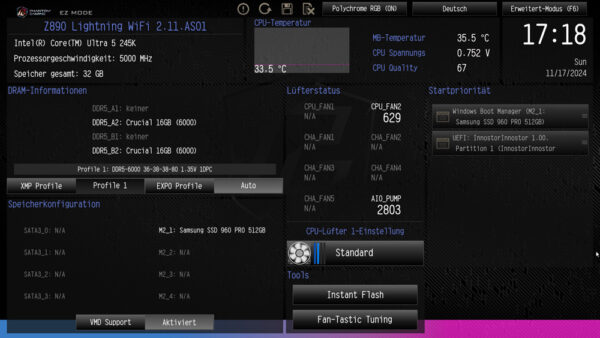
Before we start the actual test, we will of course update the BIOS first. This is very important nowadays, as even the BIOS is no longer safe from external attacks and BIOS updates are often used to close security gaps, even in the CPU. BIOS updates also ensure the necessary RAM compatibility.
Before the update, the Bitlocker warning message appears, which you should pay attention to! Otherwise, not only will the Windows installation be lost, but also the entire contents of the SSD!
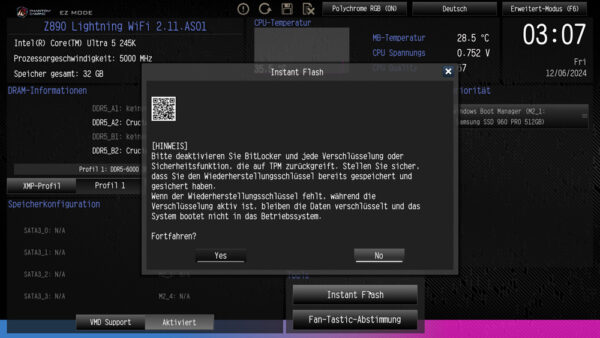
You can then select the USB stick and start the flash process.
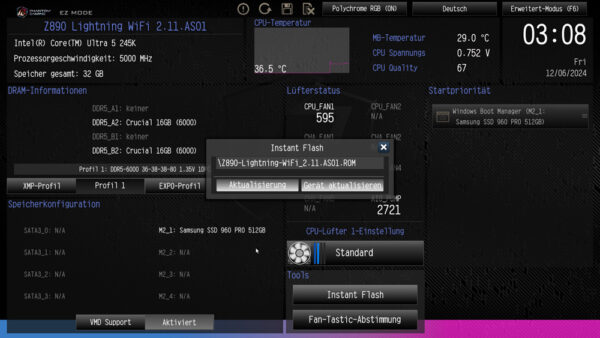
After a reboot, don’t forget to activate it again. As long as you don’t want to overclock any further, you don’t really need to set anything else in the BIOS these days.
But of course we want to overclock and there are all kinds of settings in the Advanced menu.
The F6 key or the top right button takes you to ASRock Advanced Mode, which you can also set as the default. This takes you to the main page, where only the hardware information can be found.
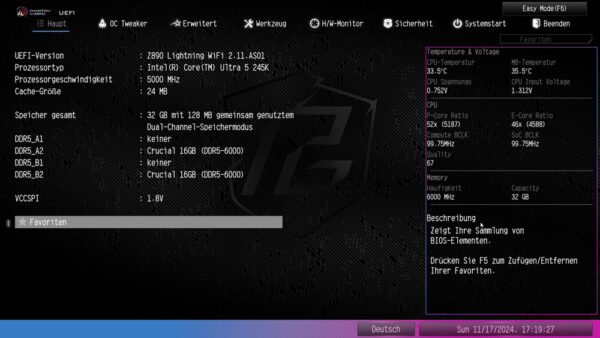
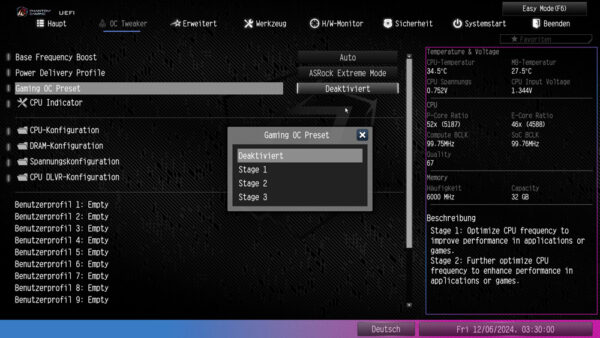
Under OC Tweaker we come to the overclocking options. Here you can set the Base Clock at the top. Under Power delivery you can either set the standard or base Intel profile or the ASRock Extreme profile, with the latter all power limits are open and the CPU allows itself as much amps as it needs.
Under Gaming OC Present you have the choice between 3 different presets, unfortunately the online manual is silent here and so you have to try it out.
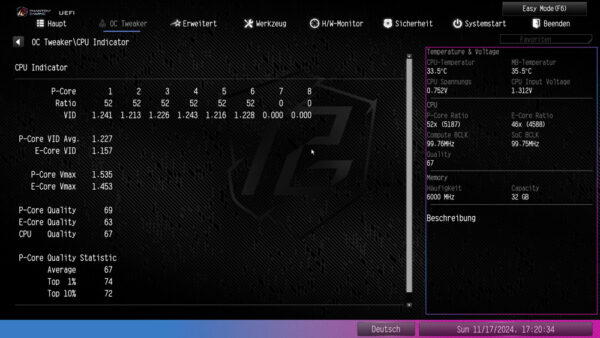
The CPU indicator item is purely informative.
This is followed by the CPU configurations, where the setting and overclocking options begin. Of course, you should know exactly what you are setting here.
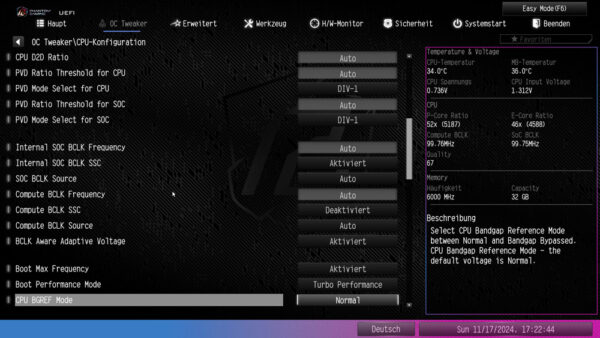
The DDR configurations are shown below. It is very interesting to note that even the AMD EXPO profile can be set.
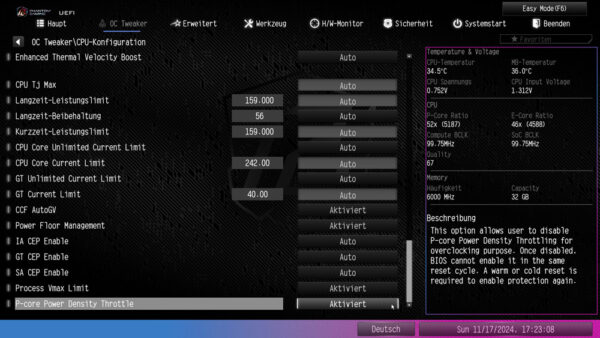
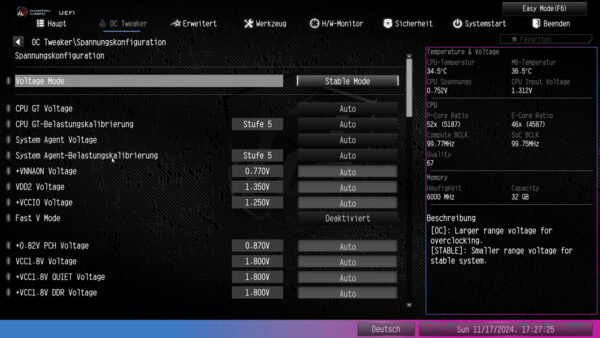
Then the voltage configuration.
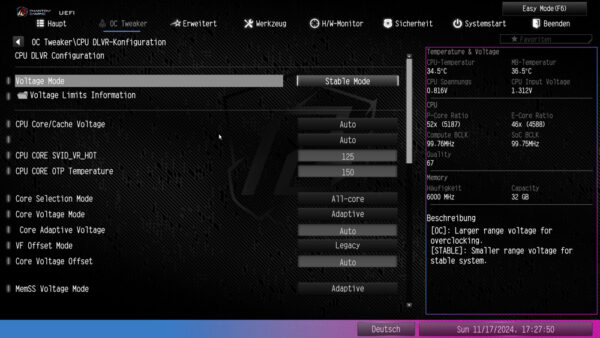
And the CPU DLVR configuration. DLVR is essentially a new power saving technology that was supposed to be introduced with the 13th gen Intel CPUs, but has now been introduced with the Core Ultra. This was developed in order to be able to control the voltages within the CPU more precisely and also to be able to supply individual components within the CPU with different voltages.
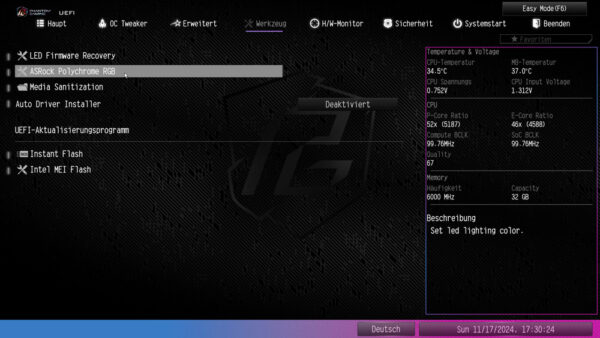
Let’s move on to the tools, here you can, for example, recover the LED firmware and also control the RGB lighting via the ASRock Polychrome RGB software. In addition, the BIOS flash function and the Intel Management Engine (Intel ME, the firmware of the CPU) can also be updated here.
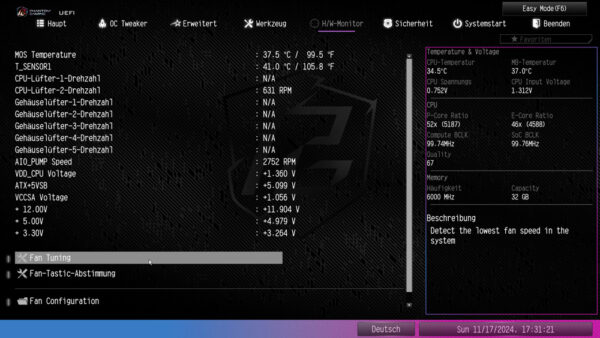
That leaves the hardware monitor, Here you can order the temperatures and fan speeds to be monitored.
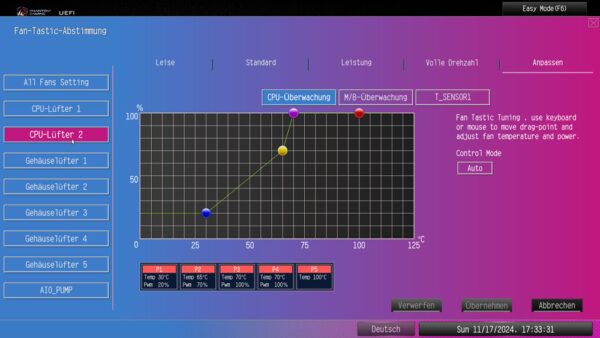
And with the Fan-Tastic tuning tool, you can create your own fan curves.
Now we reach the Security section, Here you can order the System and set the user password for the BIOS, set Secure Boot and, of course, activate Intel Trust Platform Technology. The latter is active by default and should remain active. Without Intel Trust Platform Technology activated, you cannot install Windows 11, for example, without further ado. You can also assign a password to installed SSDs and HDDs.
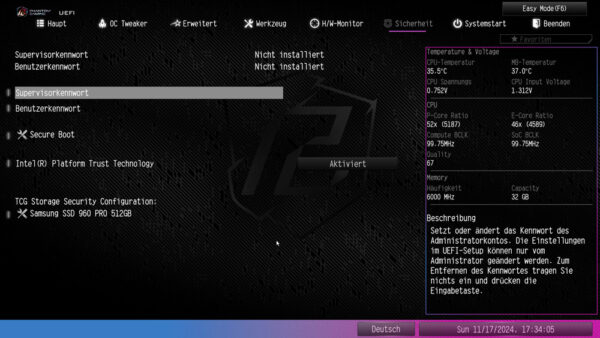
You can also assign a password to installed SSDs and HDDs.
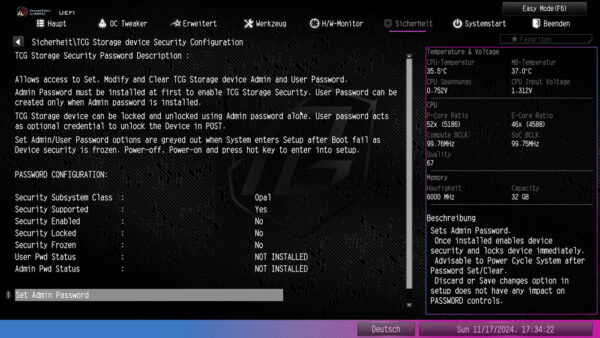
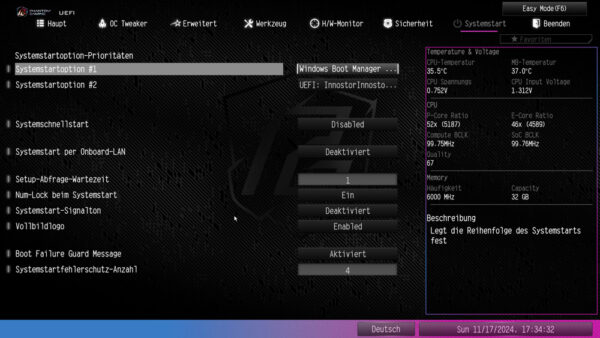
The system startup item is practically self-explanatory; various startup options can also be found here.
Now we come to the Arrow Lake CPU overclocking on the ASRock Phantom Gaming Z890 Lightning WiFi Intel LGA1851 motherboard.
ASRock Z890 Lightning WiFi Overclocking …


