
Installation …
In theory, Antecs mounting system is very simple: in the case of Intel sockets, the internal thread screws are attached to the backplate using plastic clips and a rubber spacer is used.
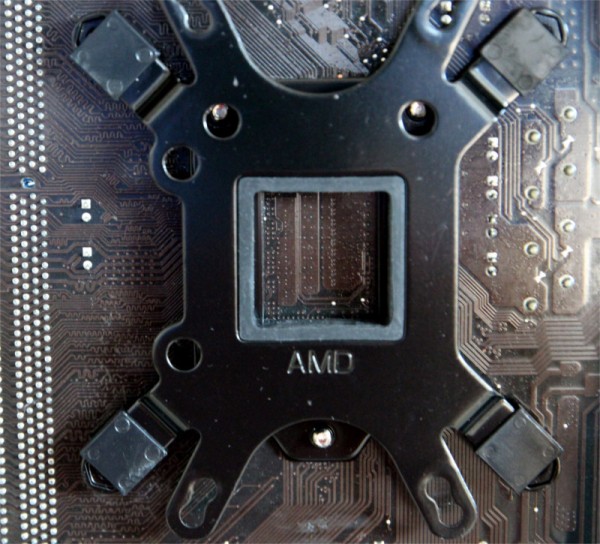
On the front, the mounting plate is slipped over the pump and attached to the backplate with spring-loaded screws.
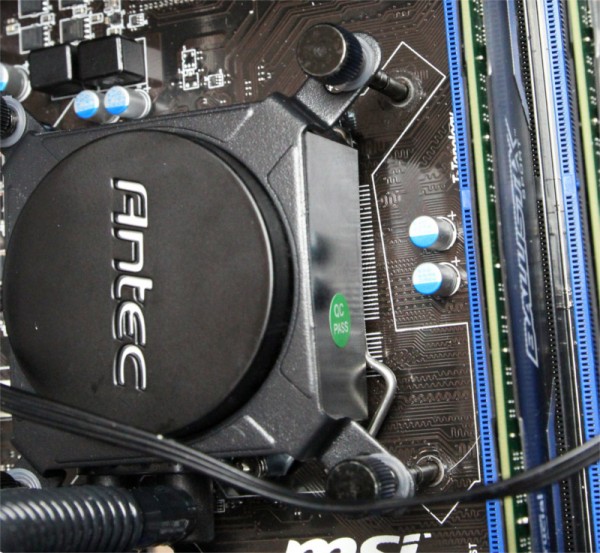
In practice, unfortunately, there were some difficulties: First, the manual was translated into English and probably badly from an Asian language. Then the rubber insert did not hold on the backplate, so we recommend to carry out the assembly with a removed mainboard on a flat support.
Then at the “wedding” there were two problems: The mounting frame is not firmly connected to the pump, so that it slides slightly. In addition, the screws are designed exclusively for manual mounting, but since a high spring tension has to be achieved, we have taken a pair of pliers to help.
The mounting of the radiator, on the other hand, is not a problem, the straight edges also make it easier to estimate how much space is left for cables.
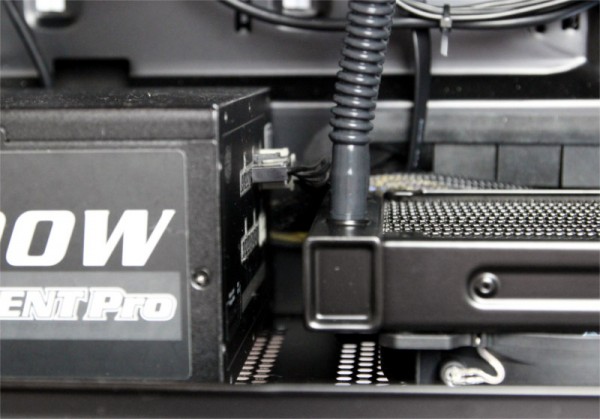
The Antec logo on the radiator looks very discreet.
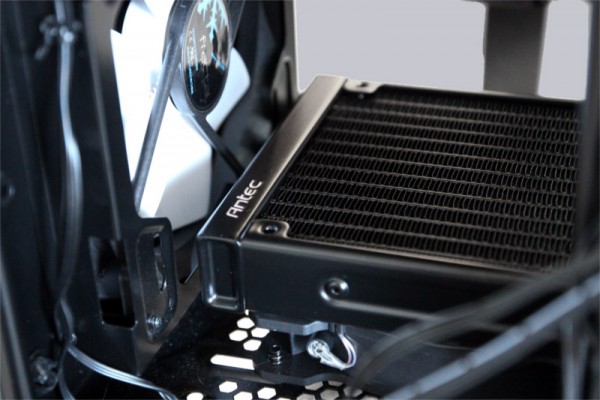
If everything is in place, the Antec radiator H1200 Pro makes a good impression, only the power cable of the pump could have looked more subtly on the side of the hoses.
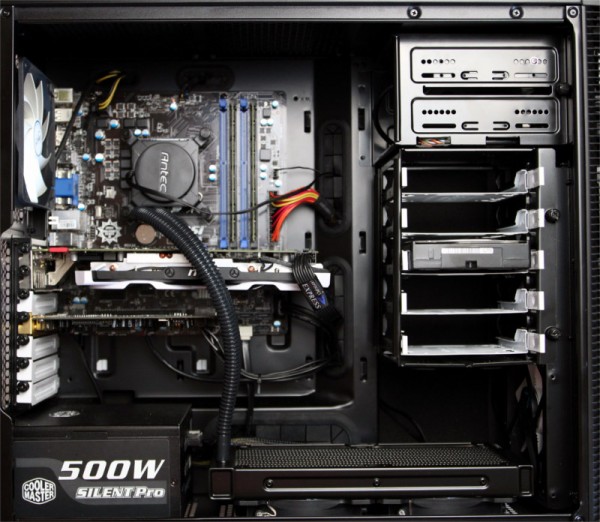
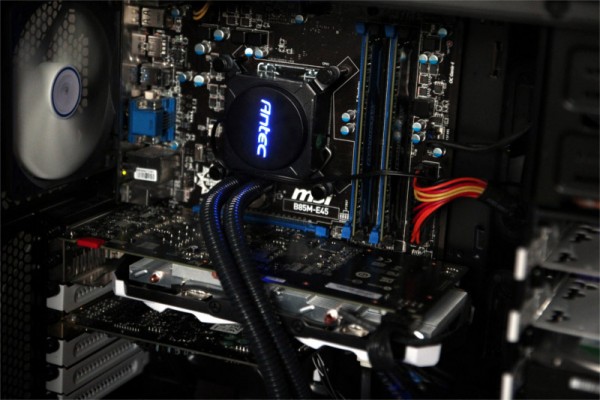
As described above, the logo on the pump lights up blue during operation. Unfortunately this is not optional – but it is rather discreet by the luminosity.
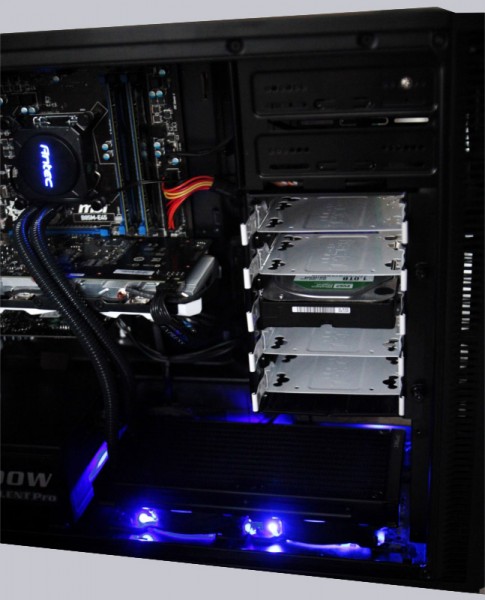
The fan LEDs radiate very far to the side.
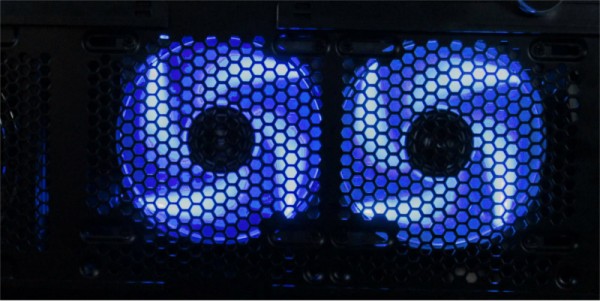
From the outside the lighting effect of the fans is comparable to most other blue LED fans.
Antec H2O H1200 Pro test setup and results …

