
Layout, design and features …
The following 360° all-round view shows the Freezer 50 with all details.

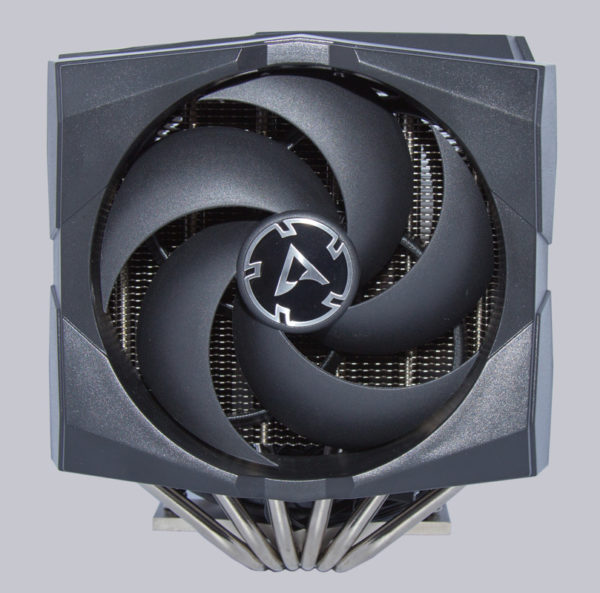
From the front, you can see the pre-mounted 120mm fan from the company’s P-series. The fan frame including the mounting is a special construction, so you cannot replace the fan with a standard fan. However, our many years of experience with Arctic fans let us say with a clear conscience that a fan defect is very unlikely even after several years and many hours of operation. Furthermore, Arctic gives a proud 6-year warranty.
At the back, the cooler is also not uncovered, but equipped with another frame, which is supposed to optimize the airflow out of the cooler. Except for a small difference in thickness, the dimensions are almost identical to those of the fan frame. Unfortunately, both frames protrude quite far downwards, which means that the Freezer 50 is not compatible with all RAM modules. In the middle, the RAM must not be higher than 37.5mm. We will reveal how to improve RAM compatibility later in the Cooler Installation chapter.
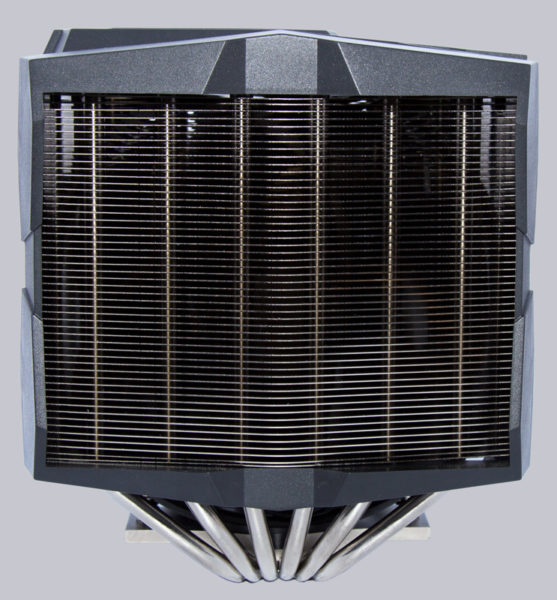
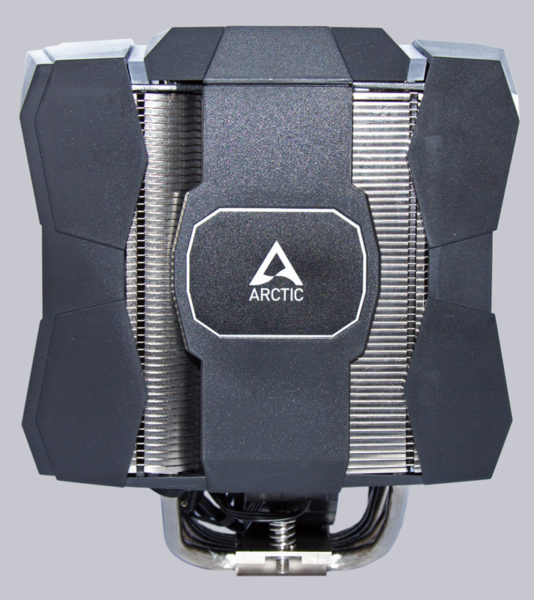
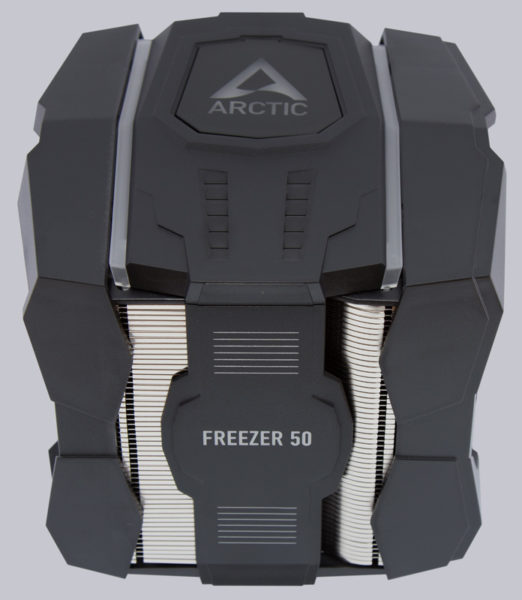
The Arctic logo is emblazoned on one side. The presumably chromated aluminum cooling fins are bent sideways so that the cooling air flows through the entire cooler. A simple but efficient way to optimize cooling performance.
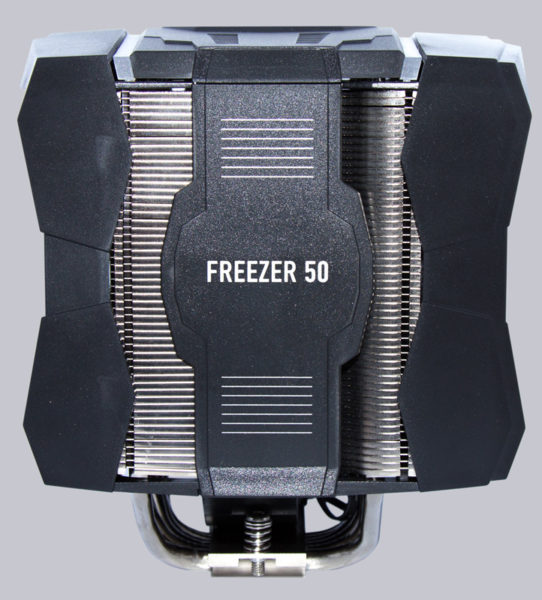
The name of the cooler is printed opposite. Neither the logo on the side nor the name are illuminated.
The top of the Freezer 50 is completely covered with plastic. The two transparent strips between the center and side covers as well as the Arctic logo are illuminated by a total of 13 addressable LEDs if desired. We show a video of the lighting effects at the end of the test in the Practical testing Optics.
On the underside, we see the closely spaced 6mm heatpipes, which were finely milled over together. For corrosion protection, the heatpipes were nickel-plated. So you could even put the cooler on the CPU with liquid metal under special precautions. However, for general applications, we strongly recommend using normal thermal paste. One drop of liquid metal, in the wrong place, could cause a short circuit and damage the PC.
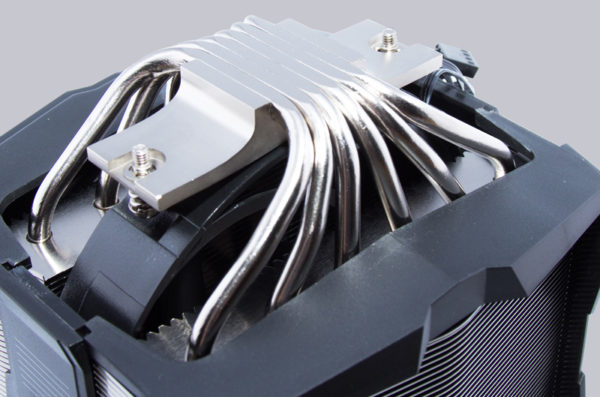
If you bend the side covers slightly outwards at the bottom, you can pull out the middle fan upwards. This is necessary for the later assembly of the cooler to be able to tighten the two clamping screws in the middle.
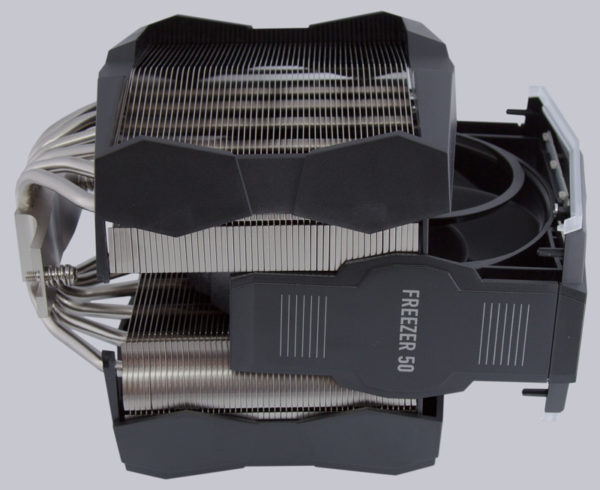
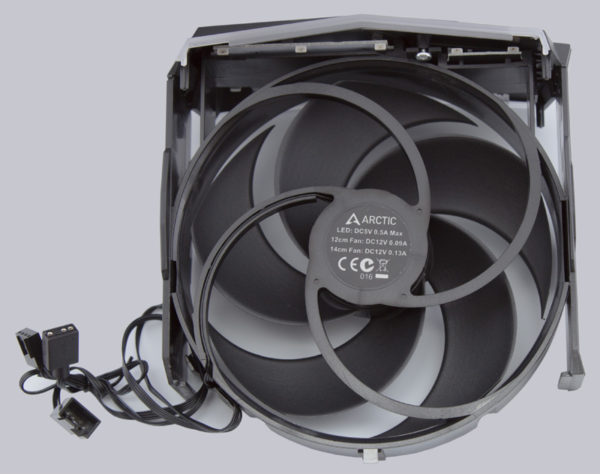
All of the Freezer 50’s electrical connectors are attached to the inner fan unit. The LEDs are also located on it. However, a sleeve would have looked good on the cables. At least the connection cable of the Freezer 34 eSports, which we recently tested, is also sleeved.
The remaining plastic parts are also only clipped to the cooler and can be easily removed. The two towers have different widths, as a fan is only mounted on the outside of one. This is what the naked cooler looks like in detail.
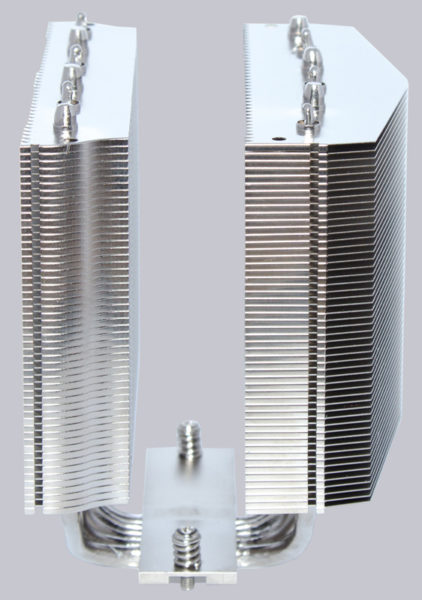
Despite a lot of plastic on the Freezer 50, it does not look cheap at all. All parts sit neatly on the cooler and there are no sharp edges anywhere that you could injure yourself on. Only the fact that the fans do not have a standard shape spoils the otherwise impeccable design a bit.
Arctic Freezer 50 Installation …

