
Layout, design and features …
The assembly is quite simple. First you take the base …
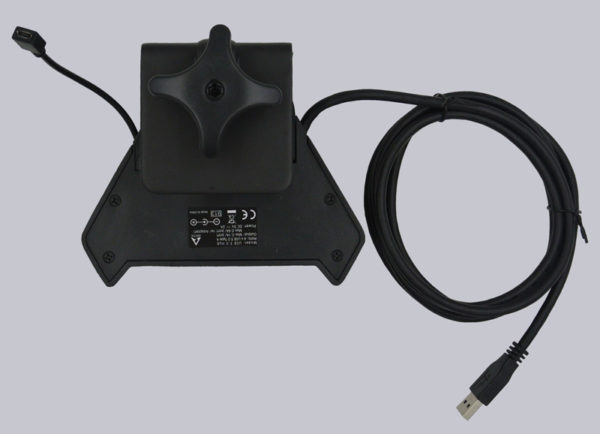
These are turned into the existing screw thread and the holder for the monitor arms is put on the rod. This is secured with an Allen screw. The basic height of the monitors can be adjusted accordingly.
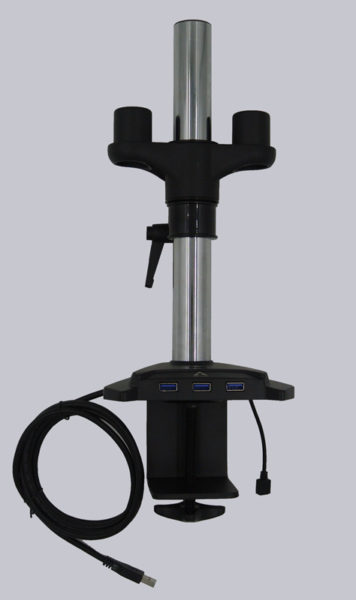
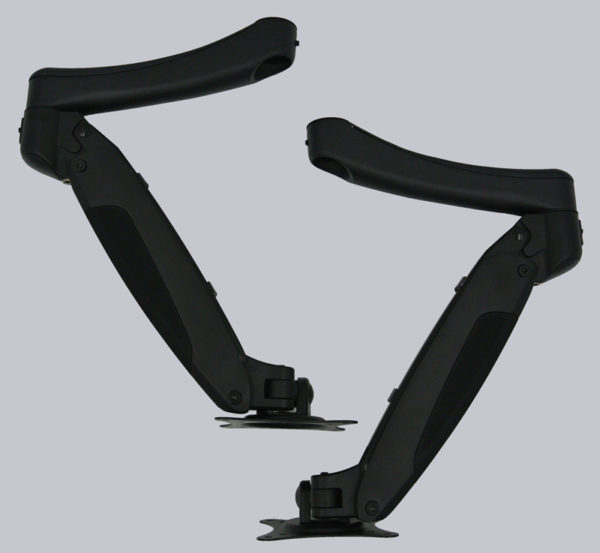
In the end, all that is missing is the mounting and screwing of the monitor arms. By the way, these are not equipped with classic springs or cable pulls, but with Arctics gas lift technology. This should ensure the advertised mobility.
When assembled, the Z2-3D Gen3 should look something like this.
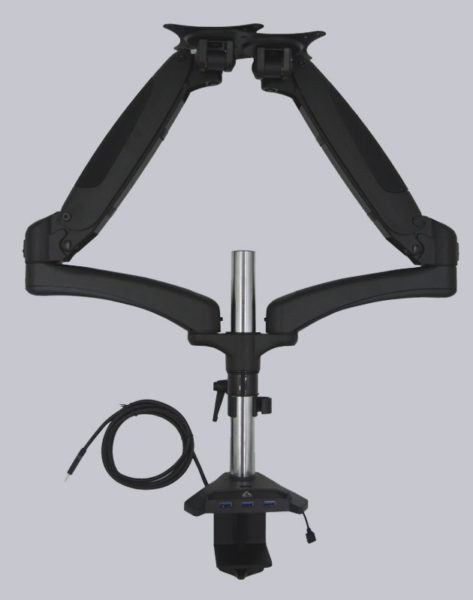
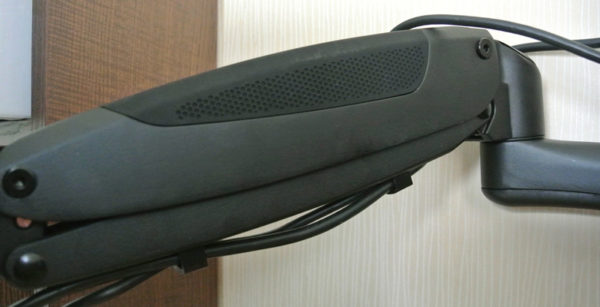
Before we connect the Z2-3D to the desk and the monitors, let’s take a look at the design. The Z2-3D comes in plain matt black. Arctic has decided on a rubberized surface on the upper side of the monitor arms, which looks very valuable and prevents the monitor from slipping off. The optics are convincing and stand out from other monitor holders in a cyborg look. In our eyes, only the polished holding pole looks a bit out of place. In matt-black or even matt-silver it would have fitted better to the overall picture. But in the end it’s a high level of whining, because you can’t see the pole anyway.
Now we come to the final assembly. The stand is held to the table from behind and then screwed from below. The deep version of the holder is especially helpful if you have a thick table top. It is also important to mention that the desk can be placed almost flush against a wall despite the bracket. The distance, which results, is only approx. 2mm large.
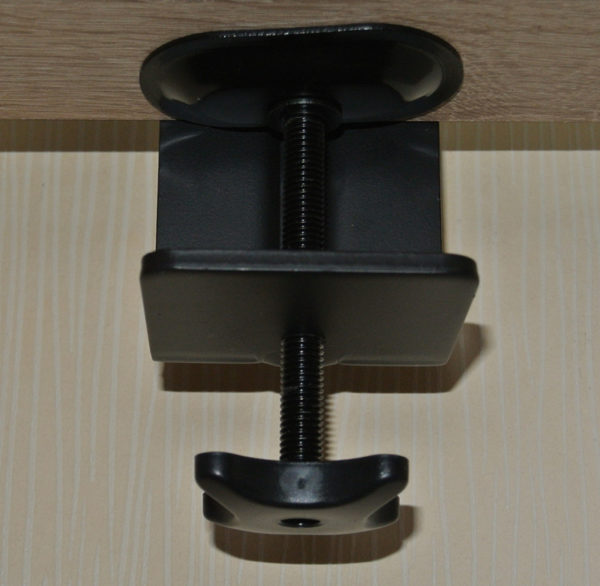
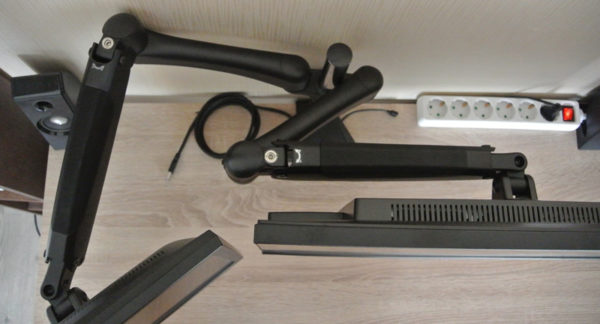
From the top, the whole thing looks like this.
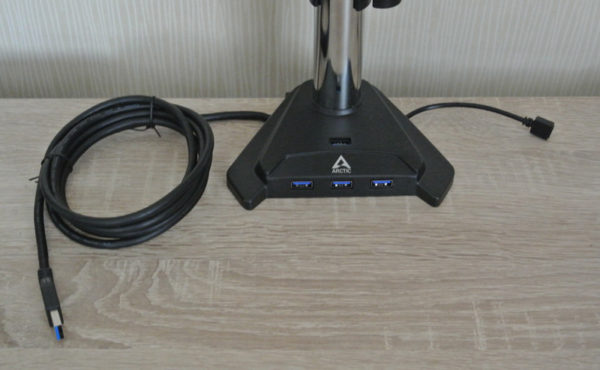
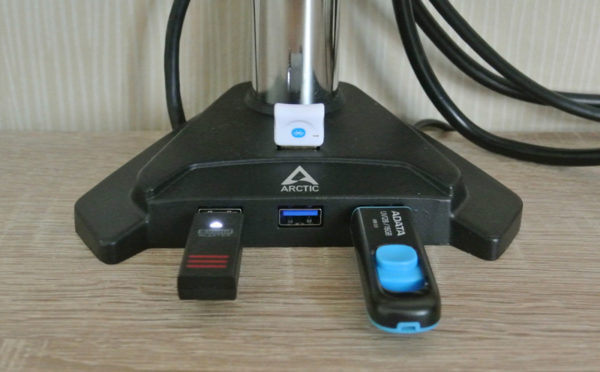
From this perspective you can also see what makes the Z2-3D Gen3 different from other monitor arms and that is the built-in USB 3.2 hub. The connection cable has a length of 2m and should find its way to the computer without any problems. A little bit unattractive, but to get over it is the fact that the USB cable is firmly connected to the socket. A cable break therefore requires a new purchase, unless you can order a spare part from Arctic. By the way, the short second cable serves to turn the passive USB hub into an active one. But you would have to buy a power supply yourself. Here a commercially available Micro-USB power supply, for example from a smartphone, is sufficient.
To mount the monitors you need a Phillips screwdriver and a grab in the included screw box. After less than 2 minutes, the first monitor is already securely attached to the mount.
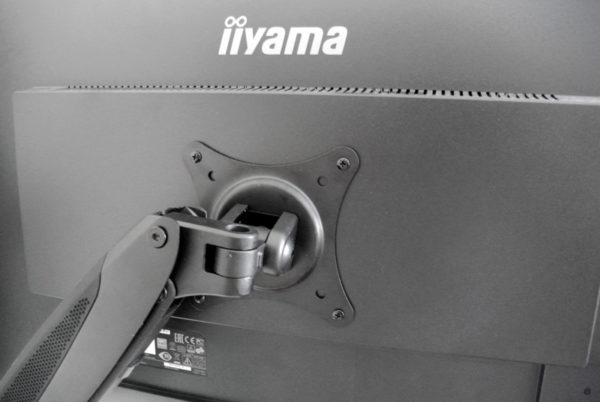
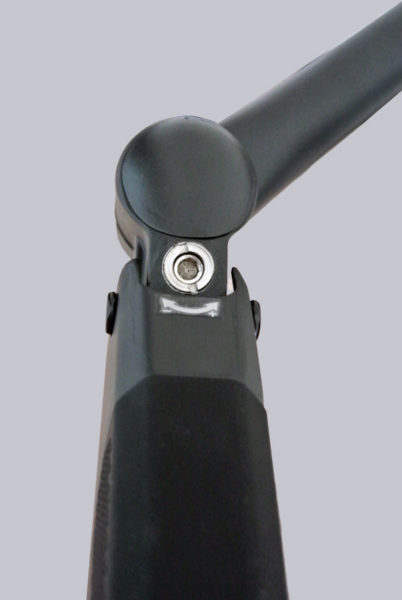
Since the monitor was always moving towards the room ceiling after installation, we had to adjust the gas spring to the weight of the monitor. This could be easily done with the supplied Allen key and a few turns of the adjusting wheel.
4 screws later the second monitor hung. We decided for a 19″ 4:3 monitor to test if the Z2-3D Gen3 can handle different weights and sizes.
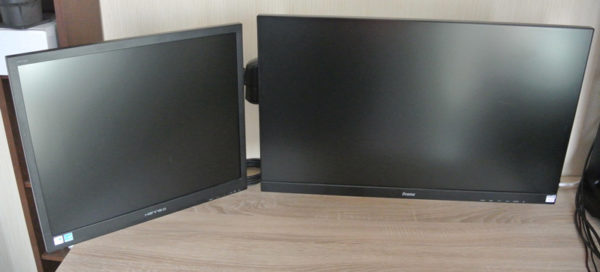
To say the truth, this does not present the monitor arm with any problems. Thanks to the gas lift technology, the monitors can be aligned as desired without restrictions.
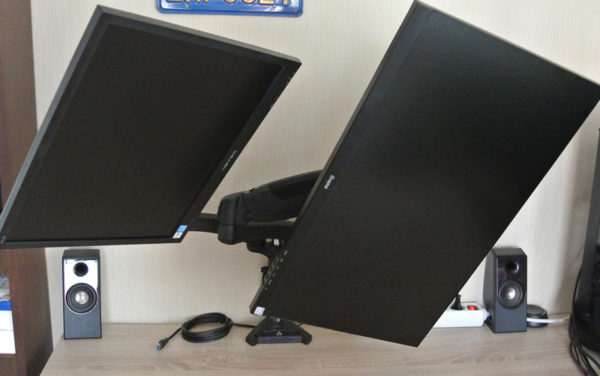
But there is one thing to keep in mind. The desk top should be relatively deep to have a comfortable distance to the monitors if the desk is on the wall. In our case, we had to be a little creative to get a good viewing distance.
In the end, of course, we found the optimal setting for ourselves.
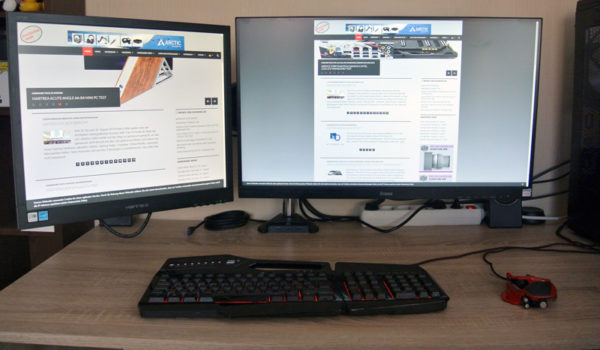
A further, however not obvious, great feature is the cable management. On the underside of the monitor there are 2 clamps that can be pulled down and attached to the cables.
The last thing we tested was the USB Hub. It worked perfectly under Windows 10 1903 without driver installation. However, if you use it to run several external hard disks or SSDs, we recommend connecting a power supply, since a USB 3.0 port on the computer can deliver a maximum of 4.5 watts. For USB sticks, Bluetooth dongle and other low-energy USB devices, passive operation should be sufficient.
Now it is time for a conclusion and the overall impression of the Z2-3D Gen3 …


