
Layout, design and features …
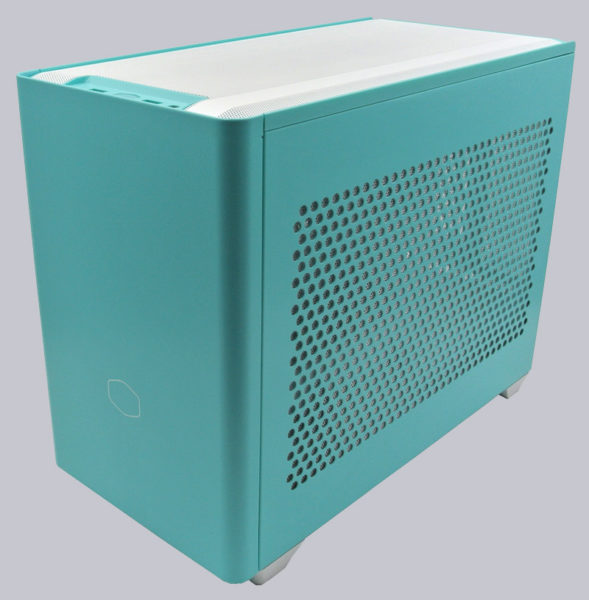
Let’s now take a look at the NR200P in all its glory, because you really can’t speak of size here. With a volume of less than 19 liters and a length of less than 38 cm, the case really looks tiny.
Despite the powerful color, the NR200P appears very plain and unobtrusive at first glance. The Cooler Master manufacturer logo blends in quite discreetly in the lower area of the front. On the other hand, the white mesh with trim at the top is eye-catching and acts as a good contrast. The two side panels have a perforated mesh look and provide good ventilation.
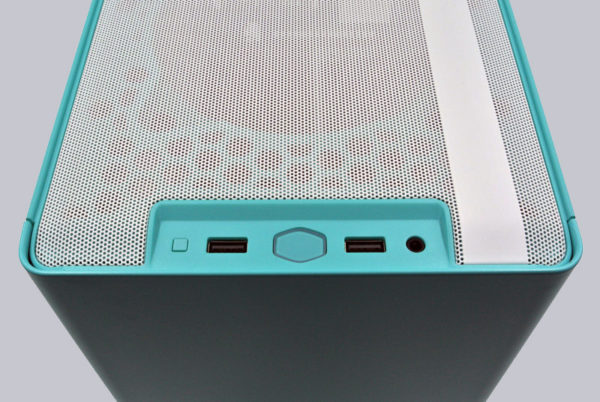
We can’t go that far in terms of the connection. Only the most necessary things are found here. 2x USB 3.2 Gen 1 Type A, 1x 3.5mm headset port, as well as a power and reset button. A USB Type-C port would have been nice.
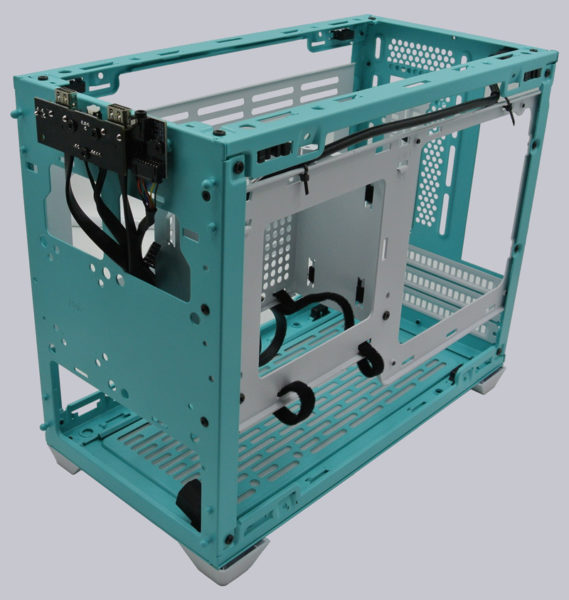
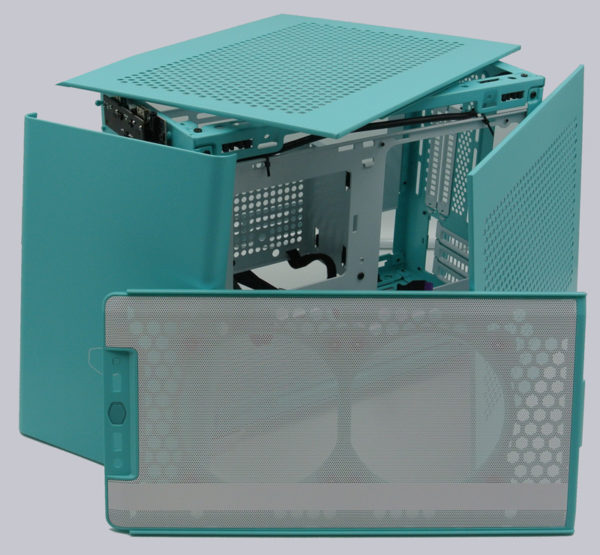
Three steps later, completely without tools, we removed all side panels, the front and the top from the case. We immediately noticed the quality and stability of the NR200P. Apart from the few mesh and plastic elements, everything is powder-coated.
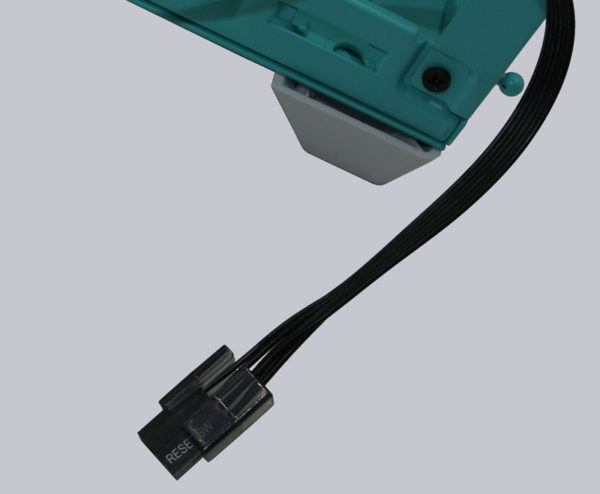
A small, albeit cool gimmick is the small plastic ring that holds the connection cables together perfectly. This way, you don’t have to connect each cable individually to the motherboard.
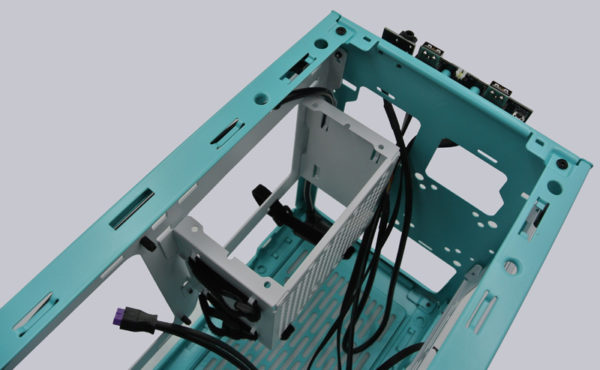
Here we see the cage for the SFX power supply, which is installed by default. Alternatively, you can also install an ATX power supply. However, this requires the optionally available ATX PSU Bracket *Ad.
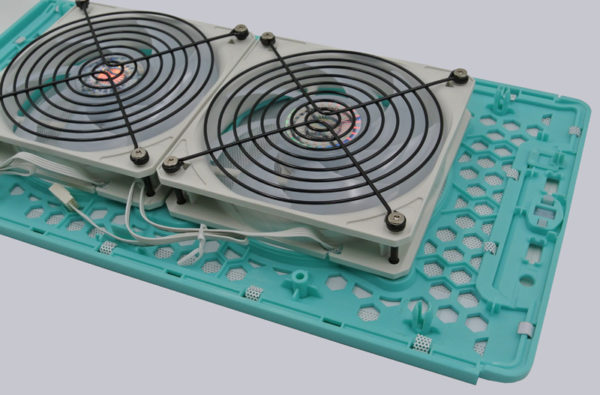
By the way, the included fans can also be easily mounted in the upper part without tools. The included rubber decouplers take the screws well and fit perfectly into the provided openings.
Shortly before the end, you can once again see the case in deconstructed form.
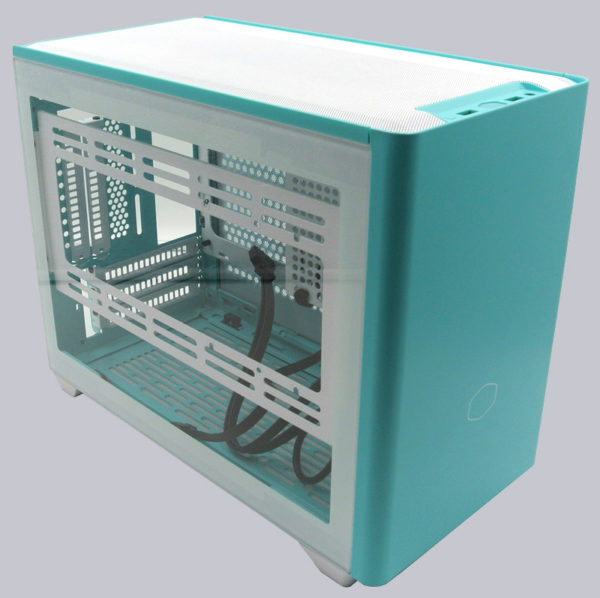
Before we now fill the case with life, we mount the tempered glass side panel.
Let’s move on to the installation of the hardware and thus to the Cooler Master NR200P Caribbean Blue Practical testing …

