
Practical testing …
LIMITED SIZE, UNLIMITED OPTIONS is the advertising slogan on Cooler Master’s website.
No sooner said than done, we start with the installation of a 2.5-inch SSD. This can also be installed without any tools after the screws on the bottom of the SSD are fastened with the help of a screwdriver. As you can see, a second SSD can also be installed without any problems.
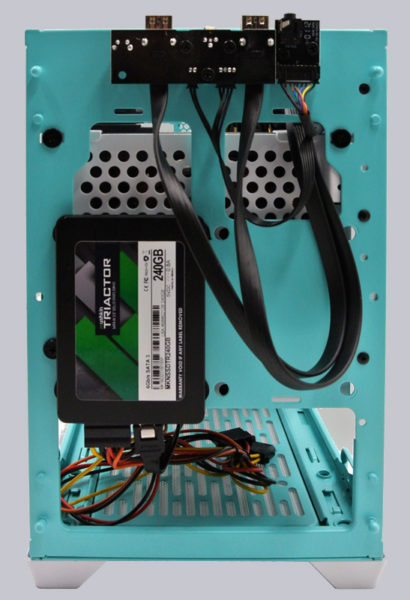
After we mounted and connected the SSDs, we show a view from the side here. As you can easily see, we had to move the PSU to the front. Since we didn’t have an SFX PSU on hand, we opted for the optional ATX bracket. By the way, the included fans fit over the motherboard without any problems, a radiator could be installed here passively at most.
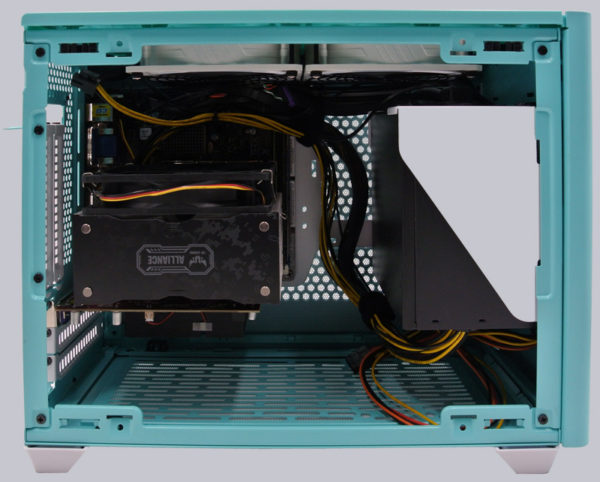
The case offers plenty of space for graphics cards, even if an ATX power supply is installed, as you can see here. However, if you only have a small graphics card, like in our case, the bottom offers enough space for a 3.5 inch HDD, a radiator or for example two 12cm fans.
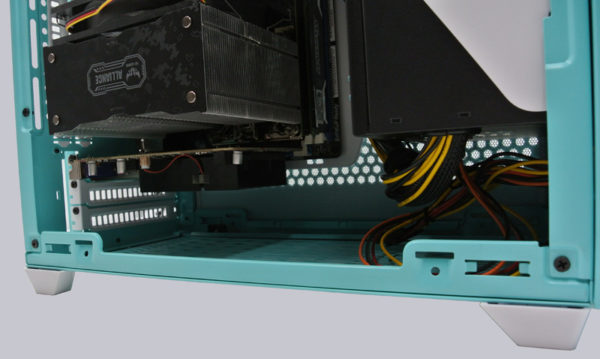
Incidentally, the stated 153mm (with glass side panel) that a CPU cooler may be tall is not a lie. As you can see, even our Scythe Kotetsu Mark II with a specified height of 154mm fits …
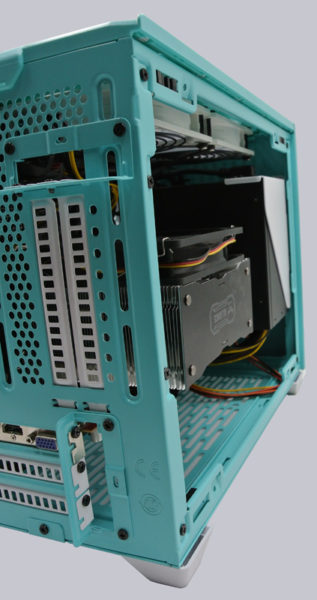
… perfectly into the NR200P. The distance between the pane and the cooler is still a good millimeter when closed.
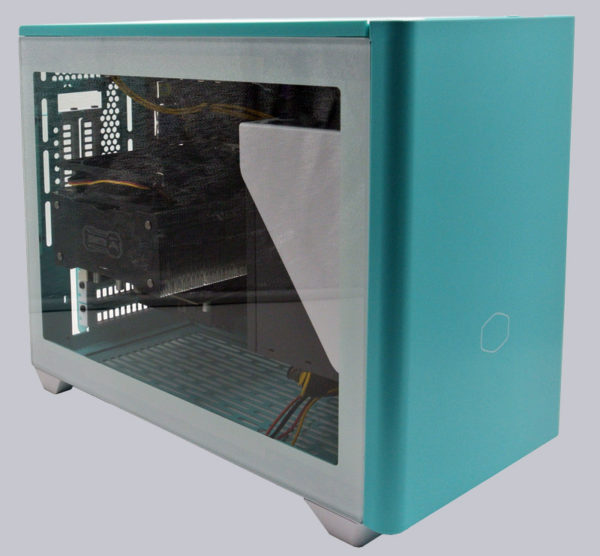
Cooler Master supplies a PCIe riser cable. This allows you to install the graphics card vertically. However, one disadvantage is that the CPU cooler may not be as high by far.
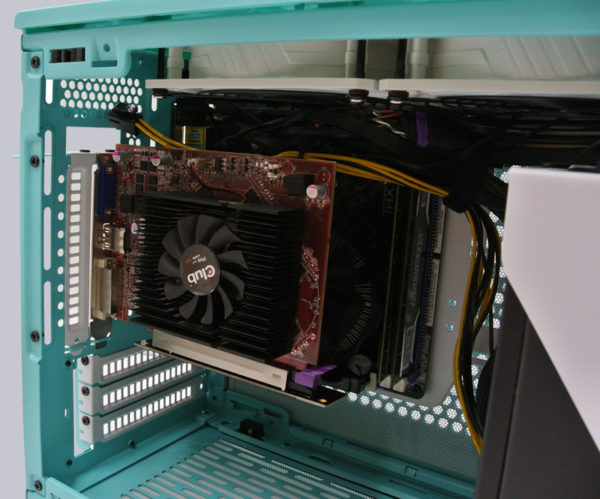
However, this offers the possibility to comfortably install a 240 mm radiator with corresponding fans in the lower area. This installation position is therefore ideal if you want to install an AIO water cooling system.
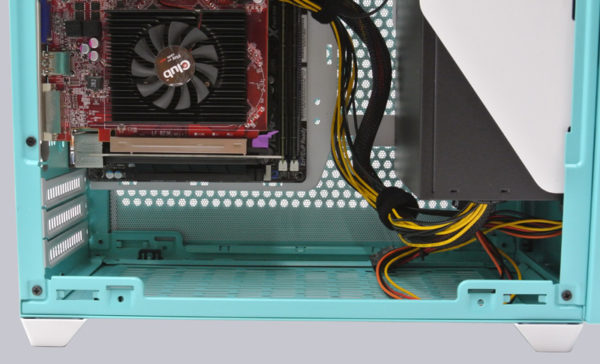
Finally, we would of course not like to withhold the view with side window.
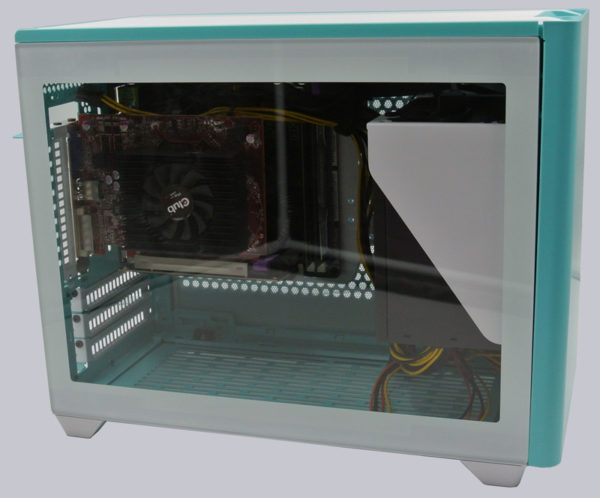
Now we come to the Cooler Master NR200P Caribbean Blue Result and general impression …

