
Layout, design and features interior…
Let us first remove the side panel and take a look inside the case. Here, the structured build inside is clearly visible. The upper part houses the mainboard including the cut-out for easier CPU cooler mounting.
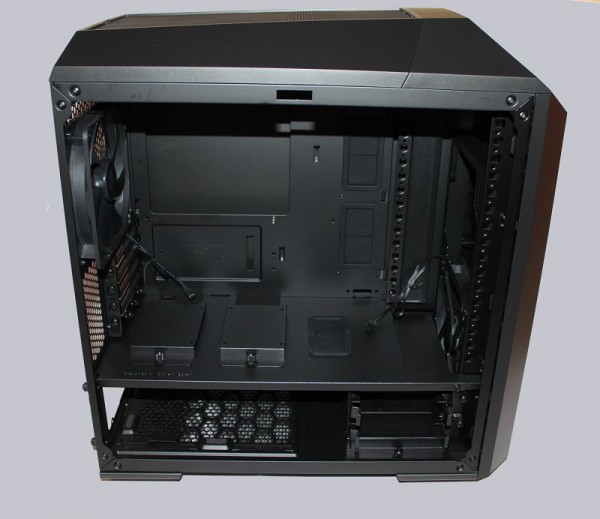
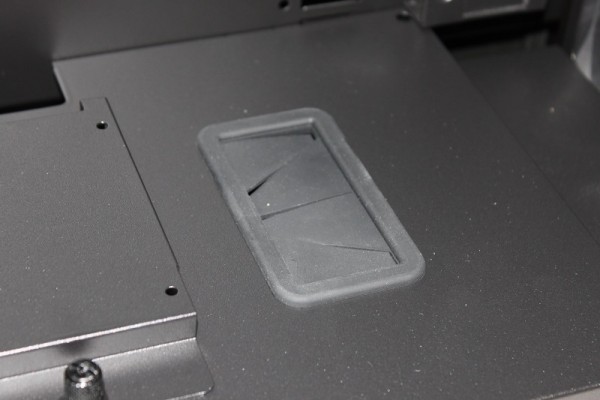
Various rubber protection bushings enable easy and clean cable laying.
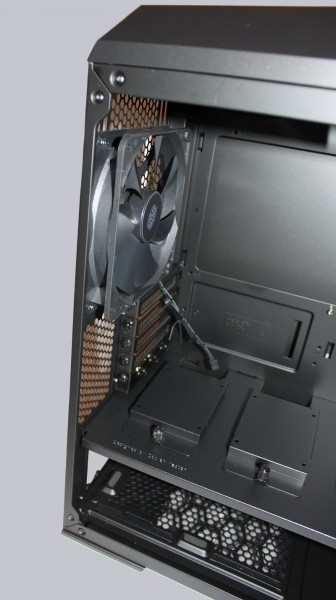
On the middle floor plate are two brackets on which SSDs can be mounted.
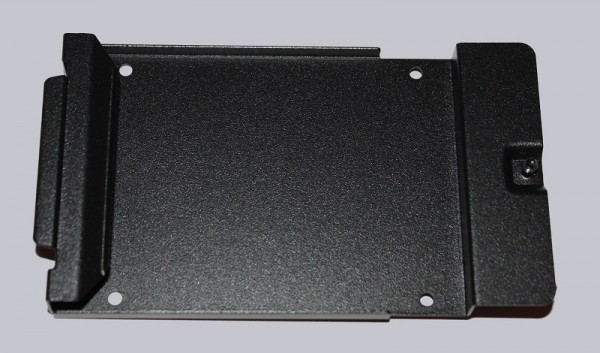
After disassembly, SSDs can be easily mounted on the frame.
The lower part of the case holds the power supply …
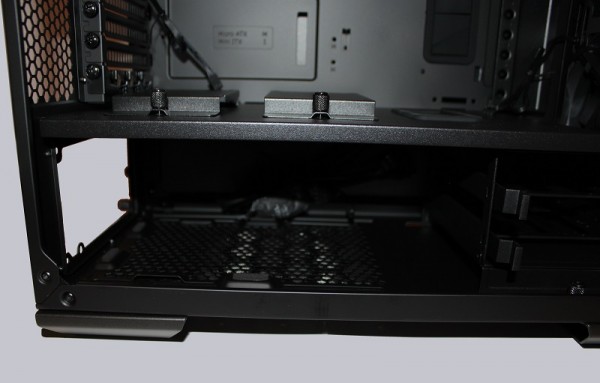
… and mounting points for additional HDD’s in the front part.
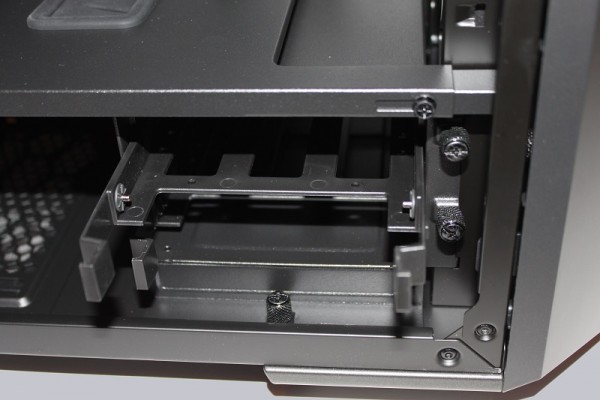
There can be mounted hard disk drives within small mounting rails.
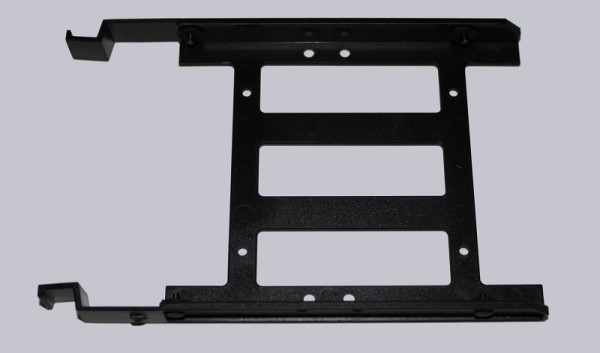
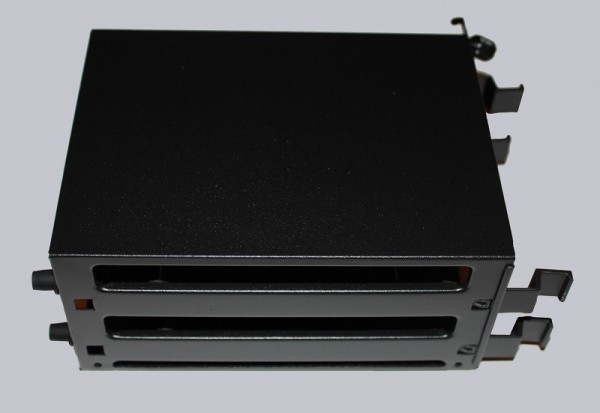
If you need more space, you can remove the entire frame and thus have more space for a radiator or a water pump.
At the front panel there are holding clamps. After opening you can remove the front …
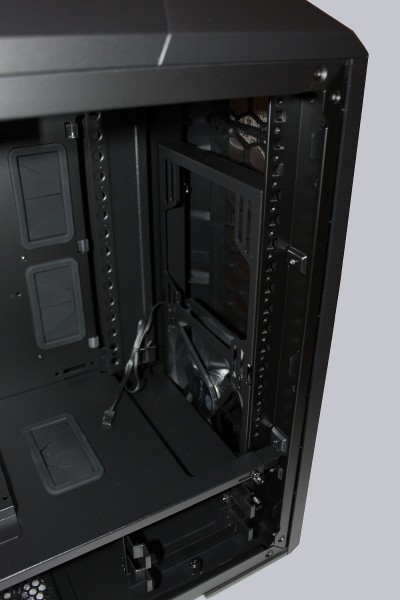
… and reach the fans for easier cleaning.
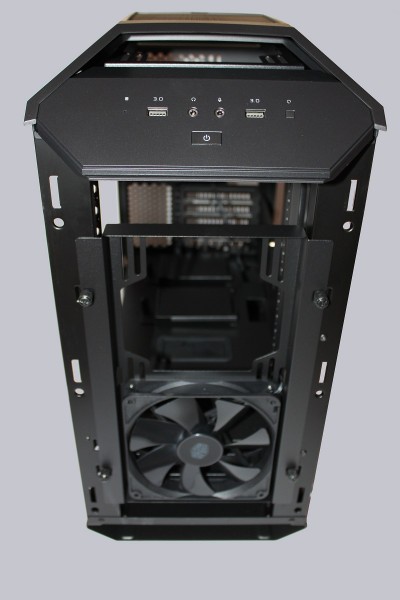
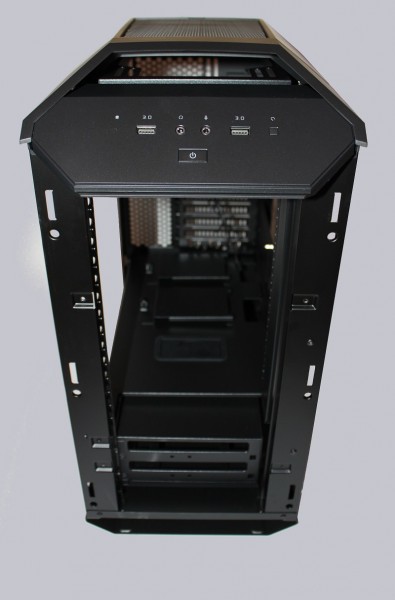
This gives you even more space for slightly thicker radiators with mounted fans.
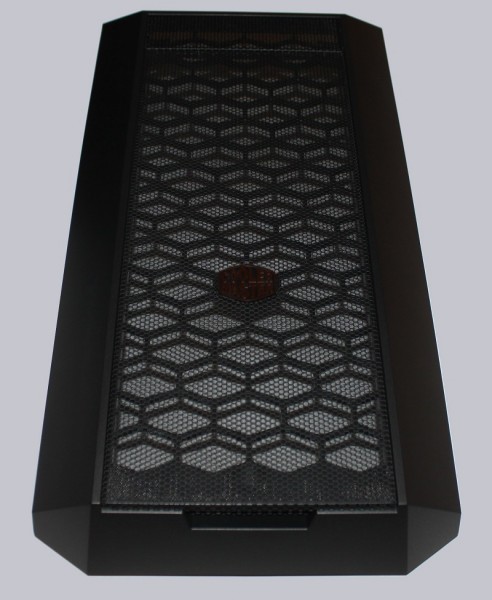
By the way, you can also clean the front panel.
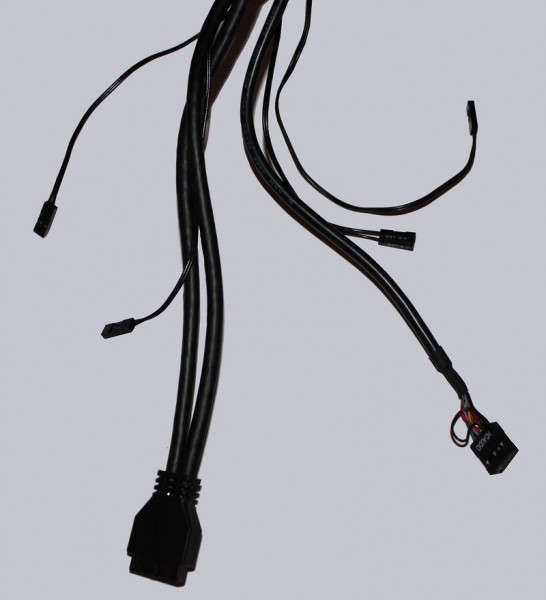
Coolermaster has of course also thought of all the important connections, which can be connected to the necessary pins on the motherboard.
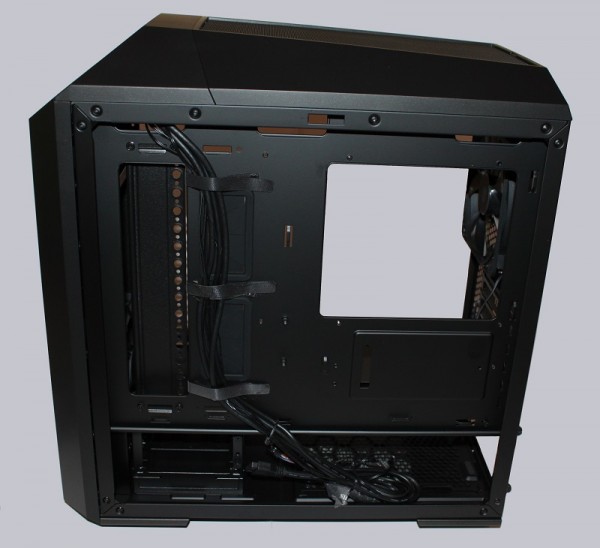
Also, a look at the rear of the housing shows that there is enough space here to clean lay the cables. The large mainboard cutout also offers enough space to easily mount large backplates.
We now have reached the end of our review. In the last part we would like to draw our conclusion about the Cooler Master MasterCase Pro 3.
Cooler Master MasterCase Pro 3 Result and general impression …

