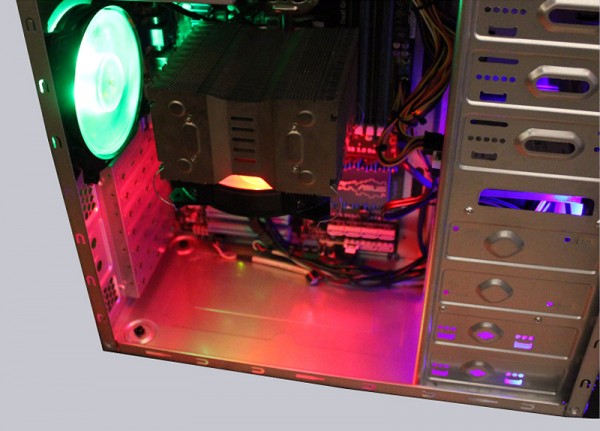
Practice test …
First, we tested the fan lighting without an RGB controller, only with the help of the small switch on the fan.
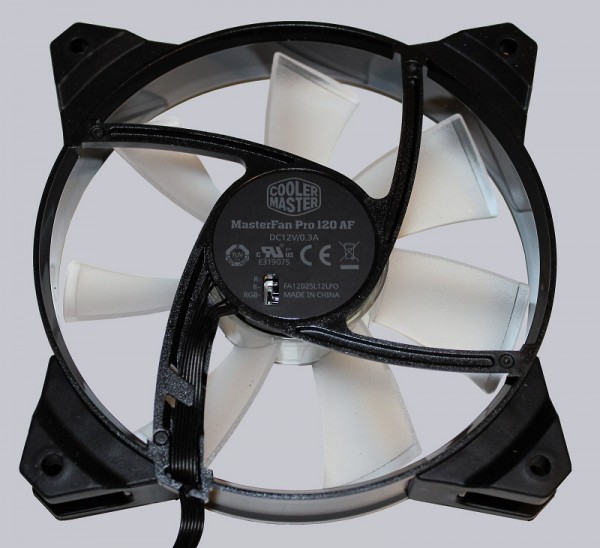
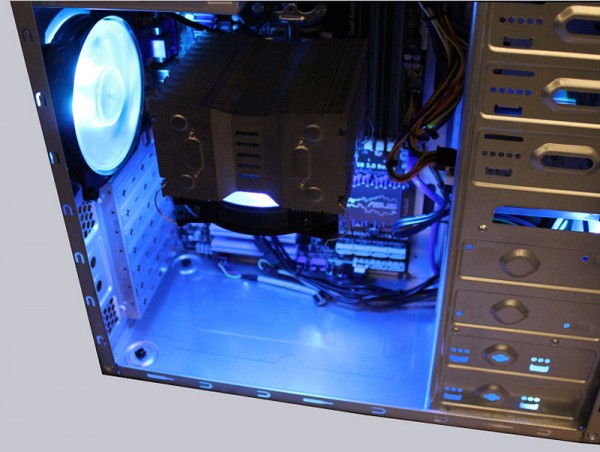
In the RGB position, the fan does not illuminate by itself. When set to B, the fan lights up blue, the intensity dependent on the fan speed. At the lowest level, he does not light up:
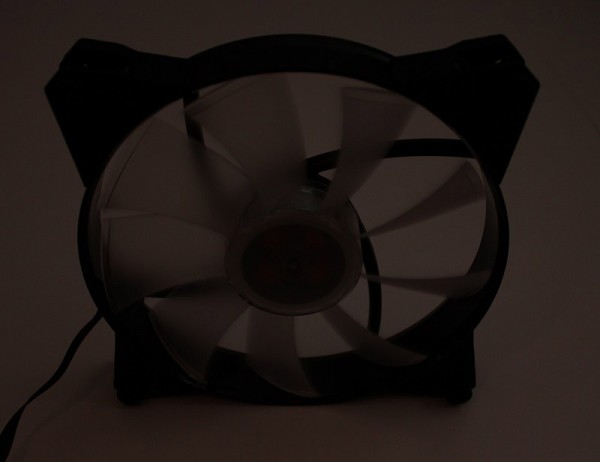
As soon as the RPM is increased, the LEDs of the RGB fans light up dimmed.
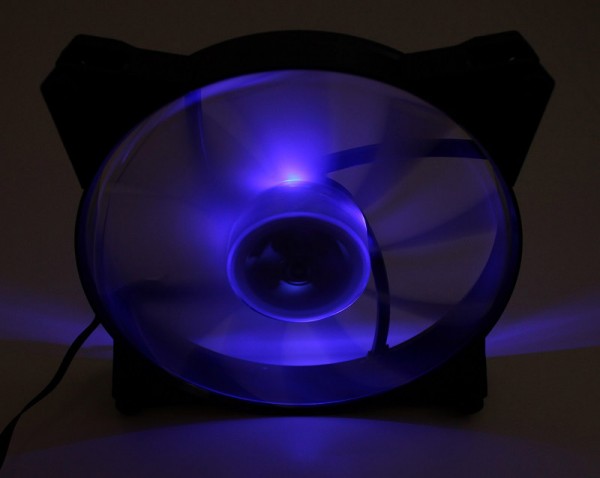
And achieves the maximum brightness at the highest speed.
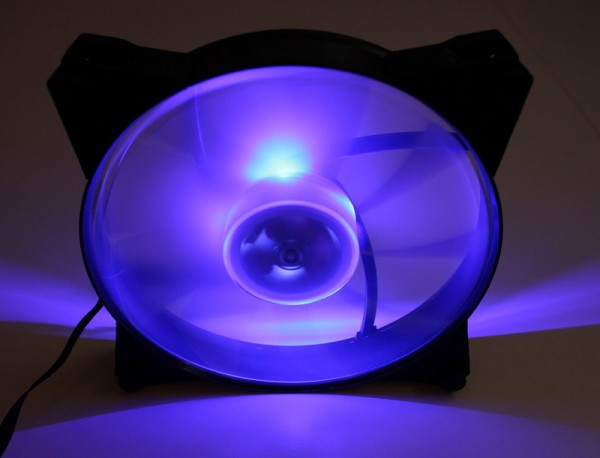
Here is the whole again as a video:
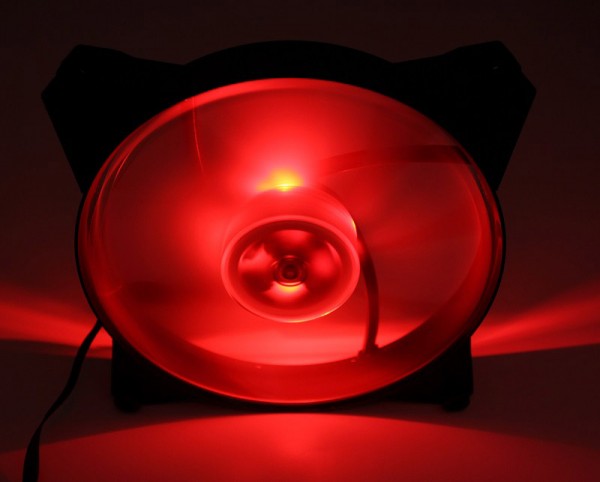
When the switch is set to R, the fan lights up red. The difference between the minimum brightness …
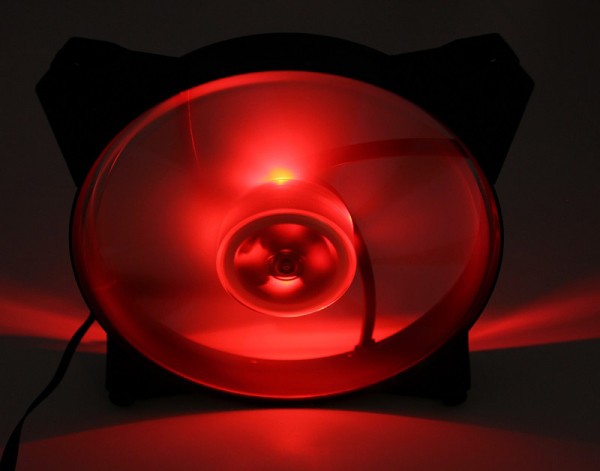
… and maximum brightness is less than with the blue mode.
Subsequently, we finally dealt with the king’s discipline: Operation at the RGB controller.
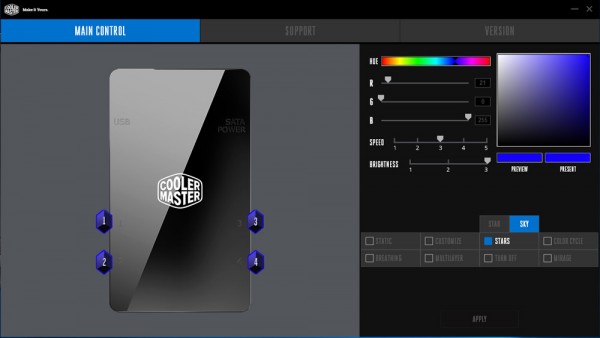
For this, the “RGB LED Controller software” from the Cooler Master site is required after installation and wiring. This is fortunately only 9 MB in size and does not require any registration. After the installation, which is only available in English at the time of the test, a message for a firmware update of the controller first appeared.
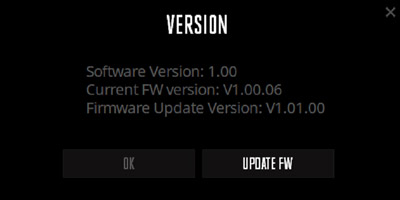
This was done very quickly and without problems. A short time later, the main page of the tool appeared. “Main Control” is activated by default and allows the RGB control to be taken over directly. “Support” opens the browser with the appropriate Cooler Master support page and “Version” shows the current software and firmware version.
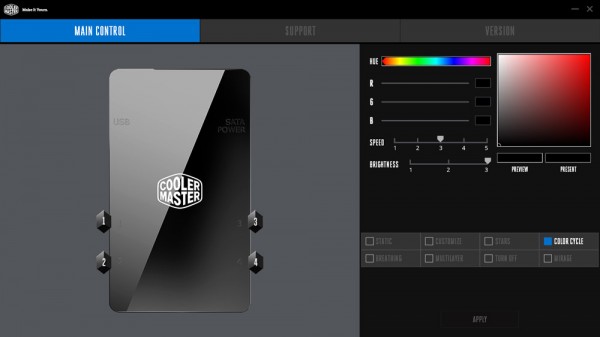
Overall the tool is pleasantly tidy and not overload with functions etc. You find the necessary or what is important, wonderful.
In the left area we have now tried the individual functions one after the other. “Static” is a simple way to assign a common color to each channel, so all the fans light up in the same color. It is also possible to adjust the brightness in 3 steps. Here, however, we came across the first inconsistency: the brightness can be controlled by the tool, but the maximum brightness is still adjusted by the fan speed, as it was also in operation without RGB controller in blue or red mode by switch!
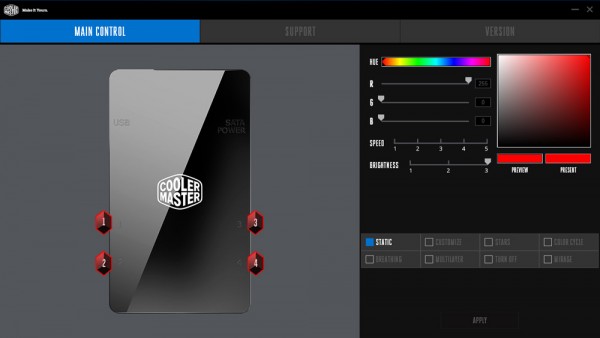
In addition, the fans did not show the set colors, if the speed fell below 50%. We are sure that Cooler Master will fix this with a new firmware.
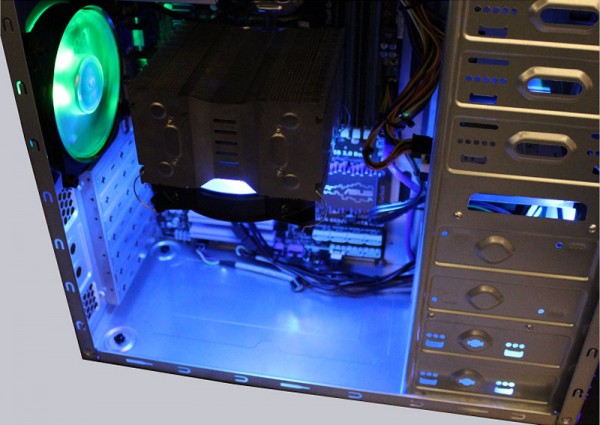
If we set the speed manually to> 50%, all of them lit as desired in the same color.
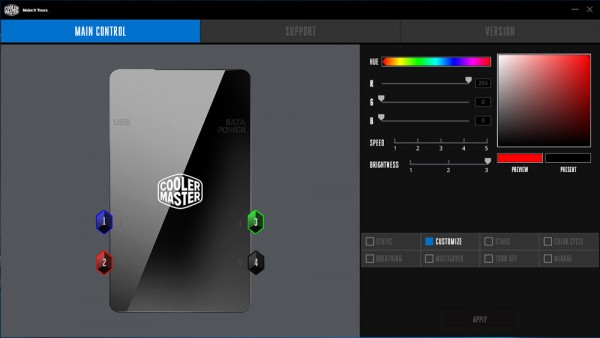
The second “Customize” button allows us to select the color for each channel individually.
“Stars” opens a submenu, in which you chose a color for “Star” …
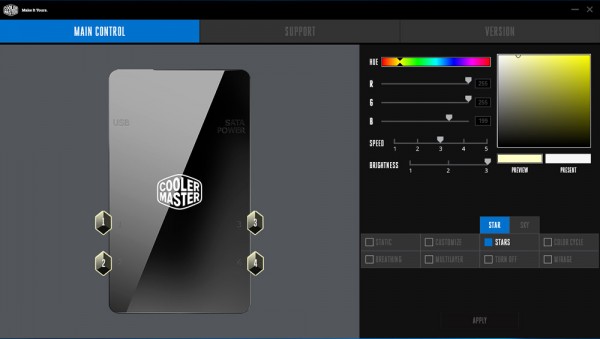
In addition, you can adjust the speed and brightness of the mode. The result is a nice changeable effect, as you can see in the video from our OCinside YouTube channel.
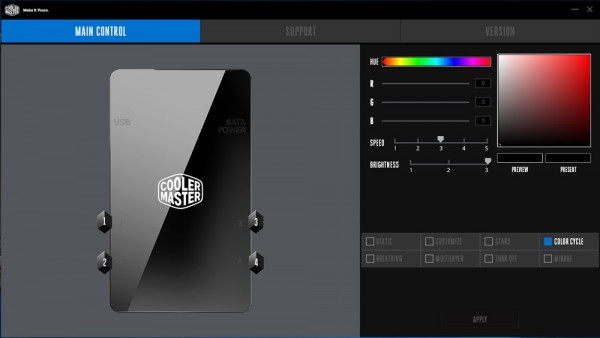
Next we tested “Color Cycle”. All colors change seamlessly, so the controls for the color configuration are not functional. However, we can adjust the speed and brightness as you can see in (our video at 30 sec.).
At “Breathing” we introduced a beautiful orange. The look is reminiscent of breathing or a kind of heart beat. Again, the speed and brightness can also be adjusted in addition to the color as you can see in (our video at 1:17).
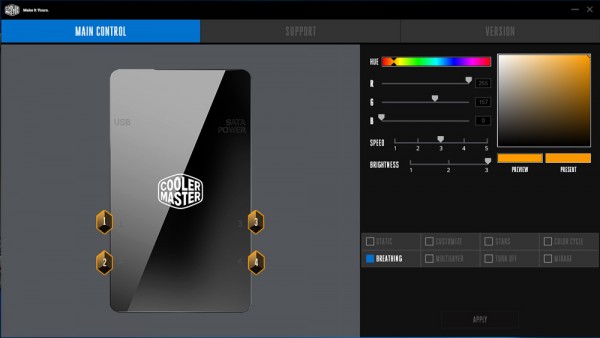
“Multilayer” offers the possibility to allocate to any channel any of the previously used effects including their configuration possibilities.
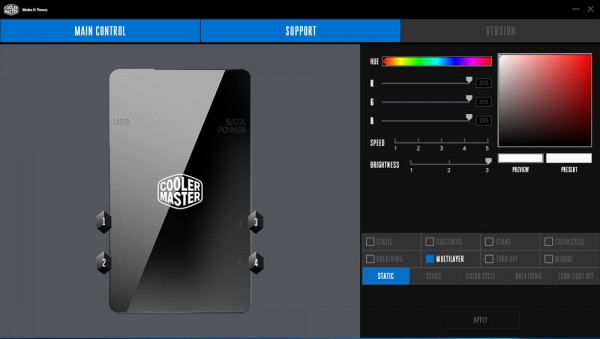
We chose “Breathing” on the front fan, “Color Cycle” for the CPU cooler and “Stars” on the rear fan as you can (see in our video at 1:37).
With “Turn off” you can simply switch off individual channels completely. They can then be reconfigured.
Finally, we come to the option that ultimately has been most astonishing: “Mirage”. Here are two submenus, “Sync1” and “Sync2”.
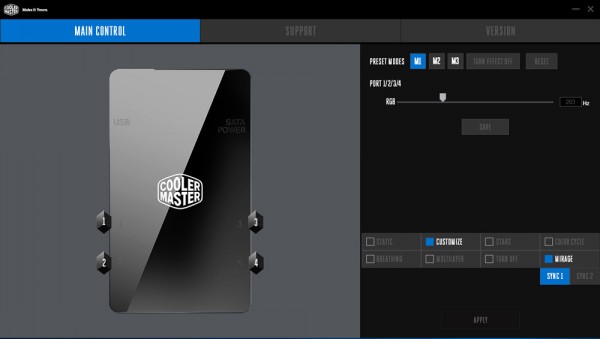
“Sync1” allows the frequency of the RGB LEDs to be adjusted for all 4 channels, which can result in different optical effects (see our video at 2:19).
The “Mirage” effect also works regardless of what settings have been made, it can affect any effect like “Breathing”, etc.
Since you can create so many different effects, you can store 3 presets. With a little bit of a finger feel, our rear fan look as if it is standing still (as you can see in our video at 3:41).
Or you might think it’s turning backwards (as you can see in our video at 3:55).
Since the effect is caused by the interplay of LED frequency and fan speed, it becomes difficult to achieve the same effect with all connected fans at the same time. Furthermore, if the fans are controlled temperature-dependently, it becomes even more difficulty. However, e.g. with a fixed housing fan it might be a great effect.
But the top is reached with “Sync2”. “Sync2” offers the same as “Sync1” for channels 1.3 and 4, but channel 2 can be controlled separately.
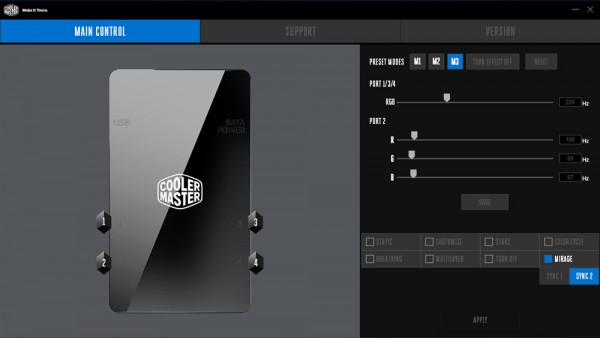
Since the RGB LED channels can also be controlled individually for channel 2, stunning effects can be generated, e.g. blue with green tail (as you can see in our video at 4:08).
Or purple with red tail (as you can see in our video at 4:22).
Red/green contrary (as you can see in our video at 4:35).
And in the end, we managed blue almost standing still with red rotating, both reverse rotating(as you can see in our video at 4:48).
Cooler Master, by the way, offers a 1 to 3 multiple adapter as an accessory, which means that 3 fans can be connected per RGB channel. This is a good extension for “Mirage Sync2”.
Here is the whole Cool Master MasterFan Pro RGB video with the different effects from our OCinside YouTube channel.
Note: Please allow our cookies first to see this external content!
Cool Master MasterFan Pro RGB fan with RGB controller conclusion and overall impression …


