
Layout, design and features interior …
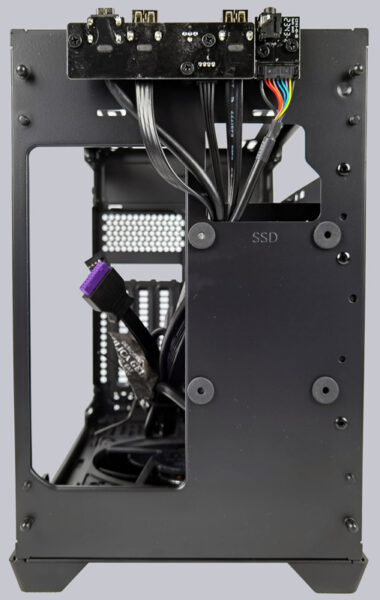
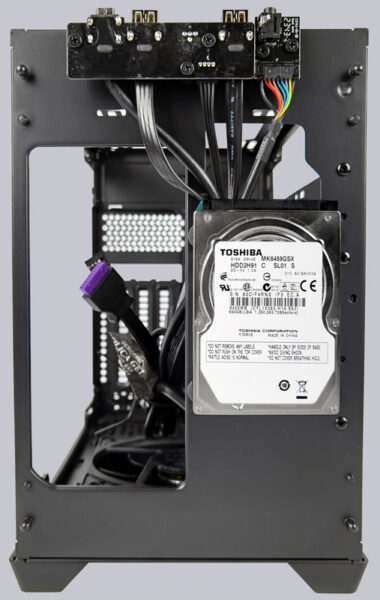
The front panel can be removed with a firm tug and behind it is the front panel circuit board. You can also see the installation space for a 2.5″ drive such as an SSD or hard disk.
With a hard disk it looks like this.
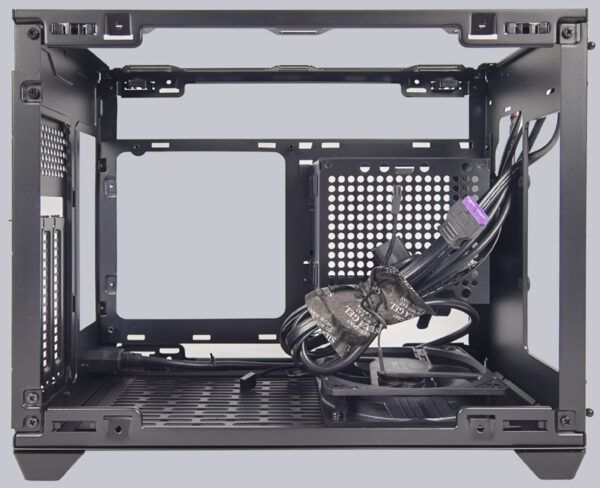
The side panels can be easily removed without tools. This practically exposes the skeleton of the NR200P and gives you a good view of the inside. Here you can also see the pre-assembled cables, the mainboard tray and the mount for the power supply unit. A pre-installed 120 mm SickleFlow fan is located in the base. A 3.5″ drive can also be mounted here, although the fan will then have to make way.
There is another option for installing a drive in the slot for the power supply unit, either a 3.5″ drive …
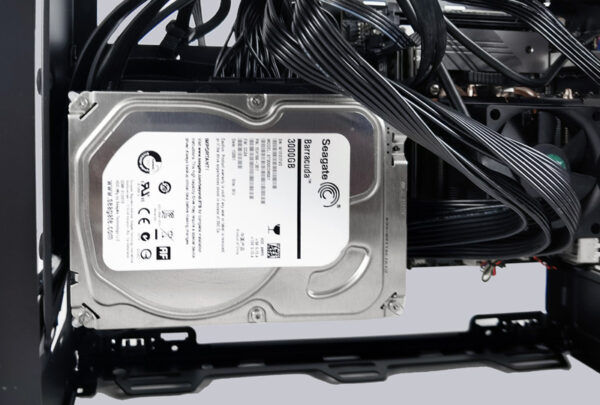
Or a 2.5″ hard disk drive or SSD.
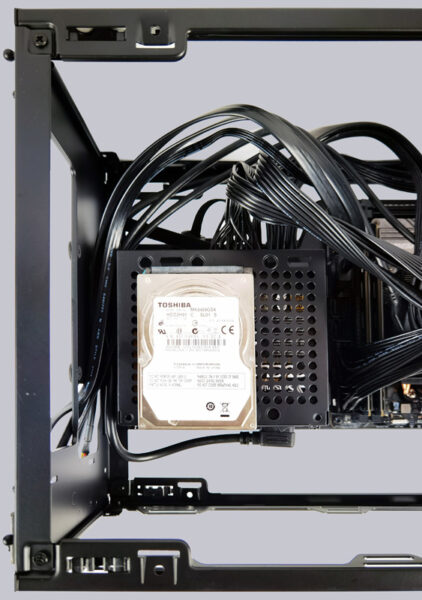
The mainboard in ITX format is located directly next to the power supply cage.

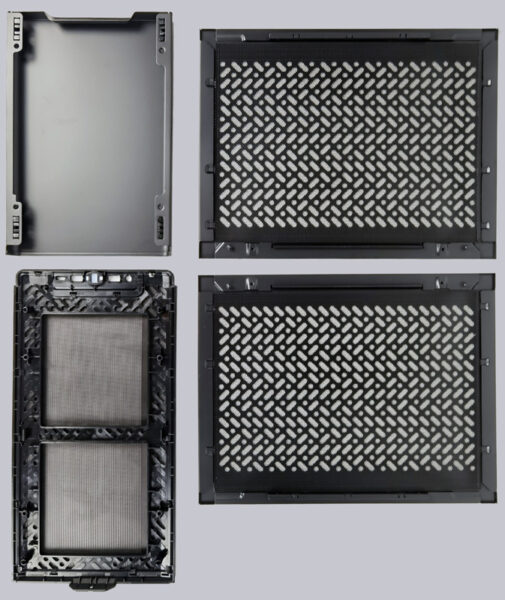
Here you can see the dust filters mounted on the mesh side panels.
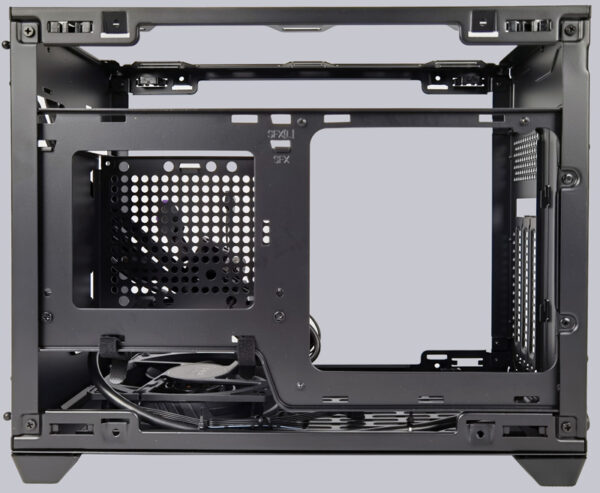
A look at the right-hand side opens the view of the mainboard tray from behind. On the left of the picture you can see the power supply unit holder, where either an SFX power supply unit or a maximum of one SFX-L power supply unit can be installed.
Cooler Master NR200P V2 Practical testing …

