Casemod Guide …
We have the short CM 690 III enclosure casemod instructions splitted into two guides, we start the top coverin the first modding instructions.
Modify the top cover plate …
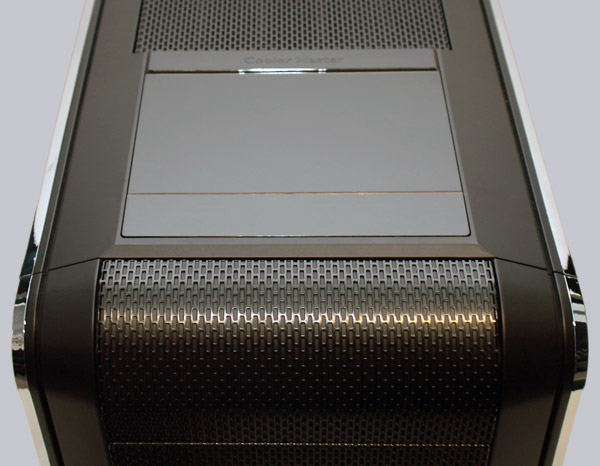
As mentioned on the previous page, the cover plate on the top of the Cooler Master CM 690 III case is designed to cover not only the storage, but also the USB ports, the jacks for the headset and the power and reset button. Of course it looks nice, but it is cumbersome in practice, to slide off the cover every time and completely omit the cover is of course not the sense of the inventor.
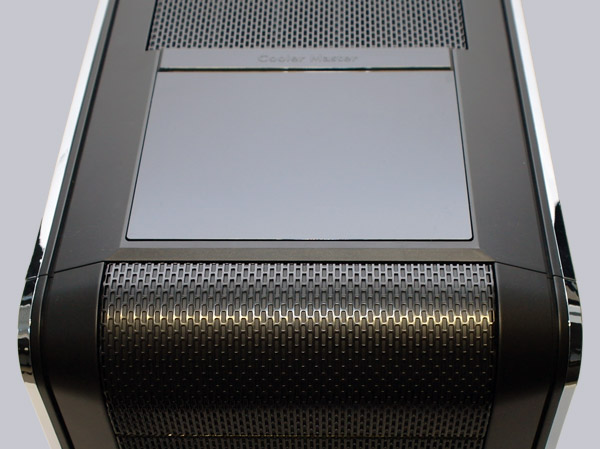
Therefore, we have the opinion that the glass plate just should cover the storage bin. Said, done 🙂 We simply measure the desired length (in our case 25 mm) …
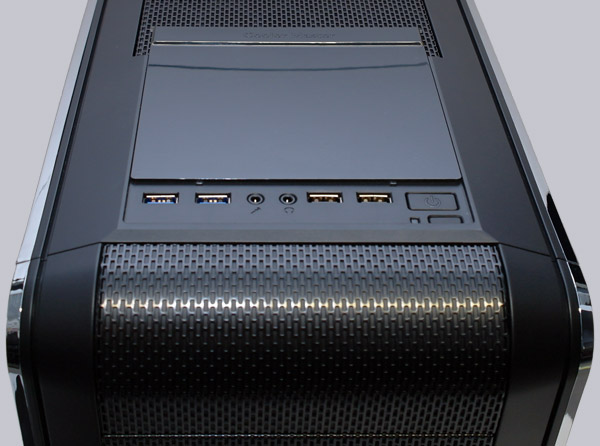
… and cut off the surplus piece. Either do it with a saw or strong hobbyist with a sharp knife. But please be careful, do not glide off and watch, that the acrylic glass plate not fragmented and prevent that the applied coating film won’t come off.
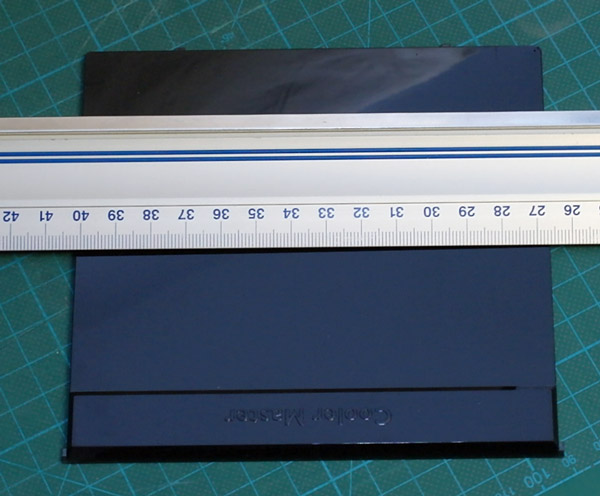
And now, we have severed the cover plate in two parts.
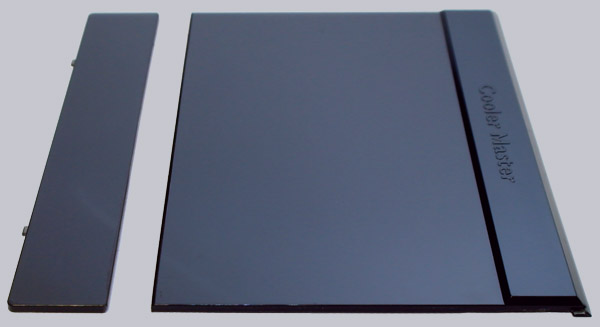
Even both can be installed and possibly just add an adhesive tape or a hinge to lift only the front piece, but we removed the small part permanently.
Modify the storage bin …
Speaking of storage bin such as also in the predecessor – Cooler Master has integrated a storage bin for USB sticks, accessories or even SSDs. But wait a minute, there was something else …
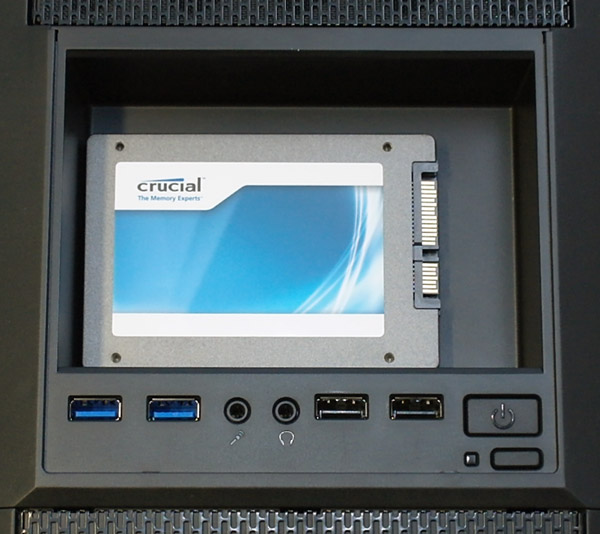
… that’s right, the previous case had a SATA data and power connector in this storage bin, so that one could directly connect the SSD. Unfortunately not the CM 690 III case.
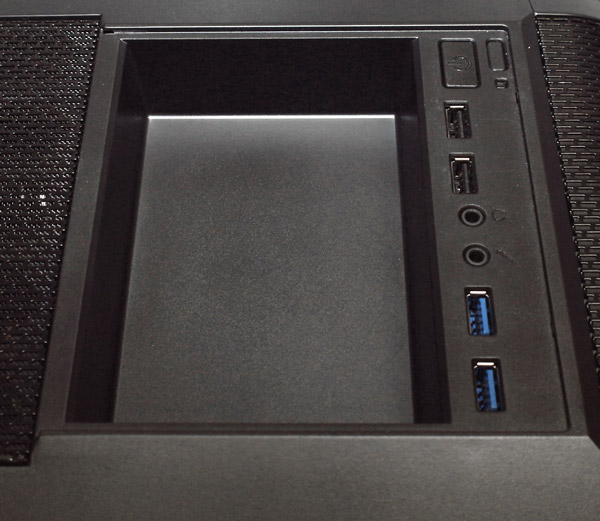
But this is no problem at all, because you can add a SATA port, or even a USB or FireWire port in a few minutes. Just mill or saw a cut-out in the desired location of the storage bin using a Minidrill. For a SATA port, you need an approx. 40×5 mm slot that is approx. 15 mm from front.
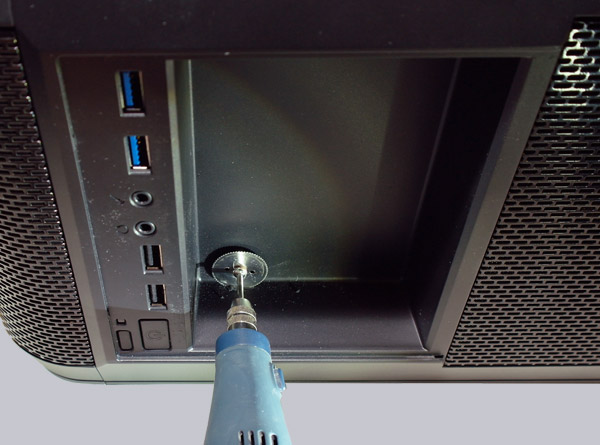
Without further ado, we have milled a 55 x 5 mm cut-out, which you can of course shortly revise with a small file.
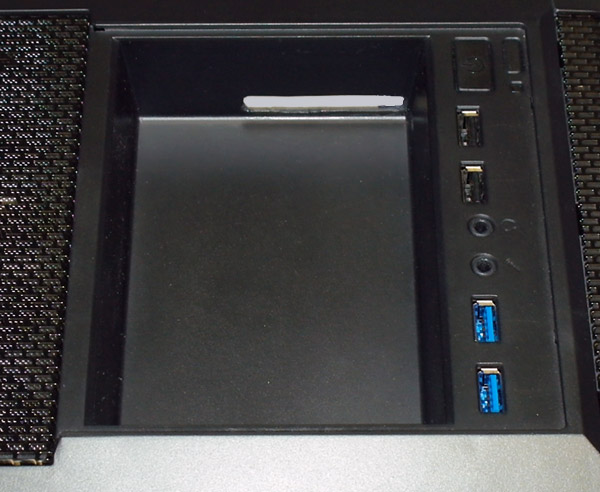
Now you just install a SATA data cable and a SATA power cable with bended connectors through the slot. Best insert a bended SATA power adapter cable and not directly use the SATA cable from the power supply unit. There is also a Cooler Master spare parts shop, where you can order parts and printed circuit boards with jacks. Alternatively you can find here *Ad some more SATA connectors.
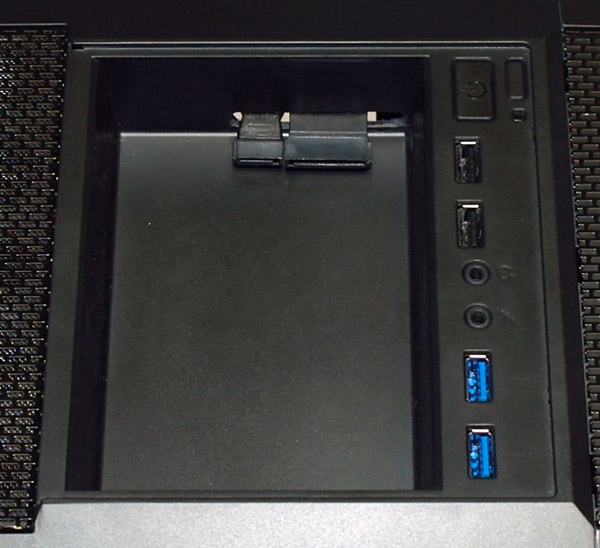
Then it can already be connected to an SSD. Better fix the cable from the inside with hot-melt adhesive and or cable ties.
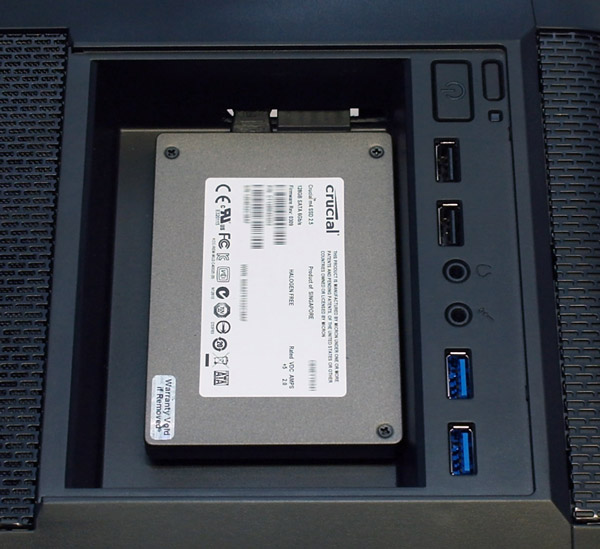
Of course you can still do further modifications at the Cooler Master CM 690 III chassis, but for beginners, this should be enough for now. Let’s get back to the test report.
Layout, Design and Features – The Cooler Master CM 690 III Case Interior …

