
Installation …
Before we can finally begin our measurements, we must first install the cooler.
A special feature of the fixing mechanism, we would like to mention here. The attentive reader should already noticed the two holes on top of the cooler.
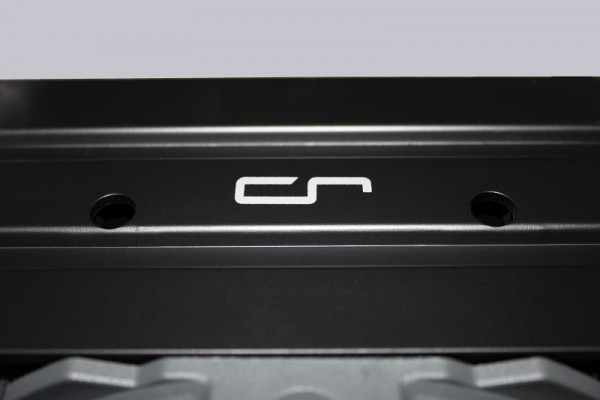
These are mounting holes for the cooler! Now it is also likely to be clear why Cryorig includes the long curved screwdriver. However, this, smart at first glance mounting method turned out to be rather impractical. It is, when motherboard removed quite simply to mount the cooler, but if the board is already mounted into the case it could be really difficult to hit the holes with the screws.
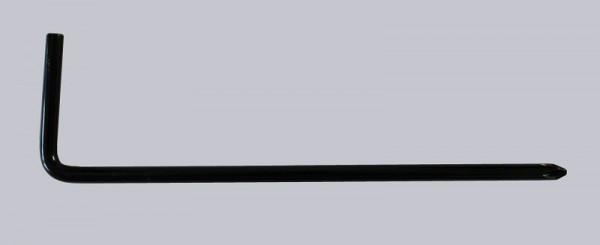
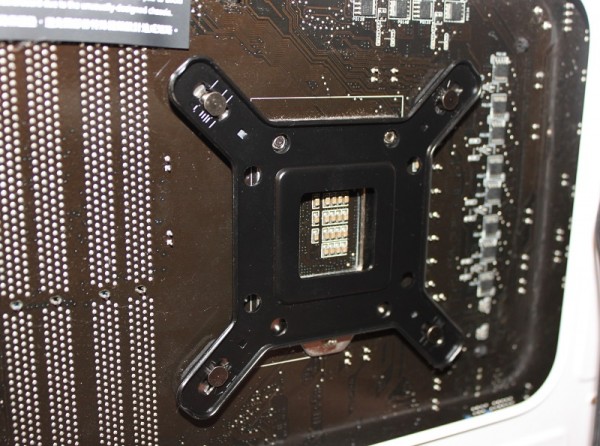
The mounting of the backplate is quite simple.
And also the mounting of the cooler bracket in the front is no problem. However, it is evident, that even when the screws are tightened, the entire structure yet can move up and down 1-2mm. This is described in the manual as normal.
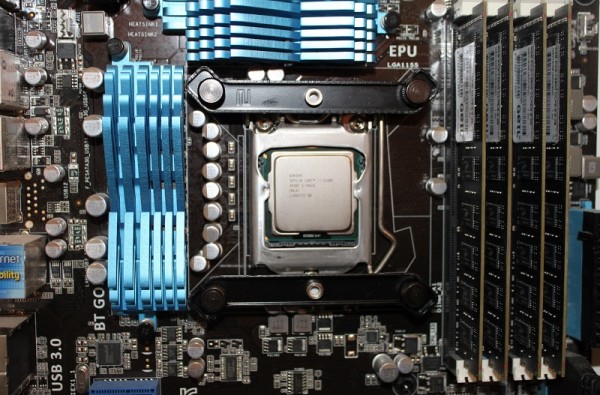
Subsequently, the assembly of the radiator, as already written, requires a bit of tact. You are rewarded with the following sight then.
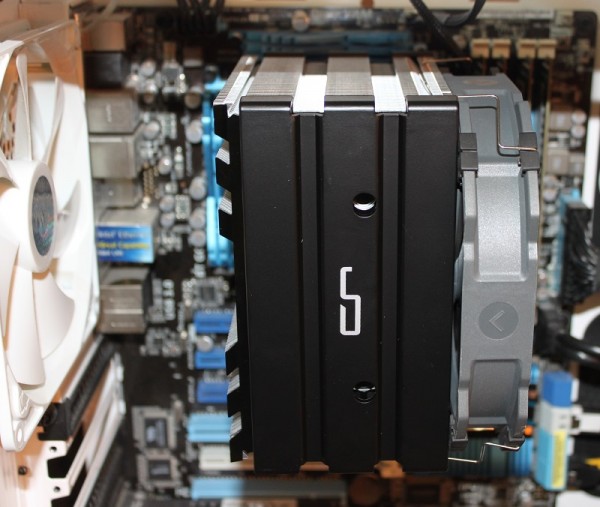
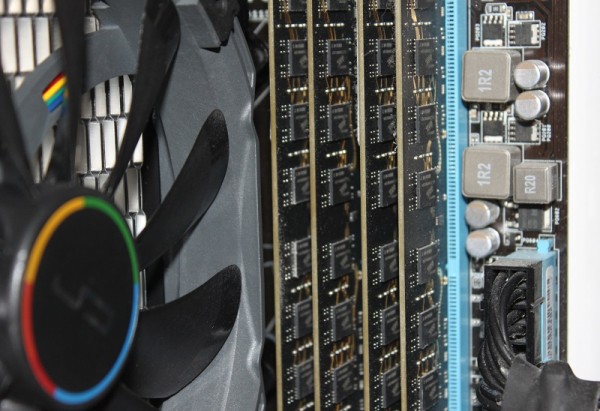
Special attention should be paid here to the memory modules. In our case, it was enough to push the fan to the outer mounting position in order to obtain about 5 mm distance between memory and fan. if you, however, have memory modules with larger heat sinks, a mounting of the fan on the opposite side may be necessary.
A clever idea can be found on the manufacturers website Cryorig. There is a DIY template with which you can check whether the cooler can be mounted on your own board or not.
Incompatibilities due to memory or oversized heatsinks are detected early enough. Sometimes it can be so easy! That surprised us very positively. If you do not want to build the DIY template, you can try out the cooler on the desired mainboard with our interactive Fit for Fan guide.
But now we finally want to test the cooler under full load.
Cryorig H5 Ultimate Setup and test results …

