
Layout, design and features …
The shape of the Flipper Zero makes it fit very well in the hand.
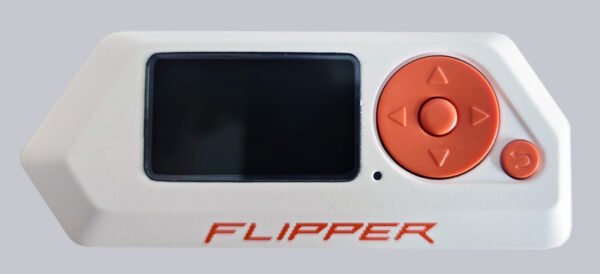
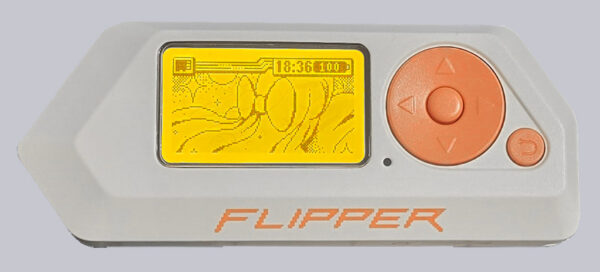
It is operated using the 4-way directional pad as well as the central button and the back button. The display is a 1.4-inch display, which is easy to read and has an orange backlight and black lettering.
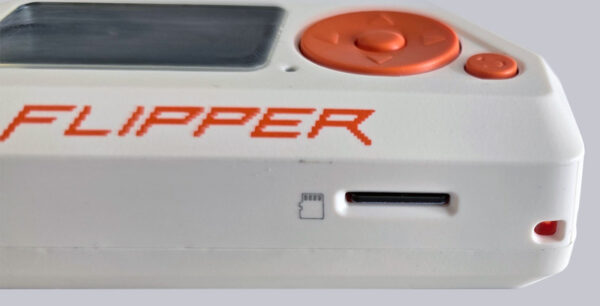
The SD card is inserted on the underside. We recommend the 32 GB High Endurance model from Sandisk. These cards offer a longer service life and can even cope with frequent read and write operations. Ultimately, the 16 GB version is also perfectly adequate.
At the front we see both the IR transmitter/receiver (and internally the antenna for the SubGHz transmitter/receiver) and the iButton connectors.
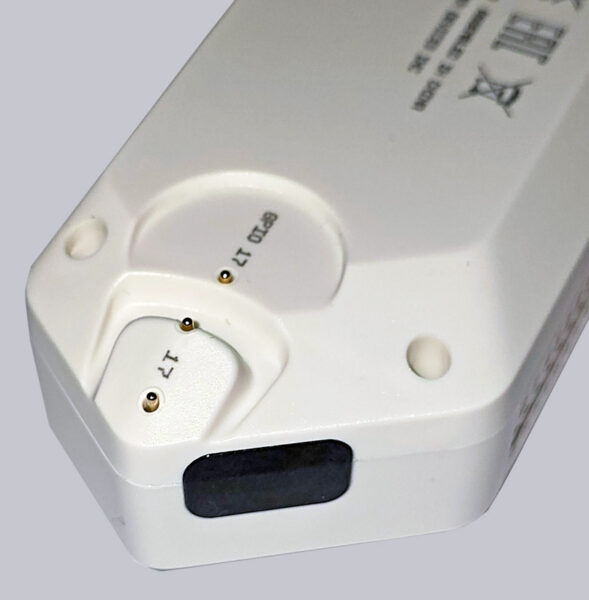
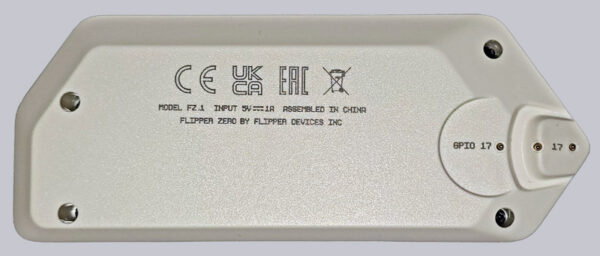
The RFID board is then located behind the base cover.
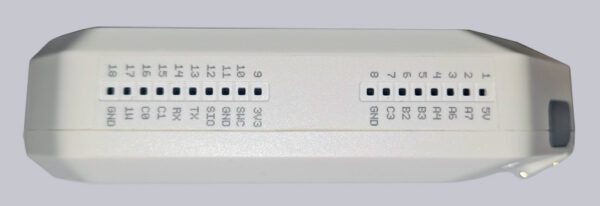
On the top we find the GPIO pins that the experienced user will already know from the Raspberry Pi.
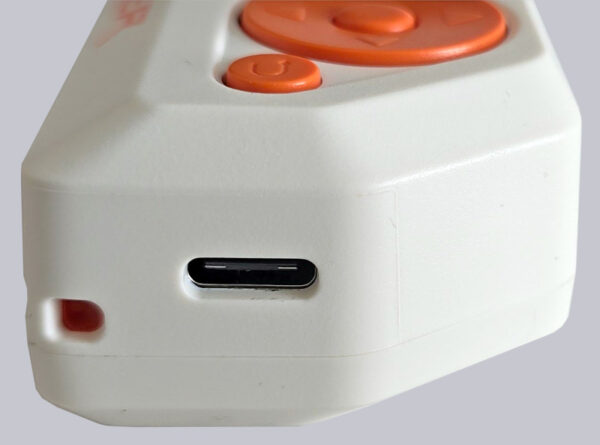
And last but not least, the USB-C port and an attachment eyelet for a lanyard.
Now we come to the installation and commissioning of the Flipper Zero.
Now let’s move on to installing the software.
Flipper Zero Installation …

