
Layout, design and features interior …
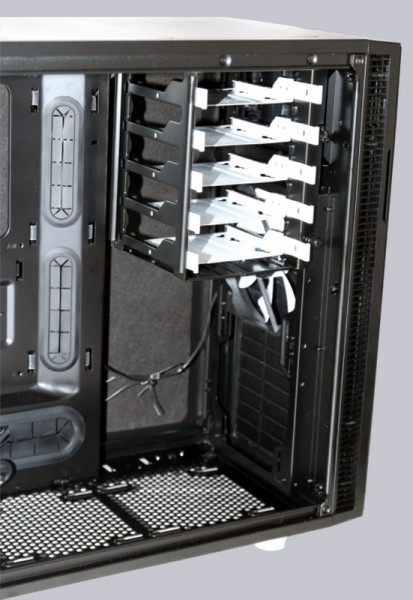
We want to start with a comparison to the Define S in this paragraph as well. The main difference are the customizable HDD cages.
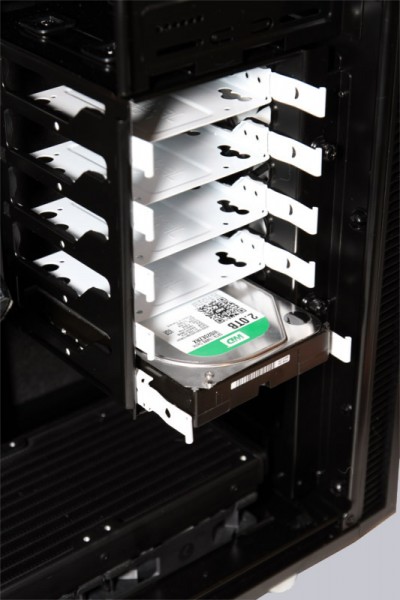
After removing all of the cages, the only visible difference to the Define S is the Mainboard-Tray which does not go all the way to the front.
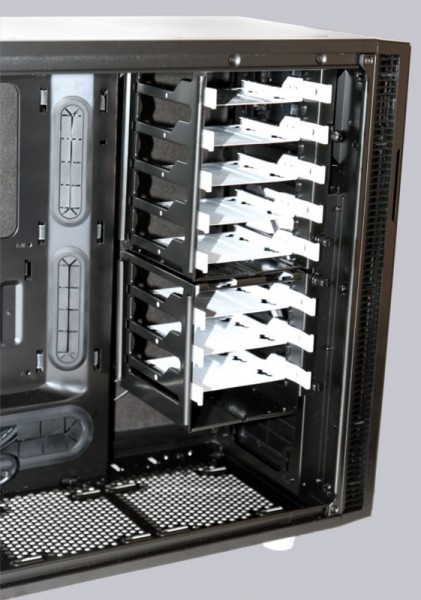
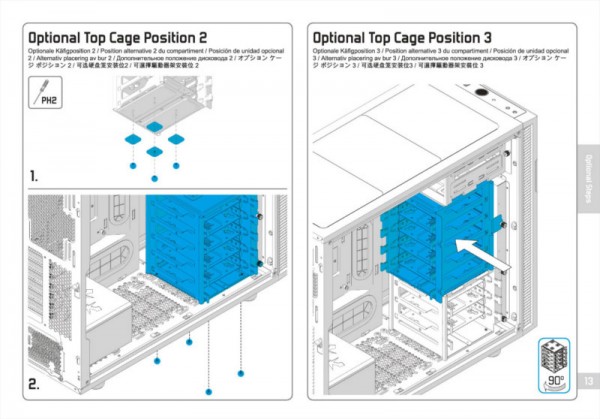
If you can go without optical drives, you can mount the bigger HDD cage at the top of the case.
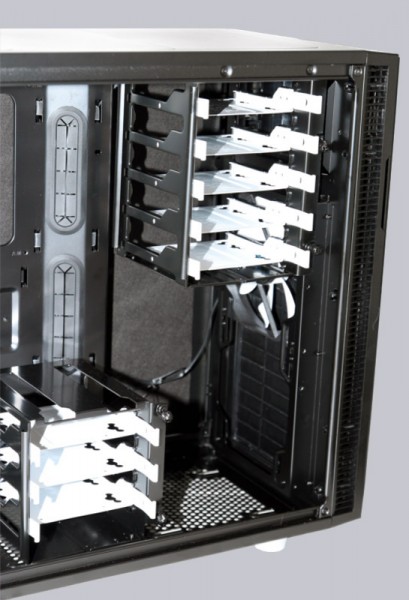
For even more 3,5″ drives the smaller cage can be mounted below.
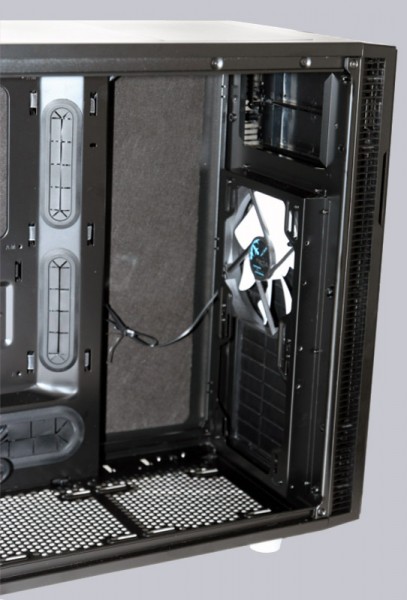
Alternatively it can be placed in front of the PSU if you need to space in the front, for water cooling purposes for example.
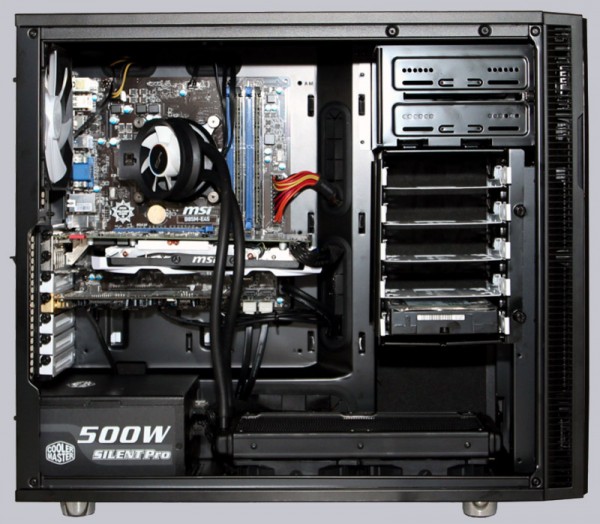
For our final build we decided to keep the option of mounting optical drives and leave space for a heatsink at the bottom. This way we had no room for the smaller HDD cage in out build.
Other possible variations are explained in the manual.
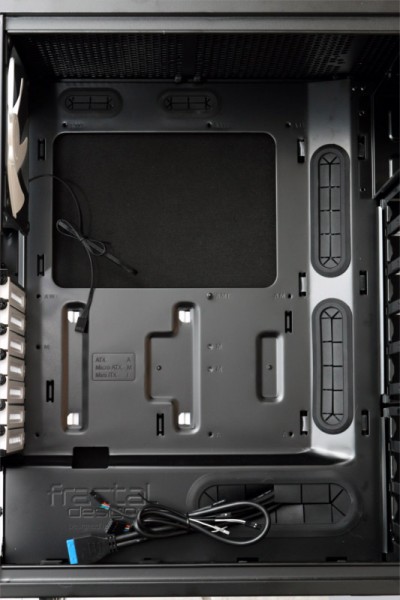
The motherboard is placed on a tray which features a big opening behind the CPU and hidden apertures for cables below and next to the mainboard.
After removing the right side panel you can see the fixed cable harness as well as two white sheets.
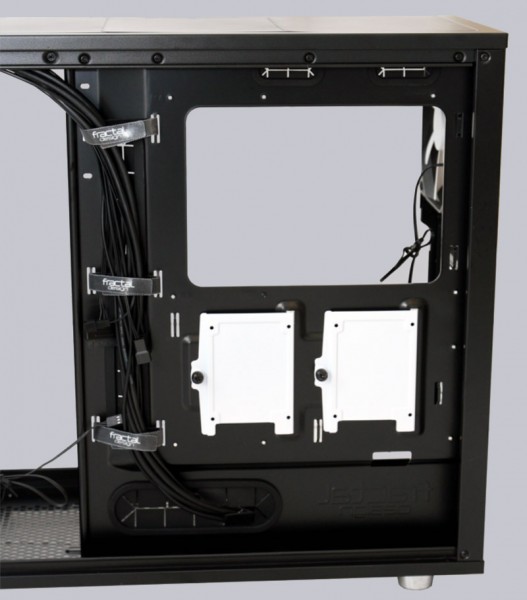
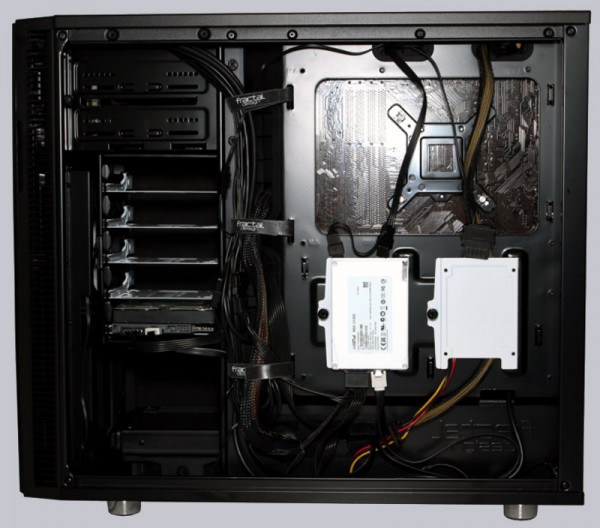
Those sheets are trays for SSDs which are hidden completely behind the mainboard this way. With 35mm there is plenty of space in this area for additional cables which can be fixed with zip ties in several places.
Fractal Design Define R5 result and general impression …

