Layout, Design and Features …
Let us take a look at the CPU cooler.
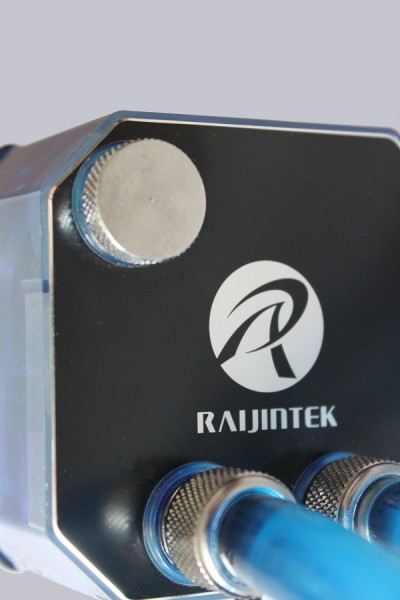
At this point we do not want in suspense you much longer. You see in the picture, that the CPU cooler block has a small feed tube where cooling water can be filled in.
So if once the coolant be diffused after a certain amount of time through the tubes, you can refill it easily and do not need to return the entire set to the manufacturer.
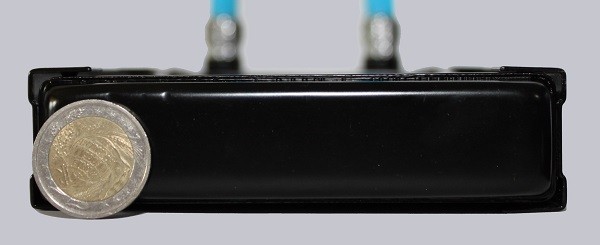
Now let us take a look at the radiator from the side.
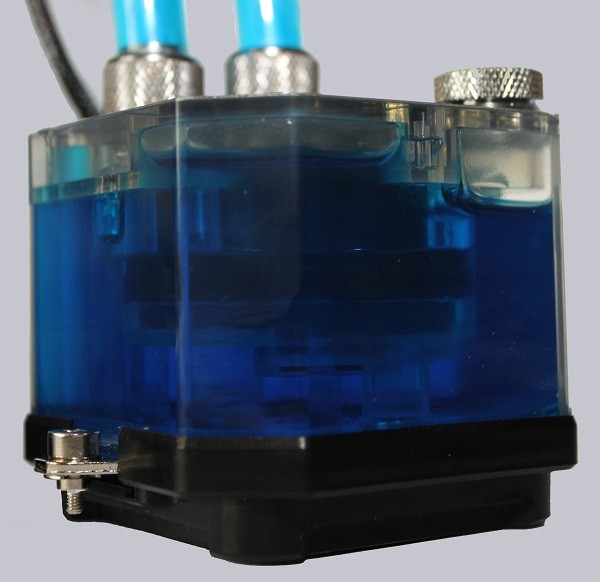
The water block has an impressive height of 65 mm and already has a built-in pump. The power connection is a standard 3-pin fan connector. Just like the tubes, the chassis of the cooler is designed clear and colorless and thus can be filled with any colored coolant water.
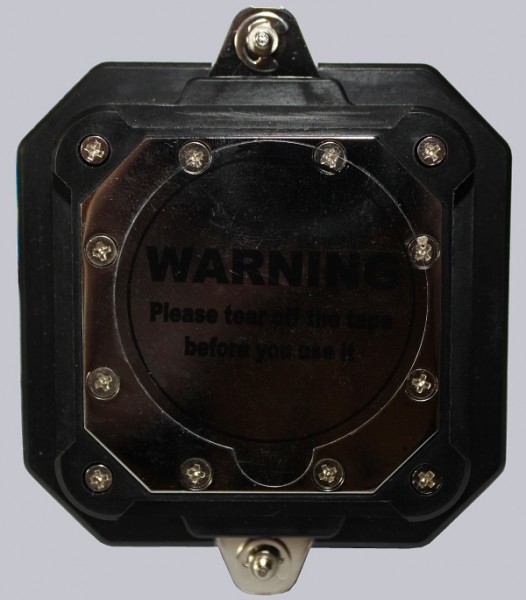
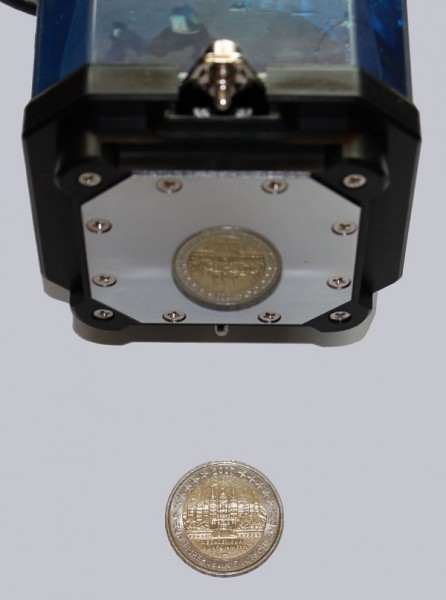
The cooling surface has surprised us pleasantly. After removing the protection foil from the block …
… you can take a look at the really shiny surface – no, it is not made by photo editing.
Such a shiny and polished surface really earns our attention.
Now we come to the radiator. This is a standard 240 mm radiator, which has a very low profile.
The cooling fins are very finely made, resulting in better cooling performance and a higher heat transfer.
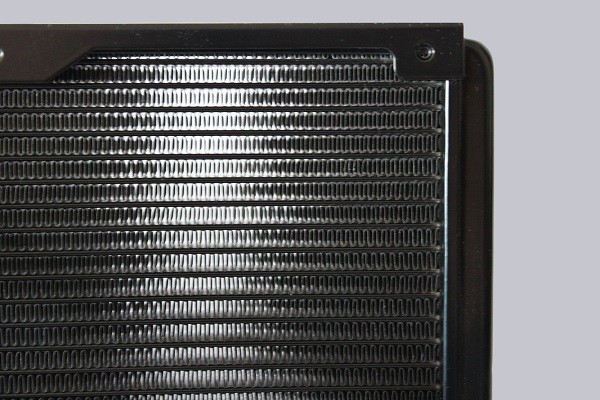
The radiator has eight mounting holes through which it can be attached by means of fan mounting inside the case. You can also use your own fans for example with the Core version, but these should not be thicker or thinner than the 2.65 cm of the original fans. Of course you can also mount thicker or thinner fan, but then you have to use longer or shorter screws and make sure that the cooling fins are not damaged when tighten the screws.
Although the supplied fan are no PWM fans, they are quite good. The model A1225S12S with an operating voltage of 12 V and a current of 480 mA.
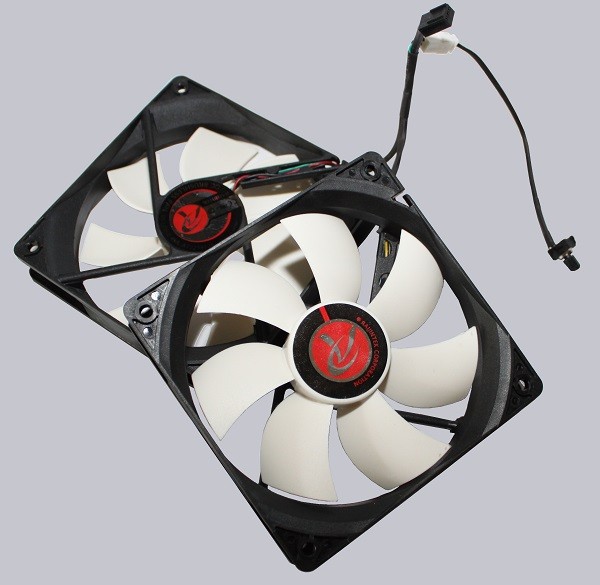
These fans have a current of nearly 1 A, so it might be better to use the Molex adapter to connect them directly to the power supply.
To control the speed there is a little potentiometer, which can regulate the speed in the range from 1000 rpm to 2600 rpm.
– In the lowest setting at 1,000 rpm, the fans produce a noise of 21.6 db (A).
– At the highest setting, the fans produce a much louder noise level of 36.6 db (A)
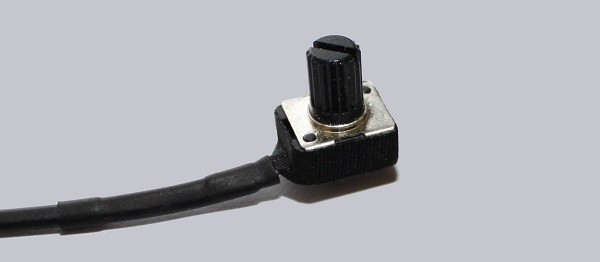
Now certainly you might be wondering why the poti is not installed in a slot bracket. This is a legitimate question and can not be answered by us at this point. Unfortunately, the cable to the poti is quite short with about 10 cm in order to relocate it, for example for use in a front panel neatly inside the housing.
A special feature is associated with the backplate. Namely, the backplate of the Triton is not designed as a large plate, but more than a backplate ring. This should not lower the stability of the cooler, and/or cause any problems during assembly.
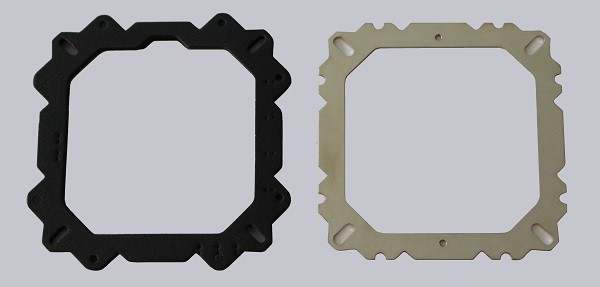
Now we come to a point that might be interesting for those users who have already prepared their Glysantin mixture to fill up the Triton Water cooling again later. Although there are several hints on the box that the system is refillable, this method is not covered by the guarantee / warranty by Raijintek. Only a small picture in the manual shows the possibility that you can fill the system, for example with a funky neon-pink coolant.
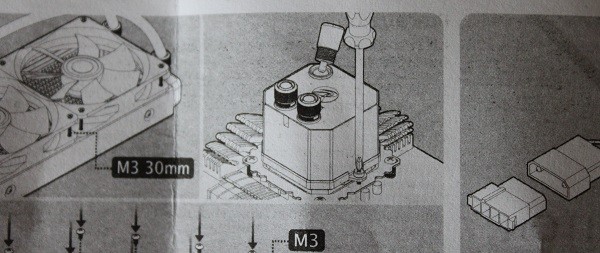
Raijintek seems not to trust their own coolant provided with the Triton watercooler.

At this point it would be nice if the user can fill up the system with at least the original Raijintek coolant without loosing warranty/guarantee. Because if someone uses not suitable coolant, that would leave traces in the system, which could then still reject the warranty/guarantee.
But now we want to mount the Triton water cooling and see how it performs.
Raijintek Triton cooler Installation …


