
Layout, Design and Features …
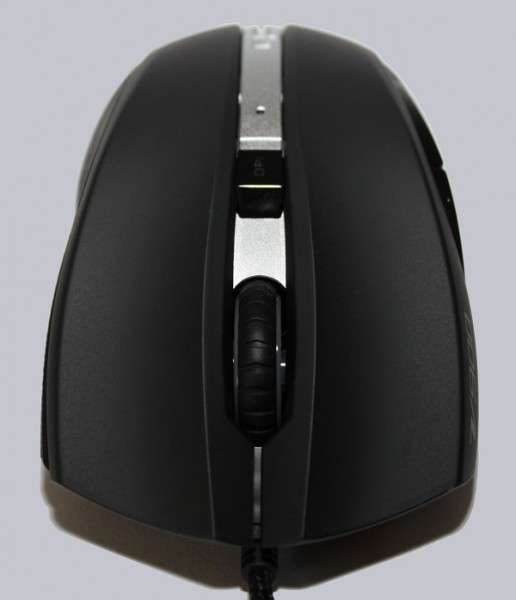
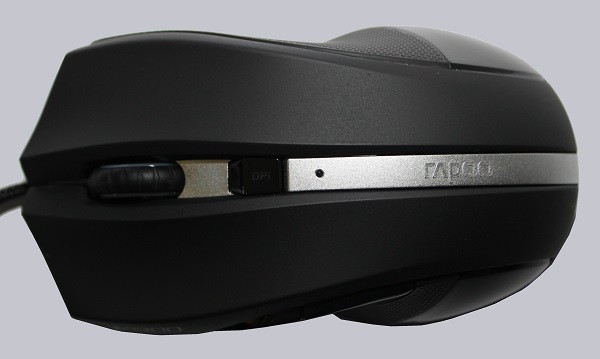
The front of the mouse houses the cable outlet, the large mouse buttons and the mouse wheel, which, by clear plastic, is transparent on the sides.
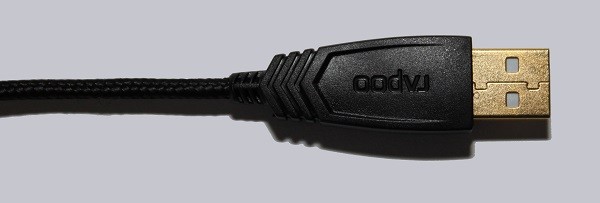
The cable of the mouse is textile coated and has a gold-plated USB connector.
There is also delight, in a nice backside … so let us take a look at it.
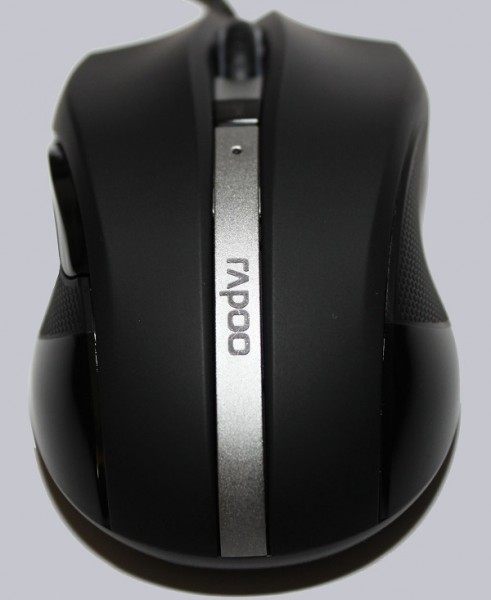
Edged into the silver stripes is a LED which shows the current DPI setting in 3 colors (green, red and blue).
On the right and left side there are the soft-grip surfaces ensure a secure hold of the fingers.
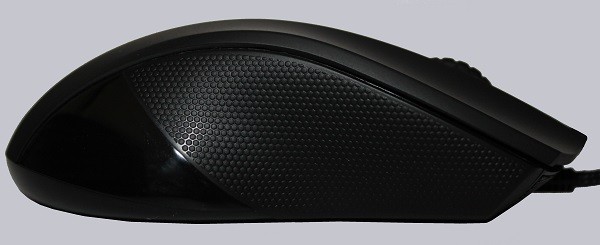
In addition, located on the left side, there are two thumb-buttons which can be freely assigned and are illuminated.
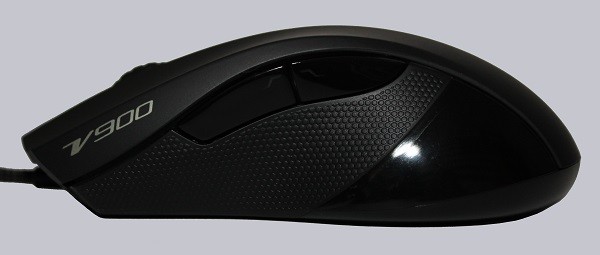
Let us take a look at the bottom of the VPRO V900 mouse.
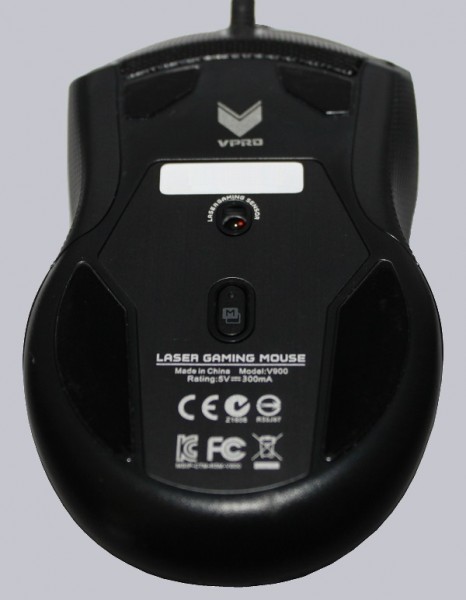
On the one hand we can admire the enormous sliding feet that provide the necessary glide to the mouse.
Furthermore there is the profile button with which you can switch between saved profiles. And in the middle there is the small hole for the laser beam which scans the surface.
At least as far as we can tell from the exterior of the mouse. For the inner values, we need to open at this point the “patient” with surgical precision. This can be achieved with the two screws behind the front mouse feet and the third screw behind the large aluminum plate at the bottom. Then we can easily dismantle the housing. On the motherboard you can see the sensor, the CPU Power3 32-bit ARM processor.
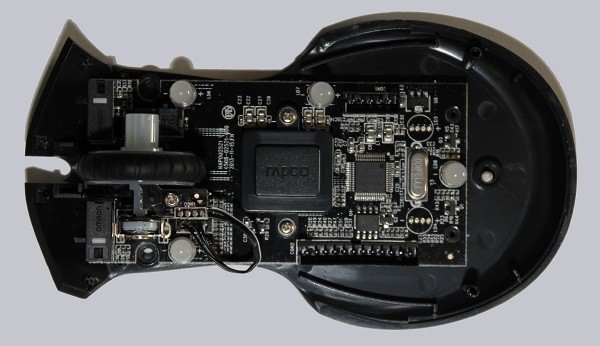
Let us take a closer look at the mouse wheel. There is installed a variant of a potentiometer whose grid mechanism often tends to squeal, since a small metal spring runs on the corrugated plastic wheel without lubrication. In our test object, it was not the case at this time.
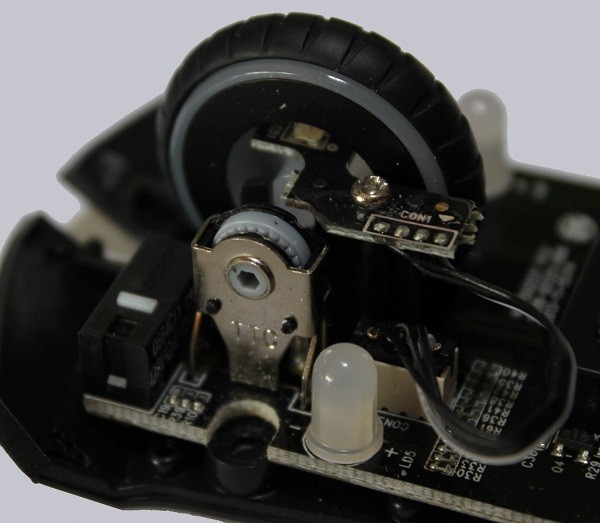
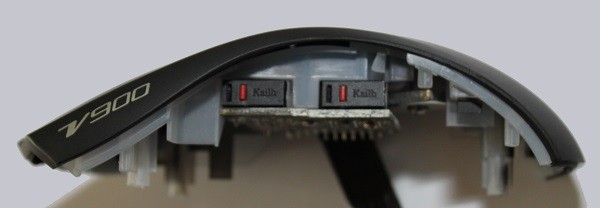
For the two thumb buttons no Omron switches are used. In this case Rapoo installed the two V900 Kailh switches that are specified with a lifetime between 1-5 million actuations.
We come now to the software that comes with the Rapoo VPRO V900 gaming mouse. During installation we should remember the driver of the V800 Gaming Keyboards Rapoo.
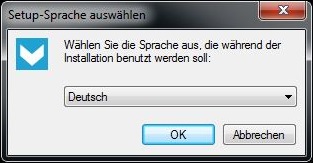
Fortunately, they now start the installation routine in English.
After installation, we arrive at once in the first menu screen, which presents us the mouse buttons as well as the profiles.
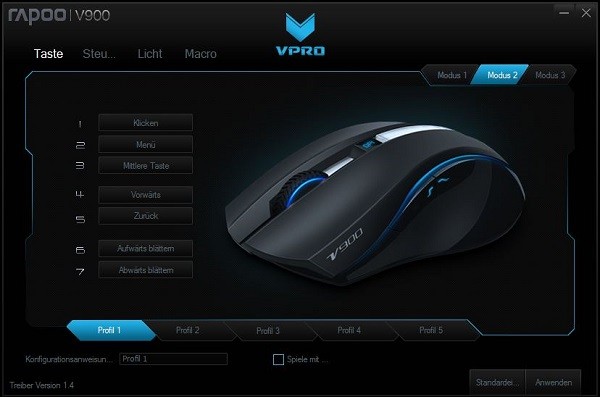
Here you can assign respectively defined functions to the buttons. The menu tree is organized as follows:
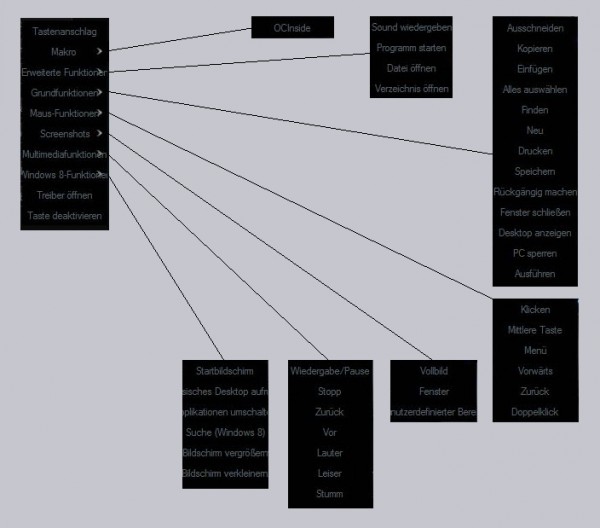
The appropriate labeling of the menu items should be revised. The second tab contains the sensor controlling of the V900 Gaming Mouse. Here the DPI setting can made continuously, and then assigned to one of 4 stages.
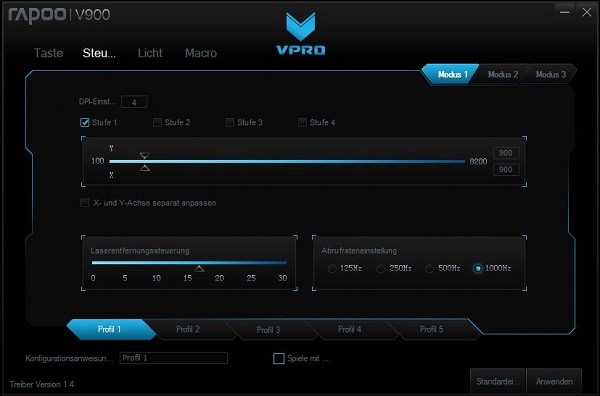
Besides the sampling rate, which can be set in four stages, it is possible to control the laser distance. But what exactly does this mean? Those players among us who like to play First Peron shooter with low DPI settings, know the problem. To move the crosshairs in the game only 3 mm to the right, you have to go across the whole mouse pad once. When you lift the mouse again and move put it back, it can happen that the sensor still detects motion. That this is not conducive to the smooth operation aiming, you can imagine.
Rapoo now offers with the V900 the possibility of changing the scanning height of the sensor between 1-5 mm. If possible, set low, the sensor detects the already slight lifting of the mouse. Why, however, a value between 0 and 30 can be selected in the setting, is not really clear to us. The next tab allows all lighting settings, which the V900 has to offer.
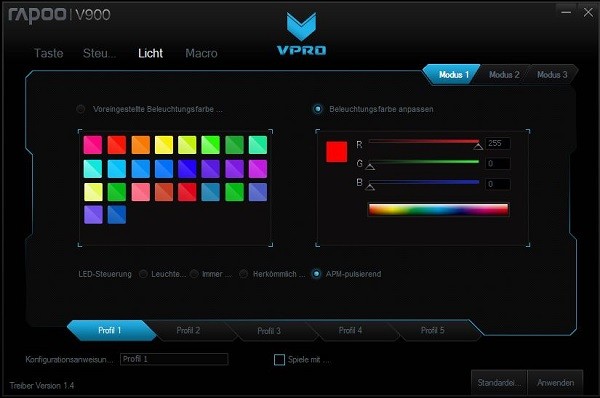
So sit back and we will show below, all 16 million colors. Just kidding, here is a RGB-selection that can hopefully give you a little impression.
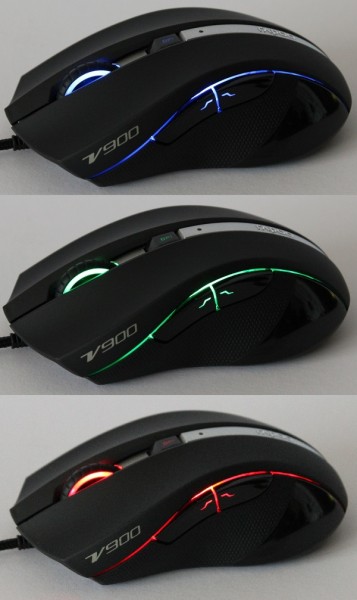
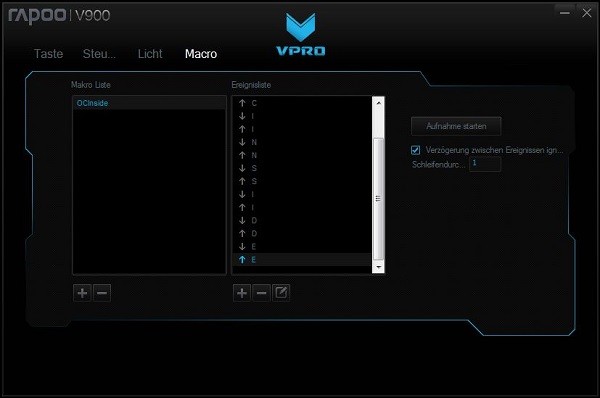
The option for a pulsating lighting can be selected here. We know the last menu already from Rapoo V800 Gaming Keyboard. It is a macro editor, in which you program buttons sequences, save them under a profile and later assign it to a mouse button.
But now let us come to the practical test of the Rapoo VPRO V900 gaming mouse.
Rapoo VPRO V900 Installation and operation …

