
Layout, design and features …
The RX 6800 Nitro+ is equipped with AMD’s Navi 21 chip. This is the smallest of the just introduced RDNA2 architecture from AMD, whereby small is to be seen relatively, because we are talking about a huge chip area of 519mm². That this apparently also wants to be cooled reasonably is immediately noticeable when you hold the RX 6800 Nitro+ in your hands. In addition to the sheer size, the card has a very high-quality build and looks extraordinarily stable. Sapphire did not experiment with the design, the card looks noble and not obtrusive.
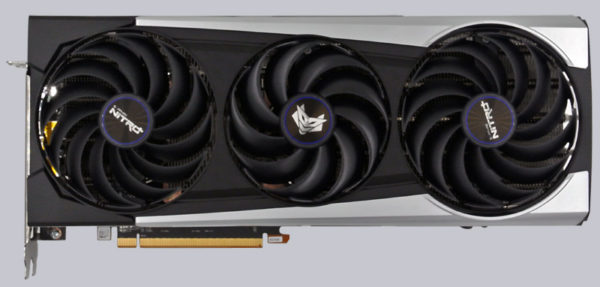
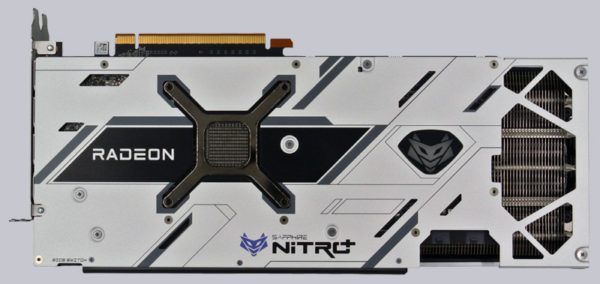
The black plate, on the other hand, looks much more eye-catching and futuristic with its openings. Besides the Radeon lettering, we also see the first LED in the form of the Sapphire Fox.
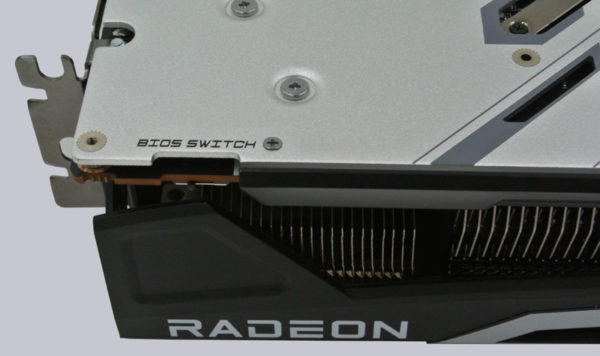
Further down on the left, we also find the BIOS switch, which is there to switch between the 2 pre-installed BIOS of the graphics card. You can choose between a Silent BIOS and a Performance BIOS, but more about that later.
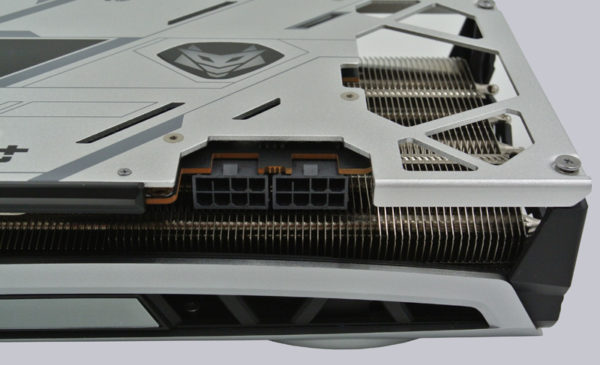
At the other end of the cooler we also find the two 8-pin PCI Express power connectors, which supply the graphics card with power.
On the connectivity side, Sapphire’s RX6800 offers one HDMI 2.1 and 3 DP 1.4 ports. Unfortunately, Sapphire has omitted a USB-C port here.
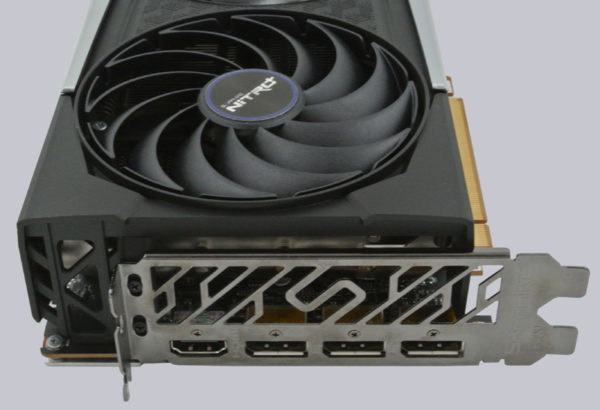
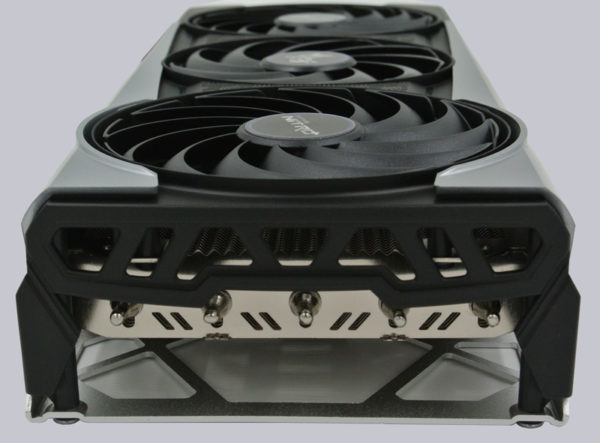
Next, we come to the cooler. It contains 5 heatpipes, which can be seen nicely in the view from the side.
While we were disassembling the card, we noticed a handy feature of the Nitro+ card. The fans are each fixed with a small screw. Once this is removed, the fan can be pulled off very easily and thus replaced if necessary. Unlike other manufacturers, you don’t have to replace all fans if one is defective.
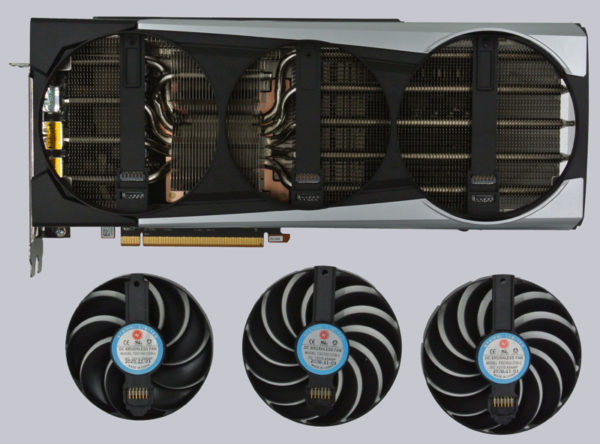
Here you can see the whole thing enlarged. If you look closely, you will see that even LED fans are supported in principle.
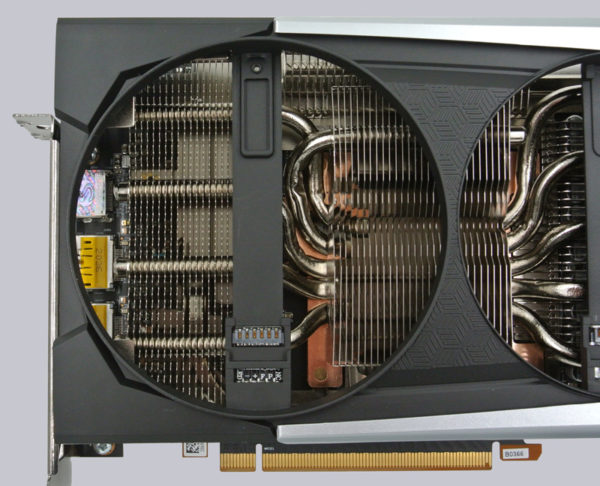
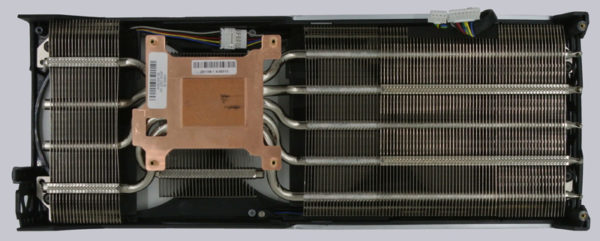
A few screws later, we finally managed to separate the GPU cooler from the PCB. Before we get to that, let’s take a look at the cooler from another perspective. As you can see, the heatpipes run evenly through the entire heatsink. This makes a very high-quality and especially solid impression on us.
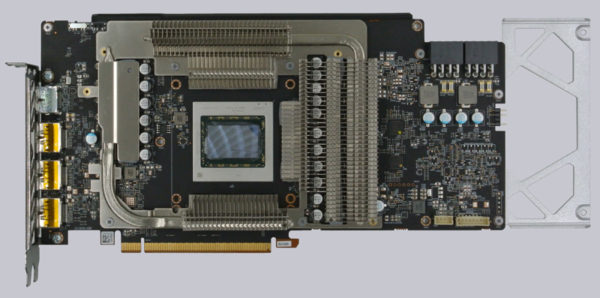
There is also another heat sink for the voltage converter on the graphics card. This is firmly screwed to the backplate.
Speaking of the backplate … After we disassembled it as well, we noticed that it is almost exclusively of an optical nature. That’s a pity, because it would have provided additional cooling with a few more heat-conducting pads in between.
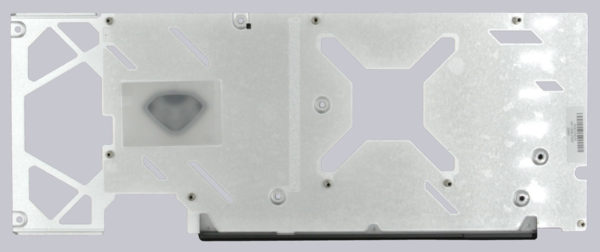
Instead, only a part of the voltage converters is actually more poorly covered with heat conduction pads.
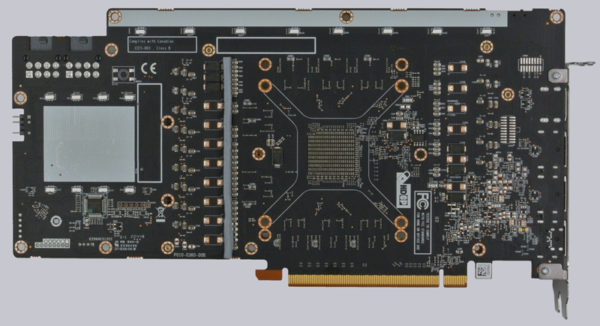
Now that everything is finally disassembled, let’s take a closer look at the naked graphics card and its massive GPU.
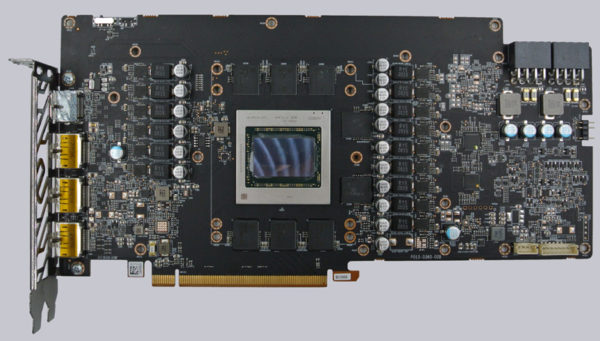
Finally, from another perspective.
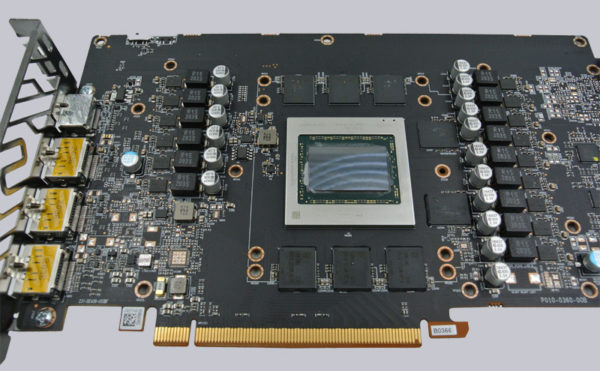
Here you can see the 16 GB graphics memory, which is installed in 2 GB modules. Otherwise, the layout of the card is classic and offers no special surprises. Sapphire sticks almost exactly to AMD’s reference layout. If you want to put the graphics card under water later, you should not have any problems finding a suitable cooler.
So that we can also convey a bit of the massive size of the Sapphire RX 6800 Nitro+, you can see a few more pictures of the installed card here.
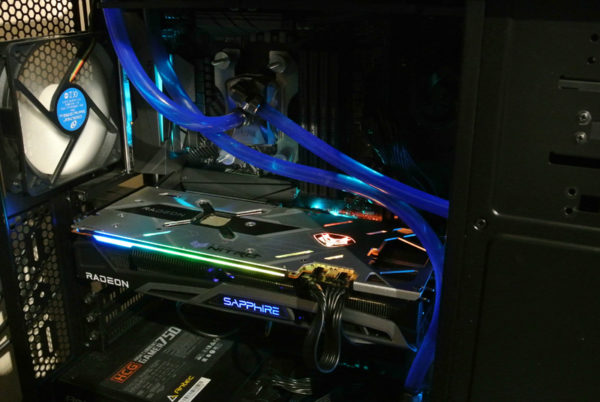
It’s easy to see that we had to get a little creative with the tubing on our water cooling system in order to fit the RX 6800 Nitro+.
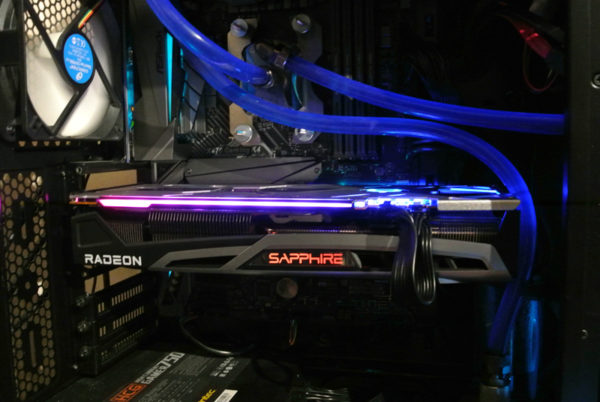
Regardless, the Nitro+ stylishly illuminates our case in all colors …
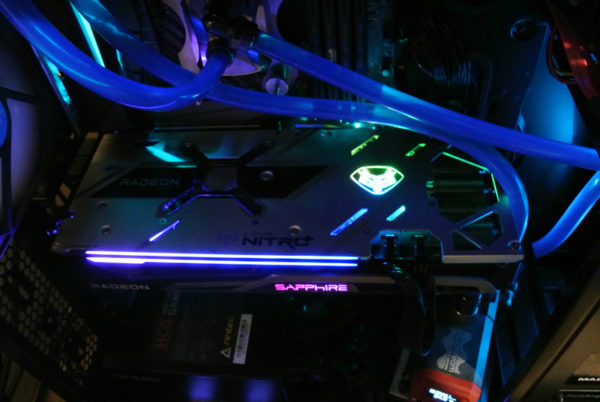
… all colors? No, not necessarily, of course. But we’ll take a look at that in the Sapphire TRIXX software.
Software …
Sapphire provides us with the TRIXX software, a small practical tool for controlling and reading the graphics card.
It is important to install at least version 8, because older versions do not recognize the card correctly.
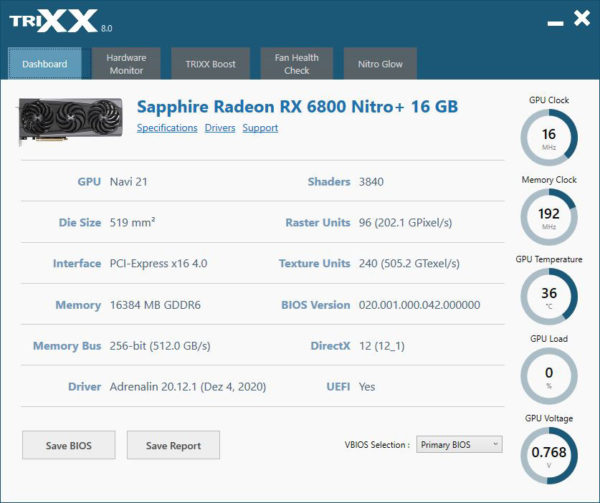
After the installation, we start the software. First, we see a GPU-Z-like overview with the most important specifications of the GPU. The overview page also offers the possibility to save the BIOS as well as to switch between the two BIOS via soft-switch. On the right side, we find the most important sensors for the clock rate of the GPU and the memory, temperature, load and the voltage.
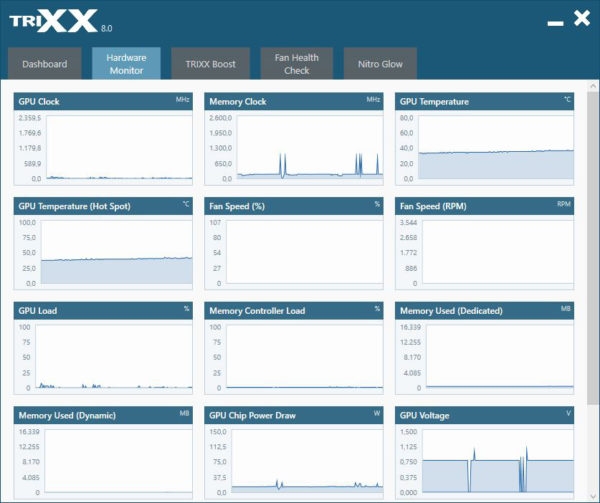
If you want to know more, you can find everything from the GPU hotspot to the currently used memory in the second tab Hardware Monitor.
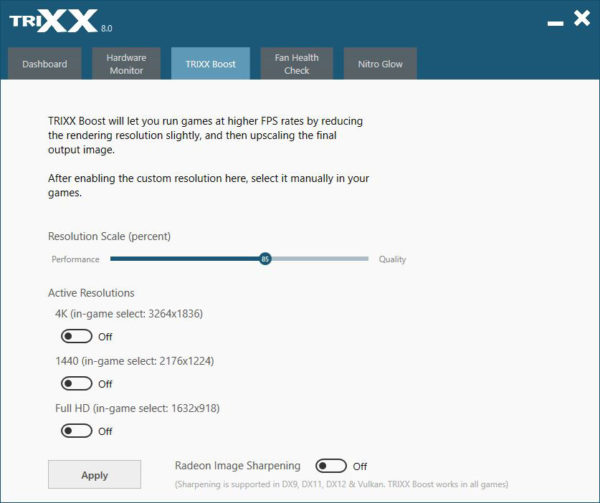
Under TRIXX Boost you can globally adjust the graphics scaling, as well as activate advanced resolution settings and AMD’s Radeon Image Sharpening feature.
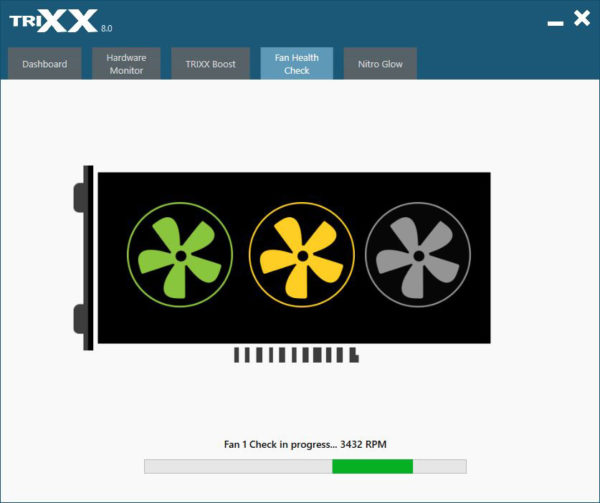
A very practical feature is the Fan Health Check. Here you can easily check if all fans are still working correctly without removing the graphics card.
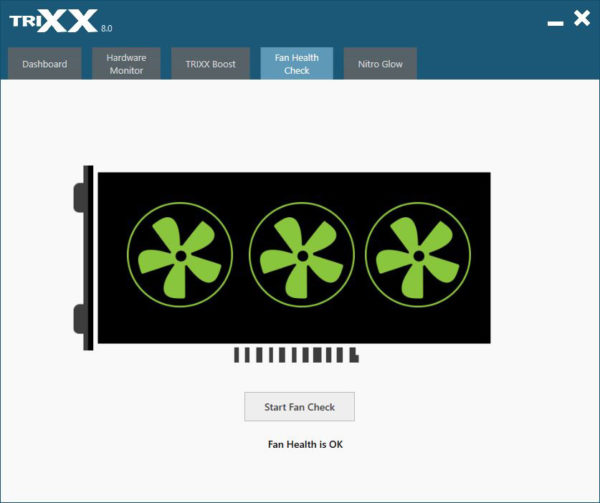
If a fan has failed, you can see which one it is here. The test takes about two minutes.
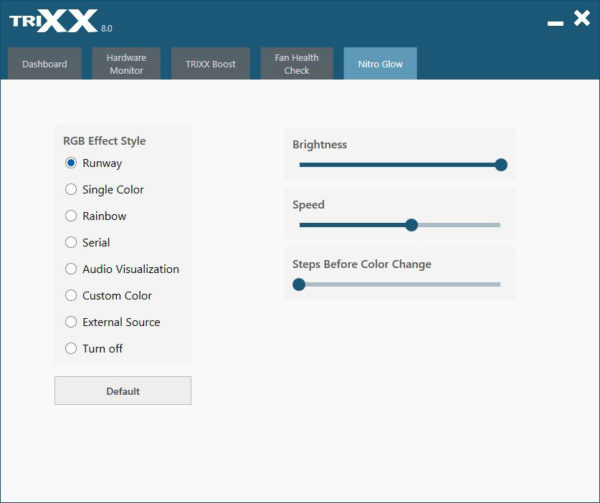
The last menu item is Nitro Glow. Here you can change the lighting settings as desired. Besides the pre-set very colorful Runway, there are also a few other modes. If you like to listen to music a lot, you will like the Audio Visualization mode. Here, the graphics card turns into an optical equalizer.
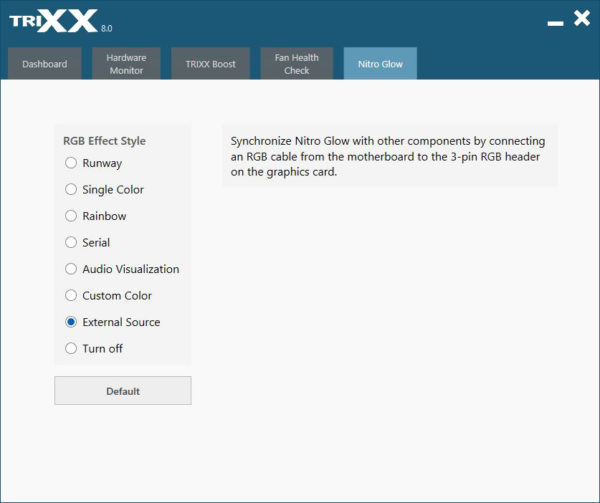
A really very handy feature is the ability to match the card to its remaining lighting in the case. Especially if the rest of the components are not from Sapphire. All that is required is a normal 3-pin RGB cable.
There is not much more to show about TRIXX, so let’s move on to the Sapphire Nitro+ Radeon RX 6800 benchmarks and the Practical testing …

