
Installation …
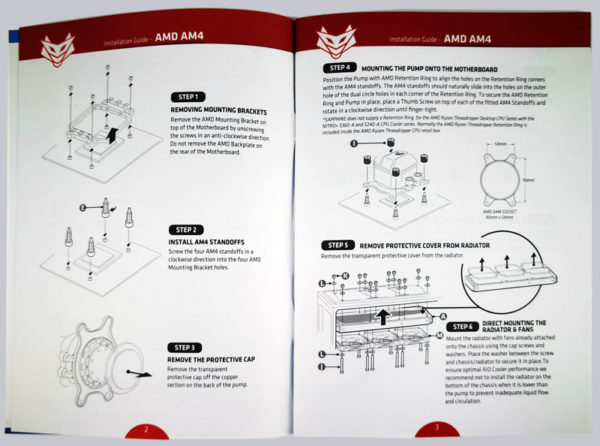
The installation is very simple. The illustrated installation instructions leave no questions unanswered here and is suitable for all sockets described above.
The instructions were written in 7 languages and it is not one of the usual leaflets, but a stapled book with sufficiently large font and some pictures. Here you do not need a magnifying glass to read the instructions!
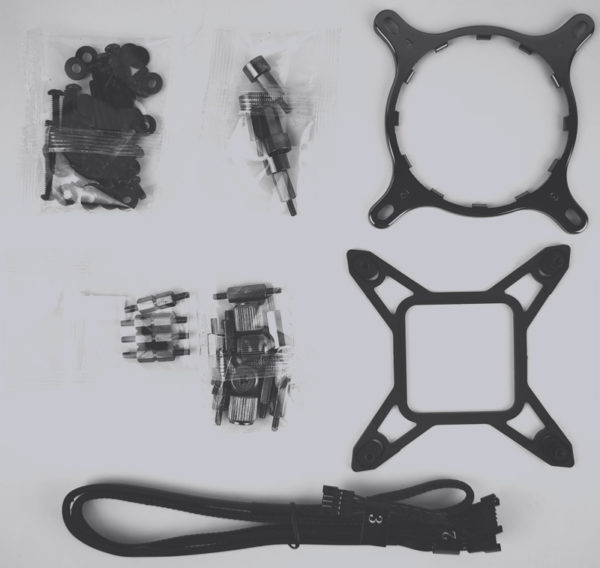
Here you can see again the supplied mounting material.
For the installation on the AM4 socket, the original AMD CPU backplate is used, which greatly simplifies the installation.
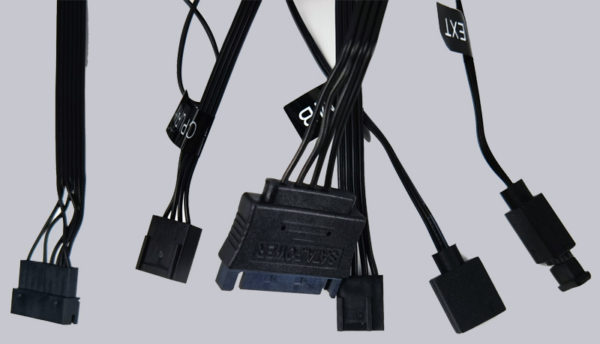
At the pump, all connections are led out to the bottom, which also controls the fans including addressable RGB lighting. However, the individual cables are routed out at different lengths. Unfortunately, this makes good cable management very difficult.
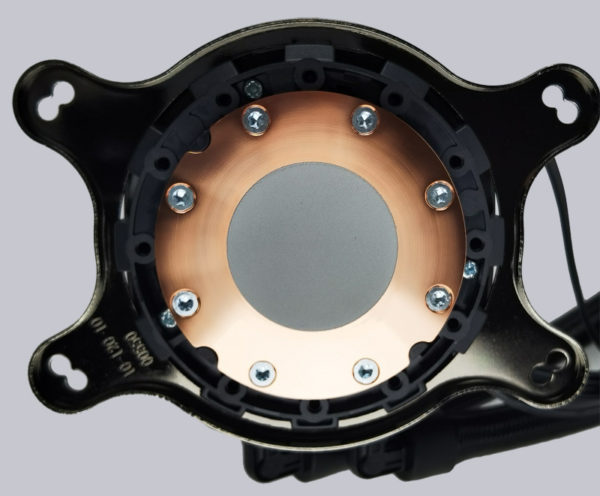
We always find a pre-applied thermal paste to be a disadvantage. Since this is not particularly protected, it can also dry out. Since it is applied circularly, it reduces the chance of an even wetting of the CPU surface. This could become a problem especially with the AMD Zen 3 processors with their CCD/CCX design.
Mounting is very easy, but the pump head can only be mounted in one direction, otherwise it will be upside down. Unfortunately, the “spider” can not be rotated. Since all connections are then on the lower side and also not all come out of one opening, this disturbs a bit with the cable management. Finished installed it looks like this.
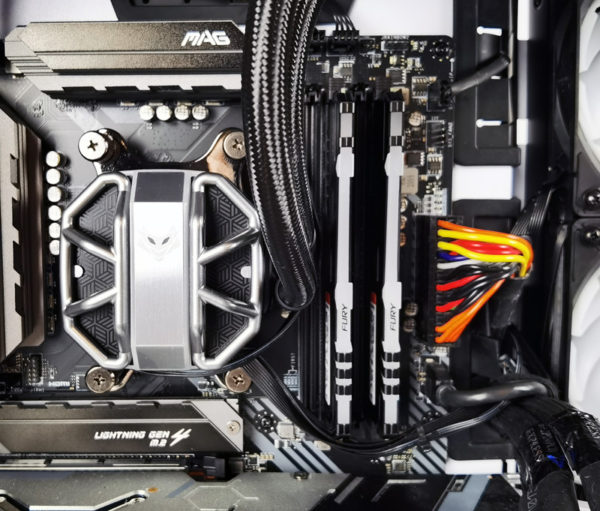
All in all, the assembly of the AIO (also thanks to the very good manual) should not be a problem even for inexperienced PC screwdrivers and a corresponding Intel backplate is included for mounting on Intel systems.
Of course, a picture of the complete build should not be missing.
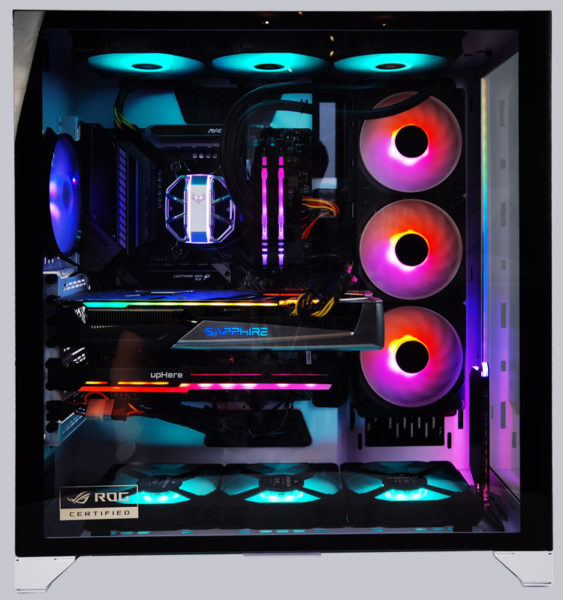
Sapphire Nitro+ S360-A Test setup and test results …

