
Installation …
Now it’s on to the preserves. After a short browsing through the assembly instructions and putting the necessary parts in order, we can begin with the installation. It should be mentioned here that the installation is basically the same for both coolers. The only difference is that the Kotetsu Mark II is already prepared for the socket AM4. Since our test system consists of an AM4 board and a Ryzen processor, this saves some time.
First the original backplate has to be mounted or fixed in our case. Since this is not always glued to the mainboard, you should be a little creative to save yourself a third hand. The two rails are then fixed to the backplate with Phillips screws.
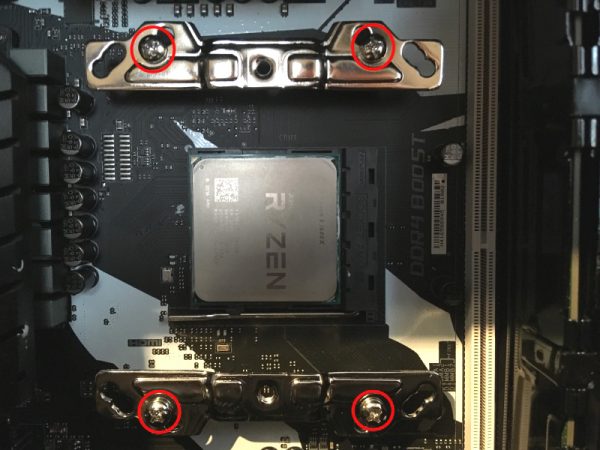
Once this has been done, the most difficult part is almost finished. The next step is to apply the heat-conducting paste and then tighten the cooler using a very long Phillips screwdriver. In case of the Choten it’s important to note that the rail for AM4 must first be attached to the radiator base. The Kotetsu Mark II comes pre-installed. These differences are due to the identical packaging.
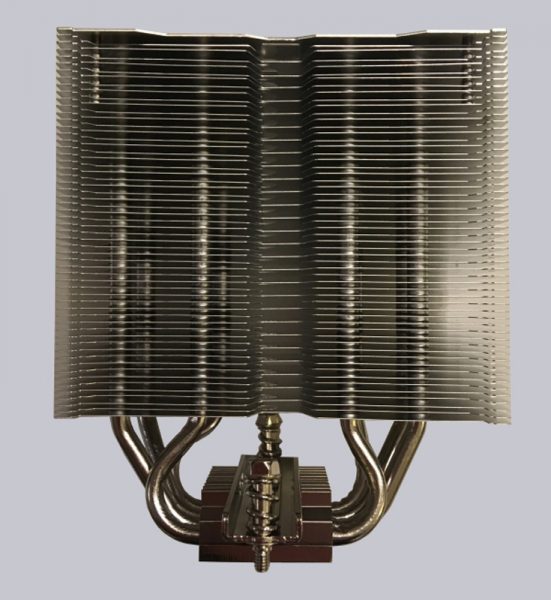
If you take a close look at the Choten after it has been put into place, you will see 2 holes that may be covered by the fan.
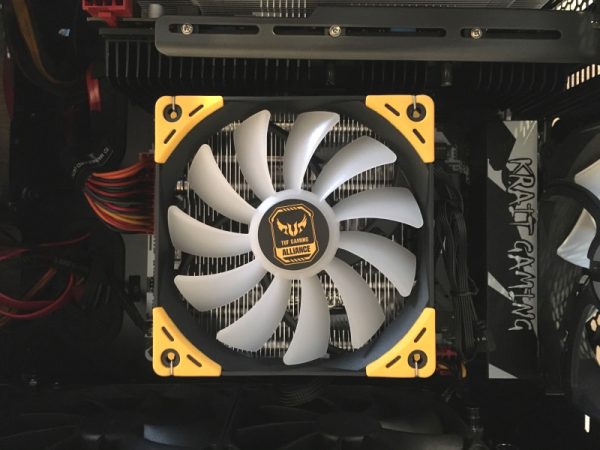
These are used to screw the cooler to the rails.
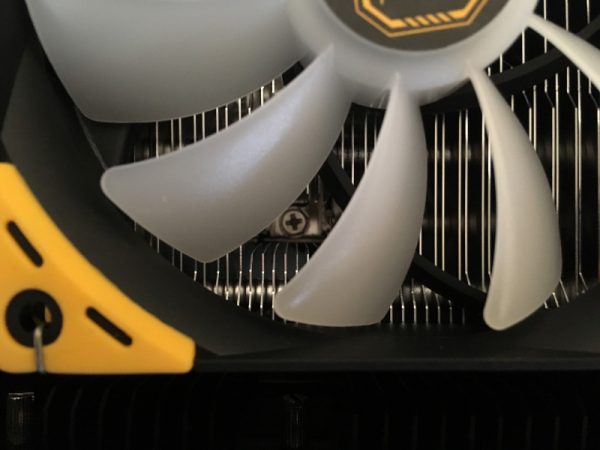
With the Kotetsu Mark II this is much easier, if you install the fan afterwards.
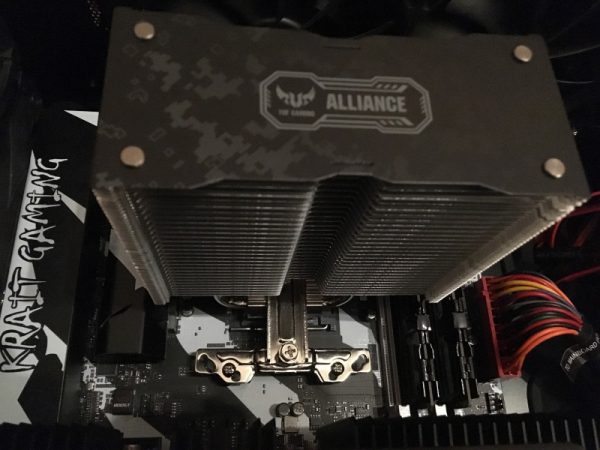
Here also a small deficiency of the Kotetsu Mark II cooler reveals itself. In contrast to the Choten, 2 fans can be mounted on this one, but the alignment leaves a lot to be desired. If necessary, the case airflow has to be adjusted to that of the cooler.
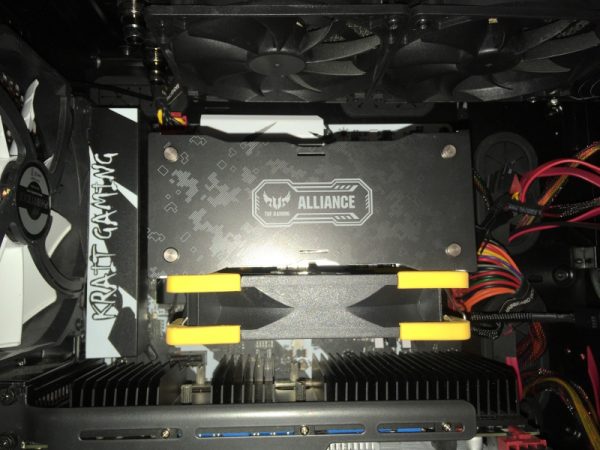
As described in the technical data, both coolers are equipped with LED lighting. Of course we don’t want to withhold this in the test and have created a small video for illustration. Have fun with the video on our OCinside YouTube Channel.
Note: Please allow our cookies first to see this external content!
So, now enough of the whole theory, we come to the test results.
Scythe Choten & Kotetsu Mark II TUF test setup and results …

