Layout, design and features of the Thrustmaster eSwap Pro Controller …
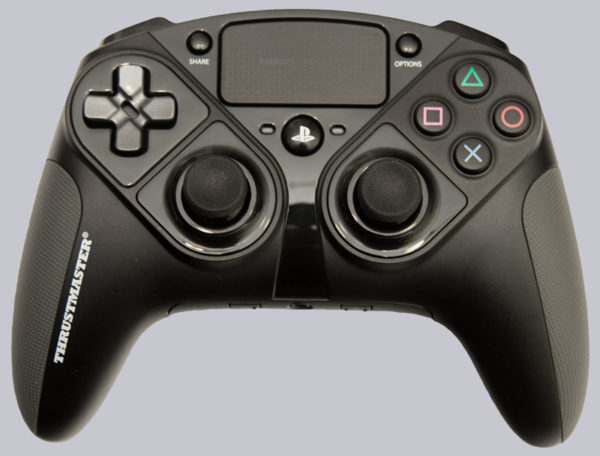
Let’s start with the basic structure of the Thrustmaster eSwap Pro controller. It comes with 4 action buttons and an analog stick for the right thumb and a D-pad and another analog stick for the left thumb. Furthermore, there is still the home button with PlayStation logo as well as a share and an options button along with a touchpad on the top, whereby the touchpad with click function is only to be used for the PS4 and also plays only a minor role there.
Oberseite
Here you can see the Thrustmaster eSwap Pro Controller once again in 360° panoramic view …

The action keys are a real highlight with a play-free switching path of just 0.3mm and the keys also have almost no play at the sides. The D-pad can’t quite keep up with about 1mm of shifting travel, but the shifting point can be clearly felt there, too. The lateral fitting of the D-Pad is also excellent and the concave shape protects against slipping. What the keys have in common is that their actuation is accompanied by a distinct clicking noise, whereas the action keys sound a bit brighter. The concave analogue sticks have been given a rubber coating, which unfortunately isn’t quite as slip-proof as it looks. But maybe the slipping is also due to the fact that the sticks are not as smooth running as some others. Due to the low height, the thumbs don’t have to travel long distances when steering and the centering also works reliably.
Front side
The index fingers are provided with 2 digital and 2 analog triggers. These have a smooth surface and no special shape to prevent the fingers from slipping, but are still not slippery at all. The switching travel of the digital L1/R1 triggers is about 1.2mm and the switching point is unfortunately not noticeable. But at least you can still hear a clear click when the triggers are activated. Between them there is still the Micro-USB socket for connection to the PC or the PS4.
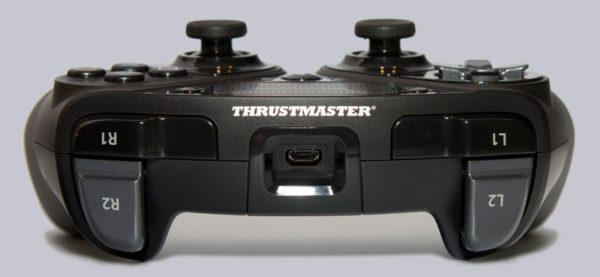
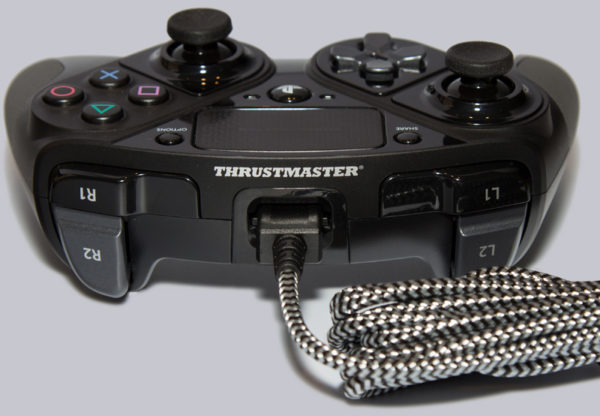
Thanks to its special shape, the plug of the supplied 3m long USB cable sits snugly in the recess surrounding the socket. Even in heated duels, there is no danger of the cable coming loose from the controller or of the socket being permanently damaged by the cable movements. Although it is not an ultra-flexible cable, it is by no means annoying.
Underside
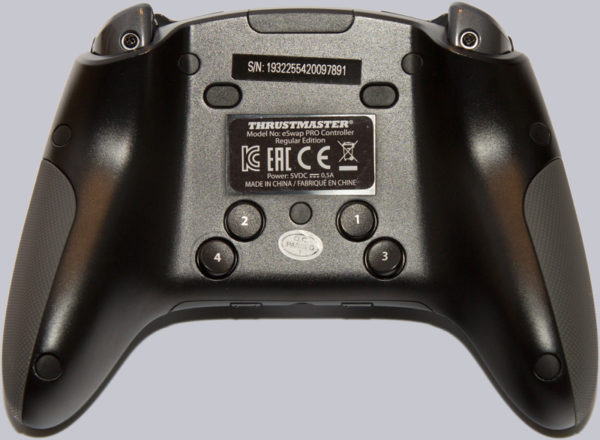
A rarity, but very welcome at professional gamers, are the 4 buttons on the bottom of the controller. The lower buttons do not offer any additional functionality, because only one function of the classic buttons can be assigned to them via the Thrustmaster software. These buttons allow you to use the right analog stick and the action buttons simultaneously, which means that you can also jump or duck during aiming, e.g. in shooter games, which can bring significant advantages.
Backside
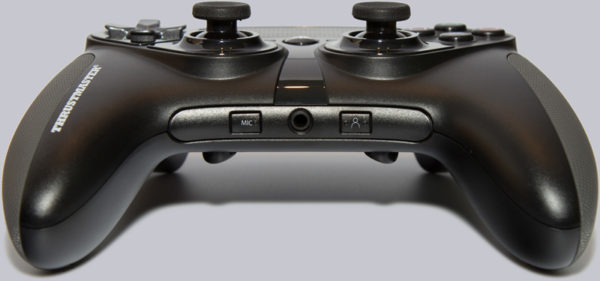
The Thrustmaster eSwap Pro controller also serves as an audio output device and can be connected to a headset via the integrated 3.5mm jack plug. The button to the left of the jack mutes the microphone if necessary and the right button switches between the 2 configurable controller profiles.
Swap-Function
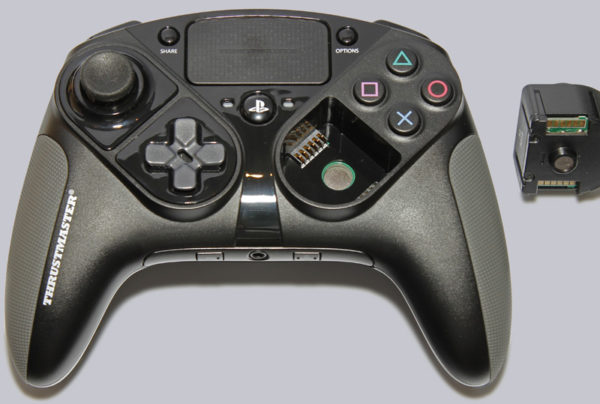
Now let’s get to the real highlight of the Thrustmaster eSwap Pro controller, namely the Swap function, which allows the player to customize the gamepad. To give the controller the X-Box controller layout, for example, you only need a few steps. The analog sticks can be easily pulled out with the fingers and the D-pad can also be removed in no time with the included tool. During operation, the elements are held securely in the housing by strong magnets.
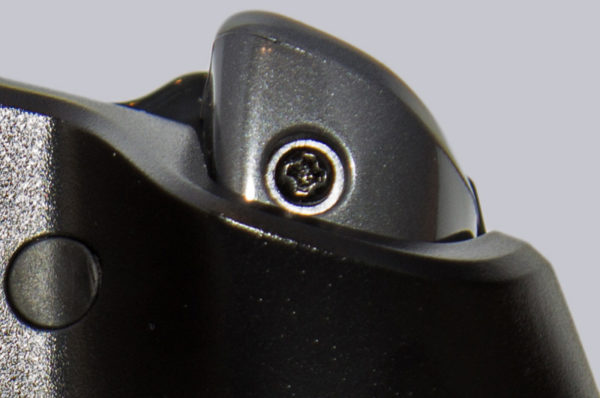
To release the triggers R2/L2, you have to remove a small screw which is located on the bottom side.
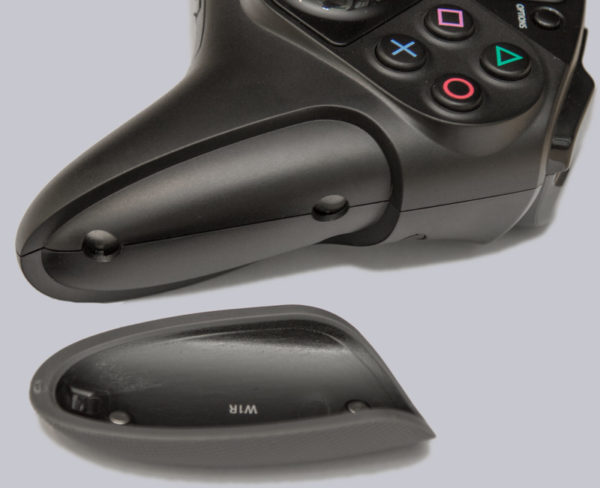
And the lateral palm rests can also be easily replaced.
For further individualization, e.g. 2 additional action buttons instead of the right analog stick or differently shaped sticks and triggers in various colors are available in stores. A good overview of the available accessories can be found on the official eSwap page of Thrustmaster.
To show how fast and easy it is to change the elements we also created a video in the OCinside YouTube Channel.
Note: Please allow our cookies first to see this external content!
Next, let’s have a look at the Thrustmaster software for further customization of the controller …


