
Layout, design and features …
The housing itself is largely made of metal. The surface is slightly powder-coated. It is smooth, but not mirror-smooth. The front and rear of the device are made of plastic. The individual bays are made entirely of plastic.
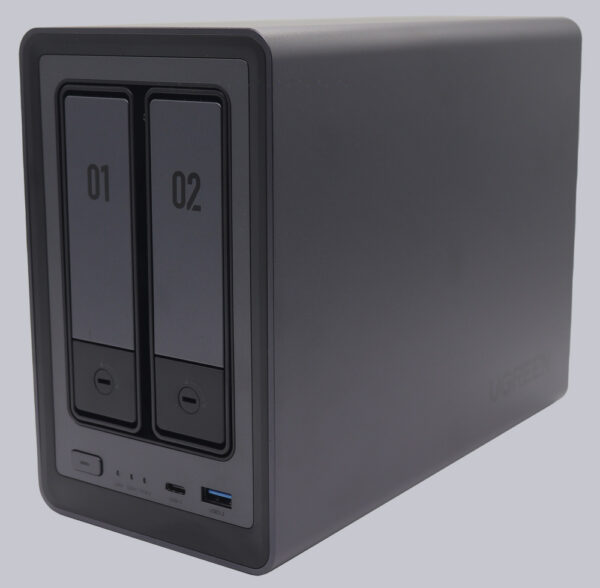
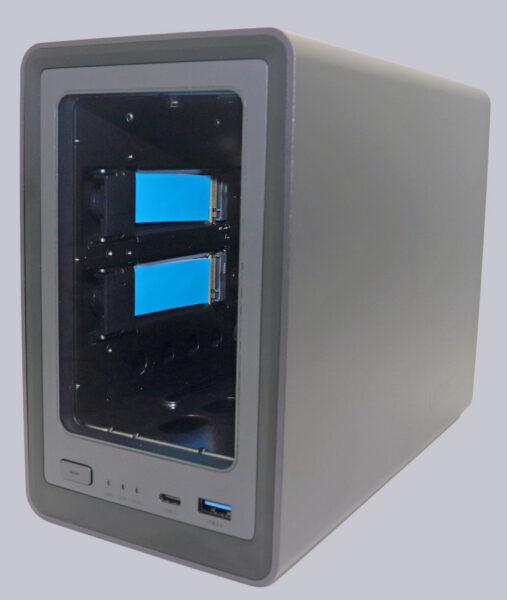
We can see the two bays on the front. The bays are conveniently numbered.
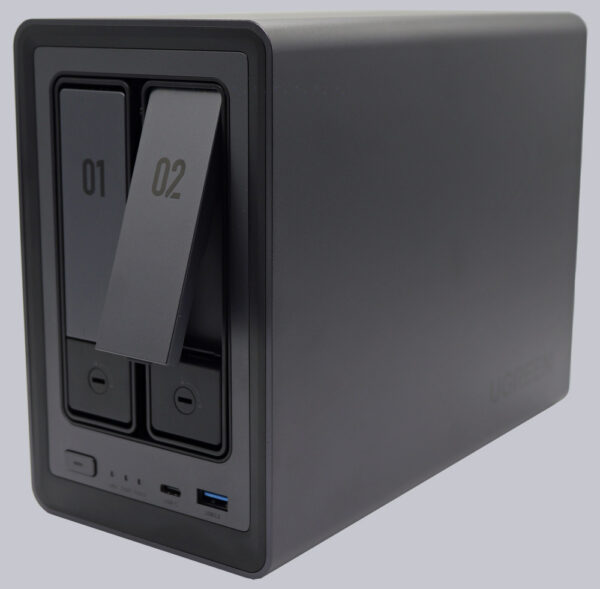
The bays can be locked with the tool supplied and protected against unintentional opening of the lock. If you don’t have this tool to hand, you can also use a simple slotted screwdriver or even a knife in an emergency.
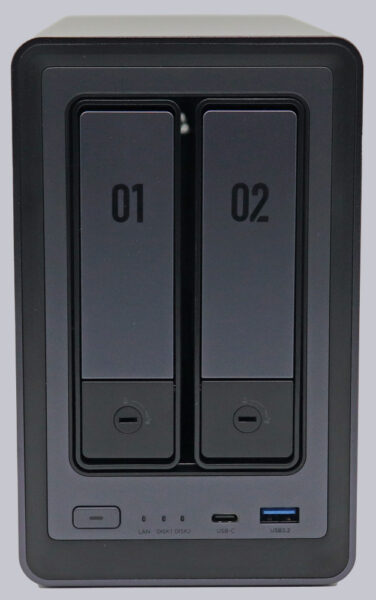
Next to the bays is the power button on the front. This is easy to press and provides clear haptic feedback, so you can be sure that you have pressed it.
There are three status LEDs in the middle area: one for the network and one for each hard disk. NVMe SSDs that can be installed do not have a status LED. On the right-hand side, we see two USB 3.2 Gen2 ports, one for Type and one for Type-C.
The first thing you notice is the large 100 mm fan at the rear. This can be protected against coarse dust with a magnetic dust cover.
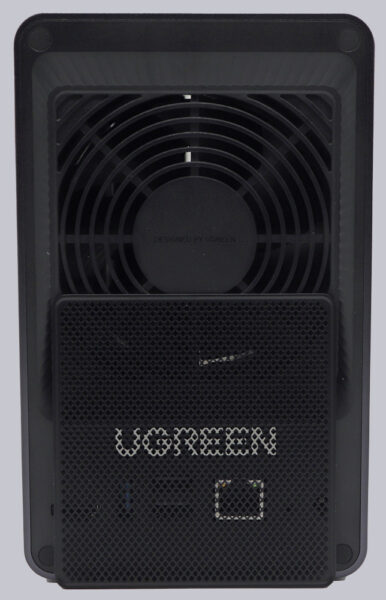
Ugreen has glued a few magnets on the inside.
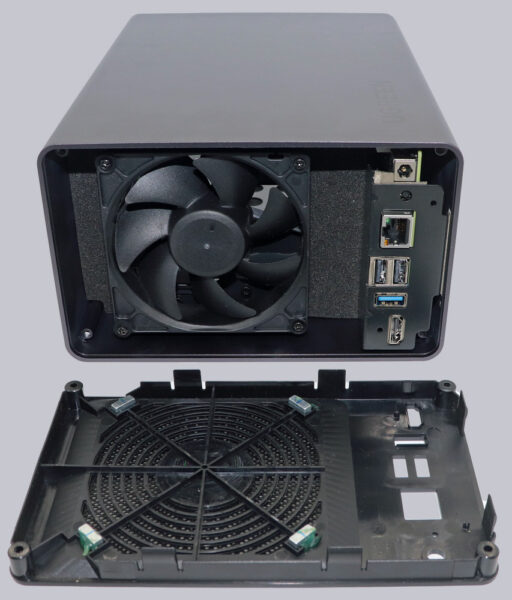
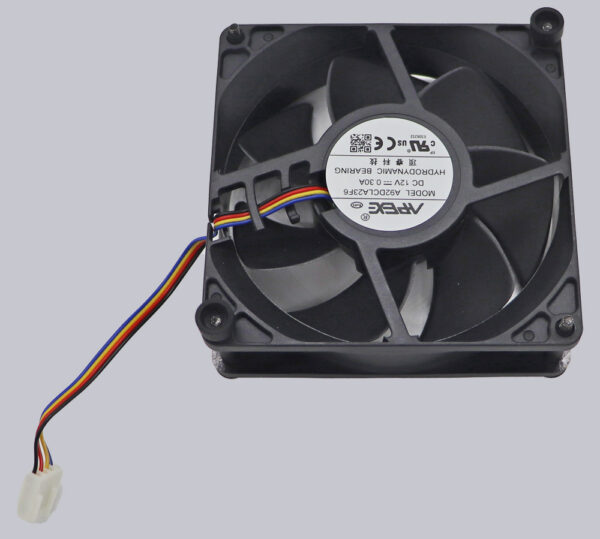
An A92DCLA23F6 4-pin DC 12 volt PWM fan was installed.
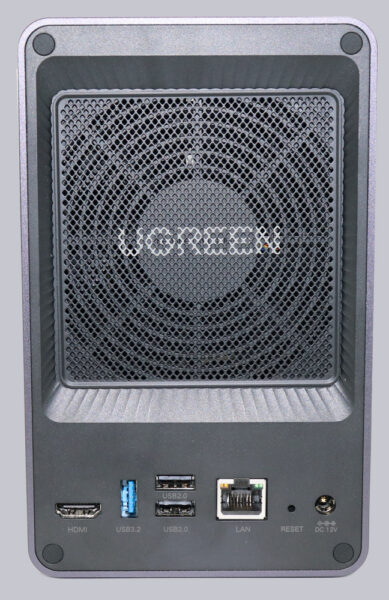
Underneath, from left to right, there is an HDMI output, USB 3.2 Gen1, 2x USB 2.0, 2.5 Gbit/s Ethernet, a reset button and the power supply.
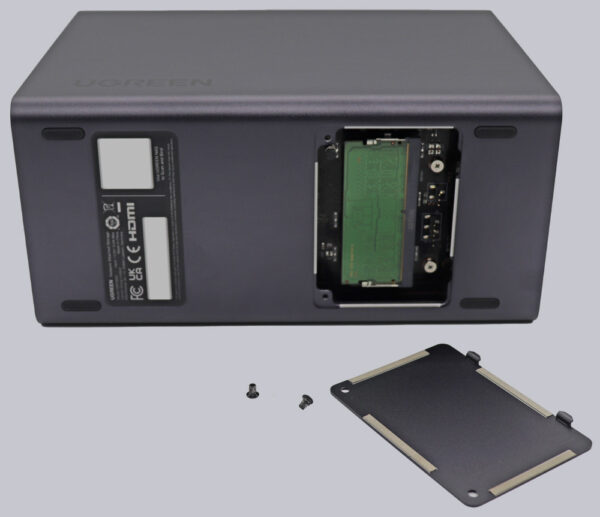
There is a service flap on the underside that can be opened with a small Phillips screwdriver. As soon as the screws are loosened, the flap is pushed upwards by a spring, making it much easier to open.
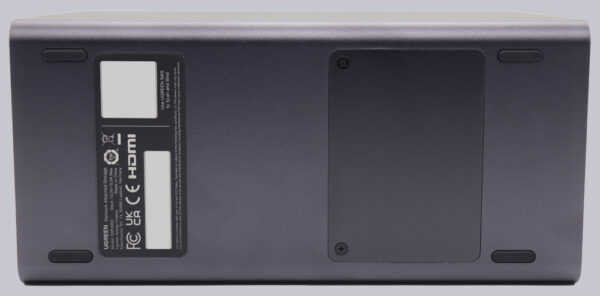
Behind this is the slot for the RAM.
If you remove the two bays, you have the two NVMe SSD slots on the left-hand side of the housing. Installation there is not easy, but at least two NVMe SSDs can be accommodated there.
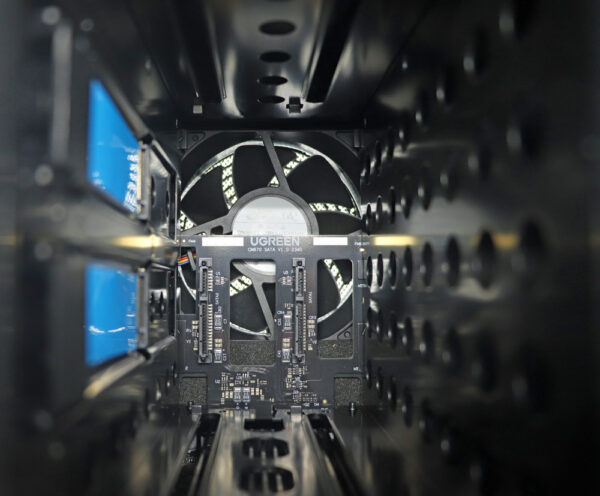
This makes the installation of 3.5″ SATA hard disks all the easier. In the rear area you can also see the two SATA ports for the two 3.5″ SATA bays.
Ugreen DXP2800 Practical testing …

