Practical testing …
Quickly to the right setting …
Ugreen NAS HDD/SSD installation
Ugreen NAS initial setup
Ugreen NAS Storage Pool and RAID Selection
Ugreen NAS user management and folder sharing
Ugreen NAS Apps in the App Center
Ugreen NAS Benchmarks
Ugreen NAS power consumption
Ugreen NAS HDD/SSD installation …
Now that we have assembled the device and it is ready for use, let’s move on to practical testing.
What we really like is the installation of 3.5-inch hard disks …
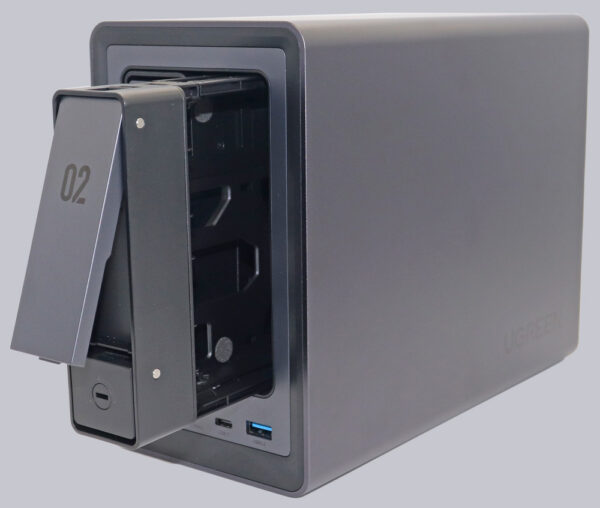
To do this, a clip is pulled out of the bay, …
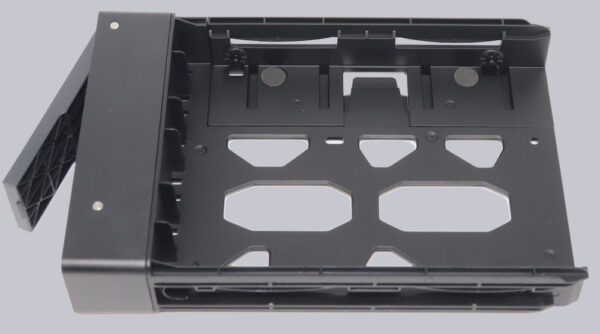
… then insert the hard disk so that the plastic pins fit into the holes provided for the screws, …
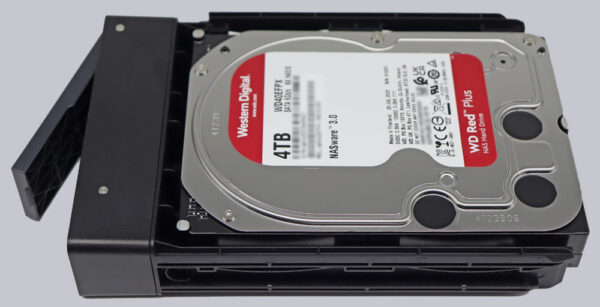
… then lock the hard disk in place using the clip.
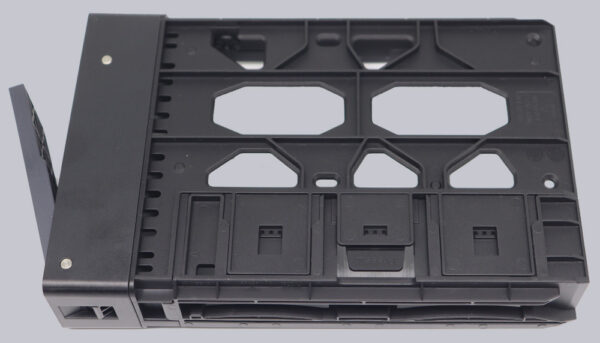
Only 2.5-inch SATA hard disks and 2.5-inch SATA SSDs still have to be screwed in.
Ugreen NAS initial setup …
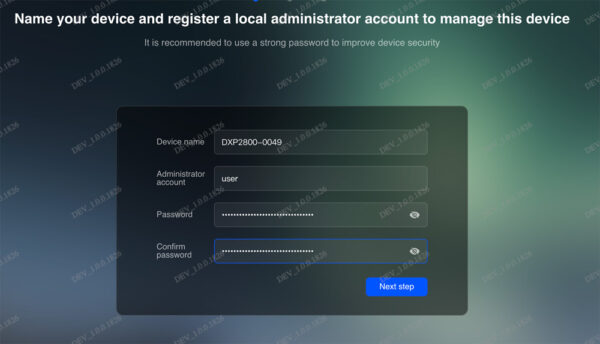
The first thing you have to do when starting the device for the first time is to give it a name and create a user account.
The version number DEV_1.0.0.1826 can be seen in the background; this will become interesting later.
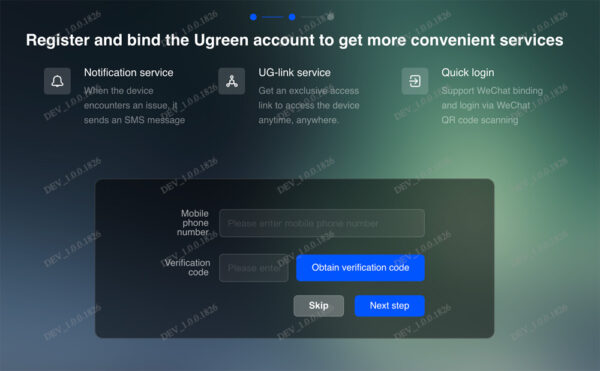
If you wish, you can enter your personal data to receive notifications from the device and use a few other features. We have decided not to test these features at this point.
In the last step, you define the update policy and decide whether you want to send data to UGREEN. We have selected here that all updates are installed automatically and we do not want to send any data to UGREEN.
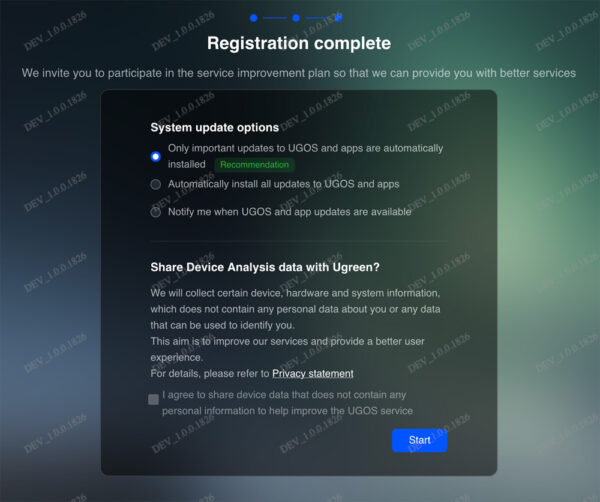
The device is now ready for operation.
To find the NAS on the network, you can either use the Ugreen app (Windows/macOS/Android/iOS) or go to the URL find.ugnas.com. We checked our FritzBox to see which IP was assigned and then directly assigned a static IP.
As already noted when testing the DXP480T Plus, some menus are still not translated correctly after the first boot. A manual update to the latest version was the solution here.
During the update, we jumped directly from version 1.0.0.0291 to 1.0.0.1708. It is not clear why this version is still smaller than the version from the installation screen.
After the last update and restart, we are greeted by a tidy and clear user interface. There are no additional applications installed that are not required for the start.
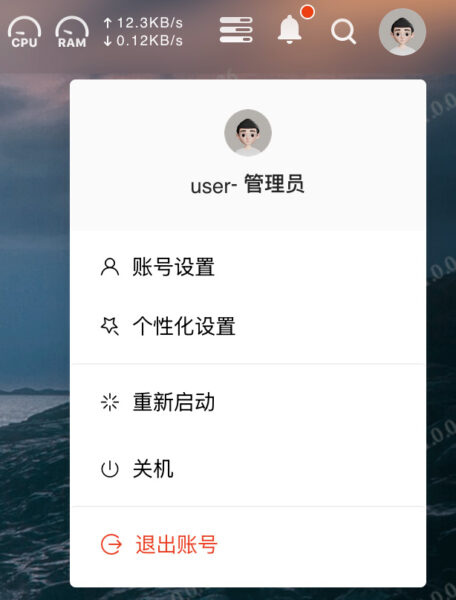
The menu bar contains (from left to right) a menu for all apps, a button for returning to the desktop, the current network load, the Task Center, the Notification Center, a search function and a user menu.

Ugreen NAS Storage Pool and RAID Selection
Now that the device has been configured and updated, the hard disks must be configured. The “Storage Manager” app is available for this purpose. The wizard guides you through the configuration very easily.
We have several options for the storage pool. JBOD, Basic, RAID 0 and RAID 1. Other RAIDs are not supported.
JBOD stands for “Just a bunch of disks”. It spans a volume across several hard disks. This increases performance, but not data security. If a hard disk fails, the data on this hard disk is also lost.
Basic uses each hard disk individually. A volume lives on a hard disk. No performance and no data security.
RAID 0 is reminiscent of JBOD, but the hard disks are connected in such a way that if one hard disk fails, the data on the other is also lost.
RAID 1 mirrors the data across all hard disks. The performance corresponds to the slowest hard disk in the RAID and you only have 50% storage space of the total capacity. However, no data is lost if a hard disk fails.
We opted for RAID 1 because we want to guarantee the security of our data and do not need to optimize the speed.
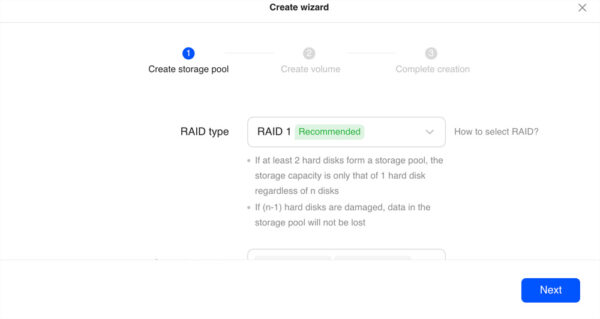
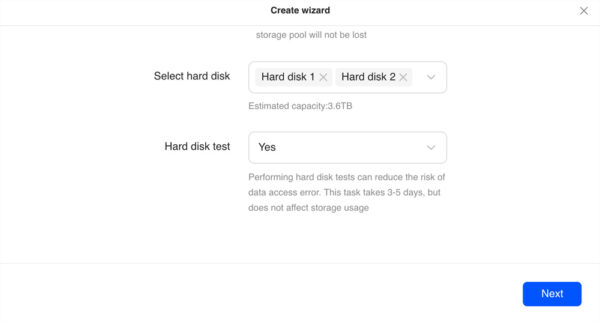
We also carried out a review of the hard disks. According to the wizard, this takes three to five days. Everything was done in less than 6 hours.
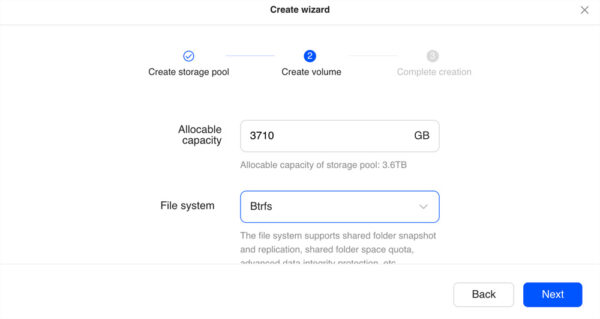
In the next step, we specify how many of the hard disks are to be used and select our file system. We use all the available hard disk space and have opted for Btrfs.
This completes the configuration and the RAID is set up.

We immediately noticed the predefined scheduled tasks for the hard disks. With an older QNAP system, these still had to be configured manually.
During the tests, the S.M.A.R.T values of the hard disk are read out to ensure that they are still working within the parameters and the probability of failure is lower.
S.M.A.R.T stands for Self-Monitoring, Analysis and Reporting Technology and is an industry standard with which hard disks (HDDs and SSDs) can be checked for their health status.
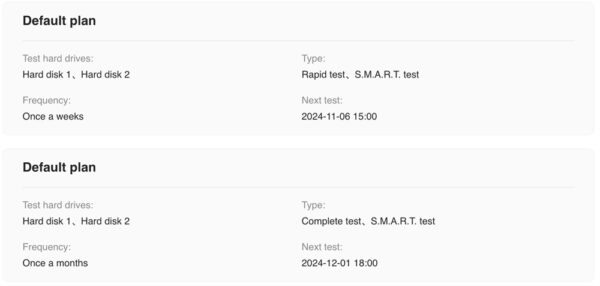
Unfortunately, there are no different ways to be informed in the event of an error. The only option you have is via the app, which requires registration. It would have been nicer if you could send an e-mail via your mail server, for example. This way, you can only check the status LEDs if you happen to walk past the device.
The first share …
We use SMB for our first share. This must be activated in the options.

We can customize SMB a little more in the advanced settings. Unfortunately, the settings do not allow exclusive communication with SMBv3.
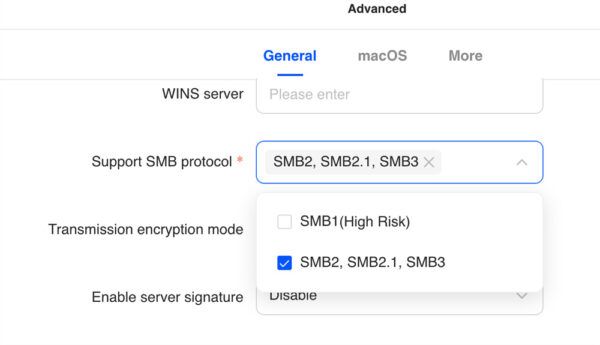
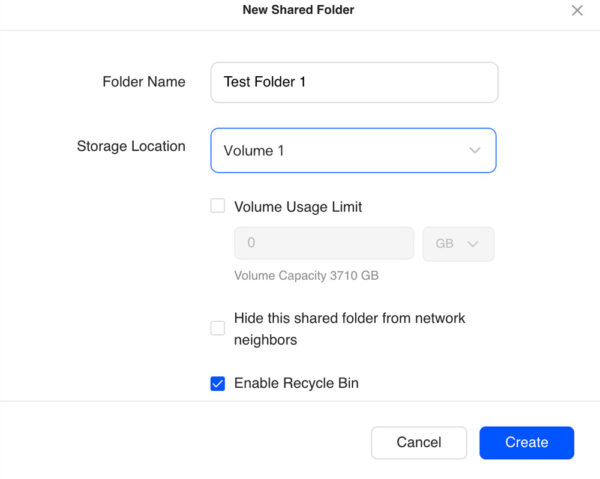
As soon as the protocol is activated, a new folder must be created in the File Manager.

Next, give it a name and select the volume on which the folder should live.
The last step is to assign the desired access rights.
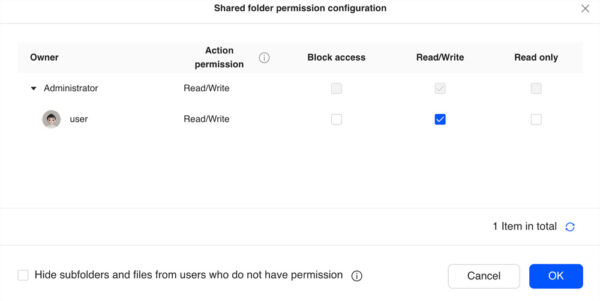
That’s all there is to it. With just a few mouse clicks and even less time, you have access to the NAS.
Additional use cases …
The App Store is still quite straightforward. There are various apps for multimedia support and various additional apps such as a virtual machine manager, container, virus scanner, etc.

Virtual Machine …
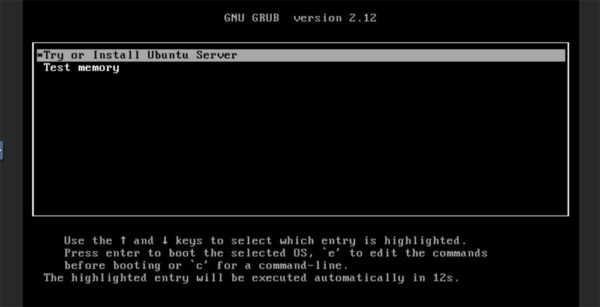
This application is a lean interface with which you can configure the essentials to set up a virtual machine. KVM is used as the hypervisor. A VM is installed and started with 10 mouse clicks. Less if you skip the preparation steps. In our test, we needed less than 5 minutes to start a first VM.
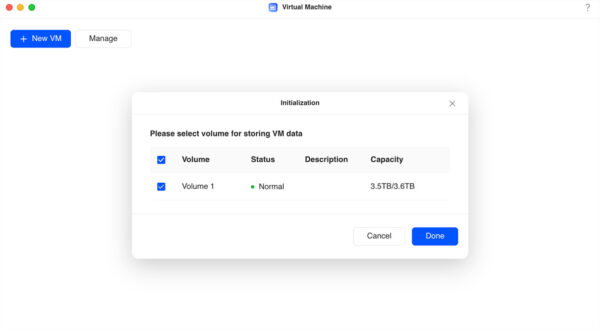
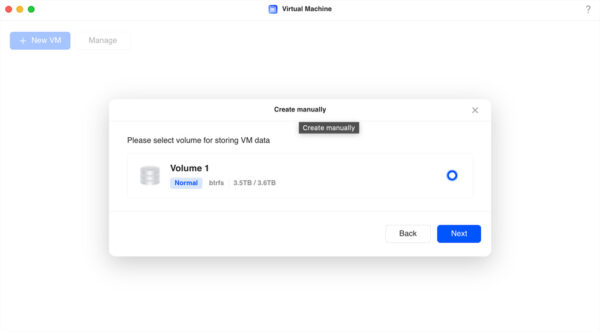
After starting the application, you are asked where you want to save the VM data.
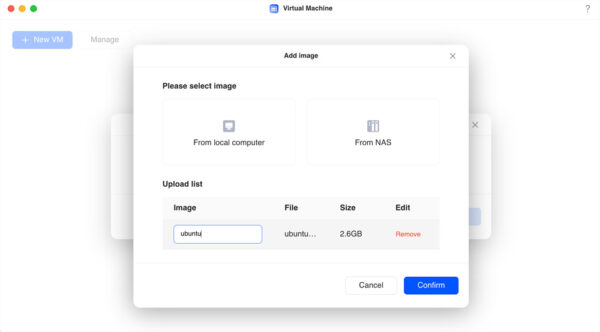
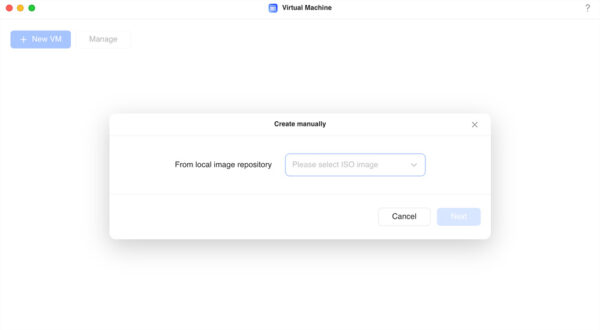
An ISO must then be published as an image of the application.
To do this, we first copied an Ubuntu installation image to the NAS.
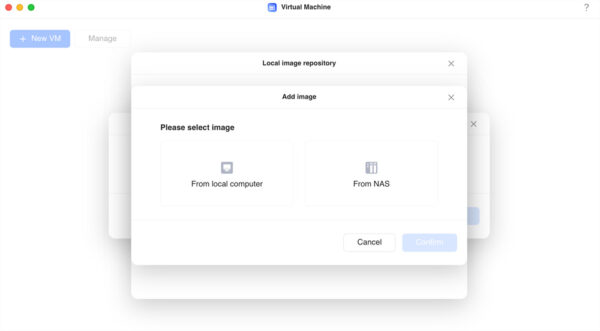
To do this, select the ISO file.
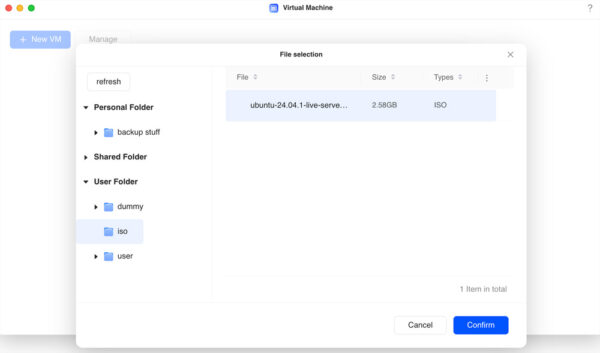
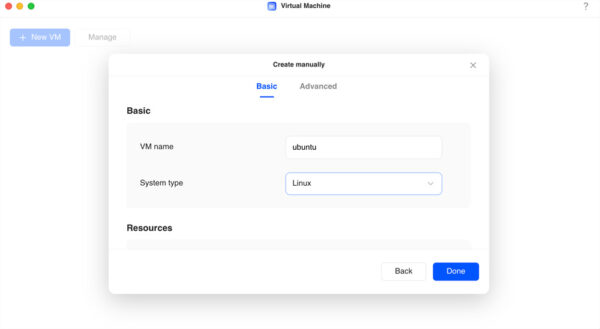
Once you have stored the image in the system, you can start configuring the VM.
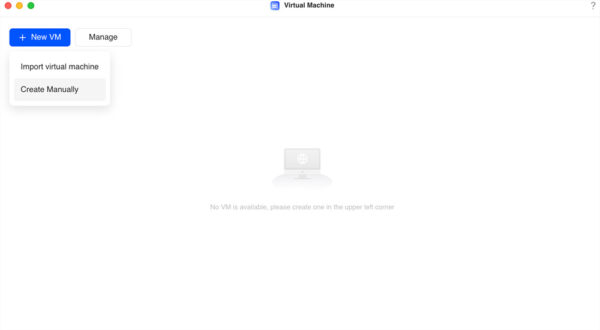
You have various setting options that KVM itself offers.
If this is not enough, you can also log in via SSH and edit the configuration files directly yourself.
Once the VM has been created, it can be started directly by clicking on the power button or the VM icon.
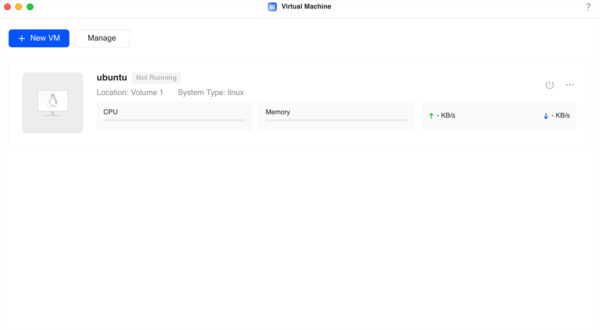
If you click on the VM icon again after starting the VM, a remote desktop connection opens in another browser window.
Docker …
Docker can also be used without any problems. Not only individual containers can be started, but also more complex environments using Docker Compose. A Compose file can be imported and started without any problems. For the test, we opted for Plex, which is offered as an image and runs with just a few mouse clicks.
Multimedia …
Unfortunately, you need a UGREEN account and the corresponding app to use the multimedia apps. But if you don’t want to give away your data, there are plenty of alternatives. For example Plex which you can start with Docker. Or apps that support SMB shares.
In case of fire …
The NAS has worked perfectly for years and suddenly it is defective. How do you get the data back? Of course you can buy a new device, but perhaps it is no longer manufactured, the money is just not there, etc.
Here too, Ugreen makes it very easy. Because a Debian works under the hood and all solutions are solved with open source software, you only need any hardware on which you can install a reasonably up-to-date Debian to get your data back.
Benchmarks …
Network:
Our test network manages a maximum of 1 GBit/s. This is not enough to make full use of the 2.5 GBit/s from the NAS, but at least it gives a rough impression. Our measurement with iperf3 resulted in an average transfer rate of 950 megabits per second.
Hard disks:
We tested the hard disks in the RAID by generating a 50 GB file and writing it to the RAID. We only needed 290 seconds to complete the test and achieved a throughput of approx. 181 MB/s.
If this is too slow for you, you can improve the throughput by installing an NVMe SSD and using it as a cache in the system.
Ugreen DXP2800 power consumption …
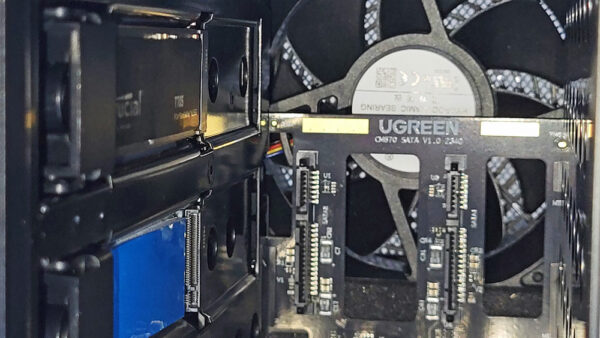
In idle mode, the NAS only requires approx. 7 watts. We actively pushed the device to its limits and carried out a CPU, RAM and hard disk stress test. We measured a maximum power consumption of 34.7 watts.
Ugreen DXP2800 NAS Change operating system …


