
Practical testing …
Fast to the right setting …
Install Ugreen NAS SSD
Ugreen NAS initial setup
Ugreen NAS RAID selection
Ugreen NAS user management and folder sharing
Ugreen NAS apps in the App Center
Ugreen NAS backing up and synchronizing data
Install Ugreen NAS SSD …
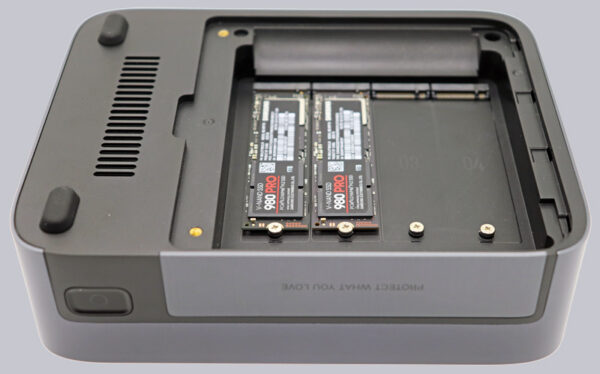
First, the two visible screws on the underside of the device must be loosened. The fan unit can then be removed via the small notch in order to install the desired SSDs.
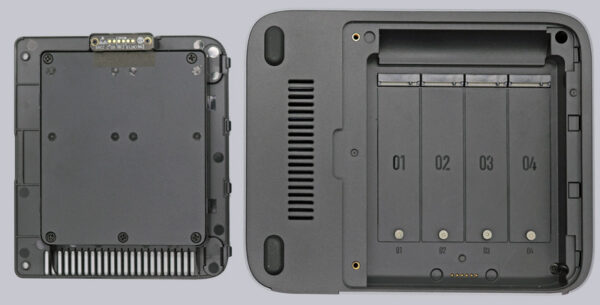
Once we have installed our two 1TB Samsung SSDs, we move on to practical testing. Once again, we would like to point out the beta stage of the software.
Ugreen NAS initial setup …
Once you have installed the SSDs in the NAS, supplied the device with power using the enclosed power supply unit and connected it to your home network via a network cable, you can start the initial setup. A button on the front switches the device on. The ring-shaped LED flashes or lights up constantly when starting up. What we like is that you can adjust the brightness of the LED in the settings, as even such a small light can be annoying in some environments.
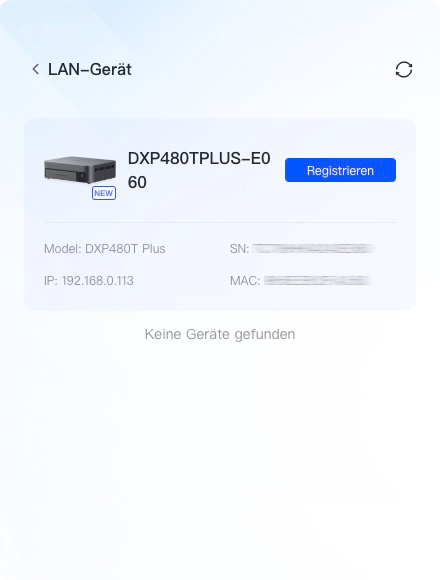
After starting, you now need to find the device on the network. To do this, you can either use the Ugreen NAS app available for Windows and Mac OS or simply a browser. The page find.ugnas.com allows you to search for a Ugreen NAS in the local network and set it up initially. The steps are identical in the app and in the browser.
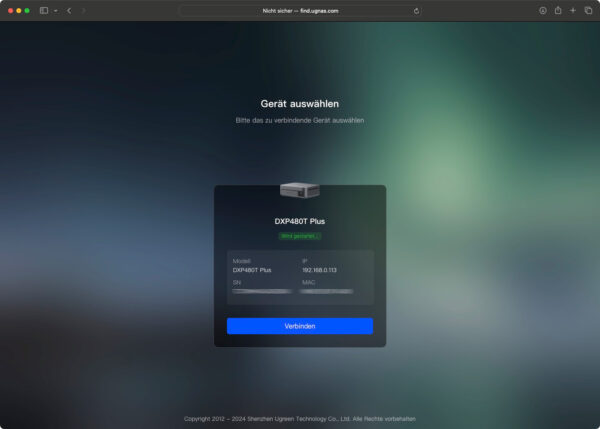
The first step is to create a local user who also serves as the admin user. Optionally, you can also link your Ugreen account to the NAS, but this did not work in our test. You can then decide on an automatic update strategy and specify whether anonymized usage data may be transmitted to Ugreen.
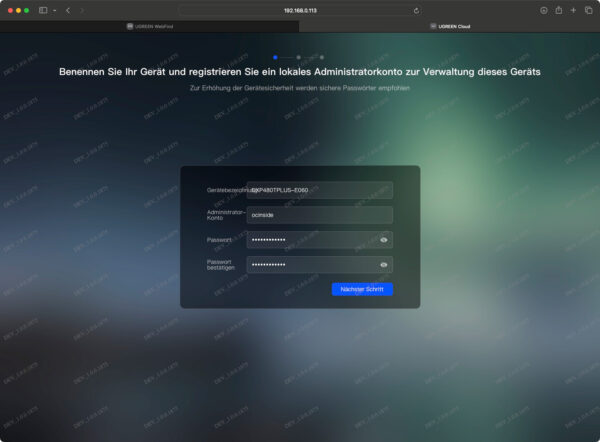
When we first logged in, parts of the interface were not yet translated, but this changed after an initial update of the OS software. After that, almost all displays were available in German.
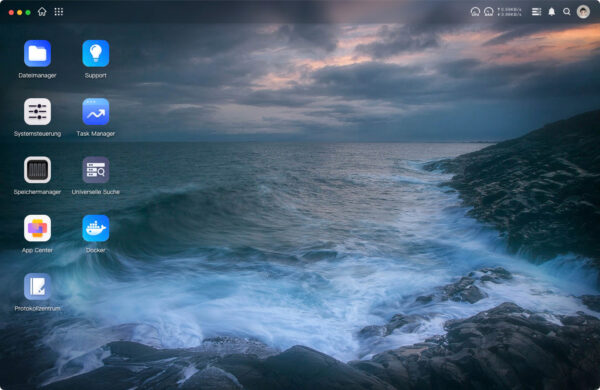
The web interface itself is very reminiscent of the Synology DSM, but we see this in a positive light, as it is both familiar and a tried-and-tested operating concept. Individual icons provide direct access to system components such as the Control Panel, the Storage Manager or the App Center, which we can use to install additional components.
Ugreen NAS RAID selection …
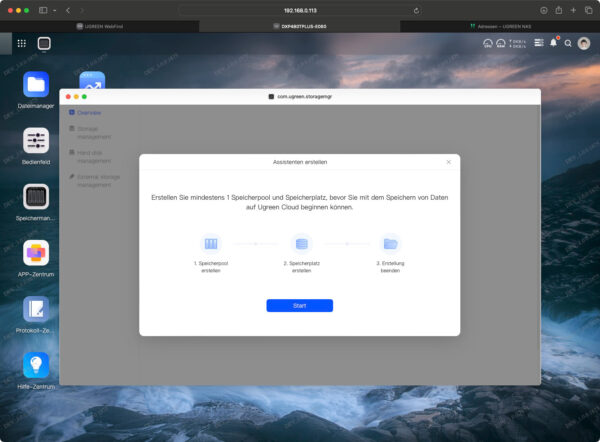
Next, the installed SSDs must be linked to a storage pool on which the volumes for the NAS are then created. As we currently only have two SSDs installed, there is only the option of creating a RAID-0 or a RAID-1.
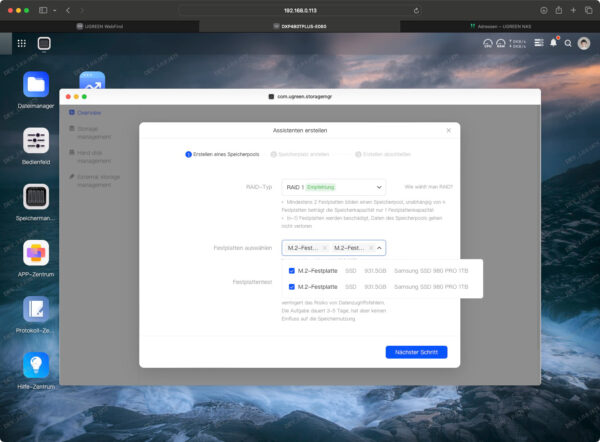
RAID 1
Since a RAID-0 is probably rarely used, as the risk of data loss is quite high, we opt for a RAID-1 at this point. The system then briefly complains that our SSDs are not in the compatibility list, but this has no effect on the function.
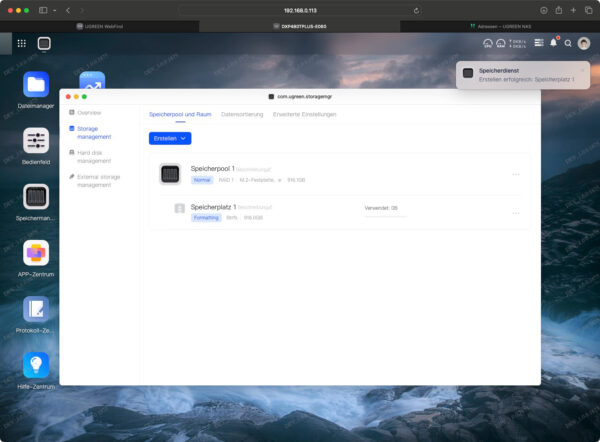
Once we have created a volume (which is actually translated as “storage space 1” here), the initial setup is complete.
RAID 5
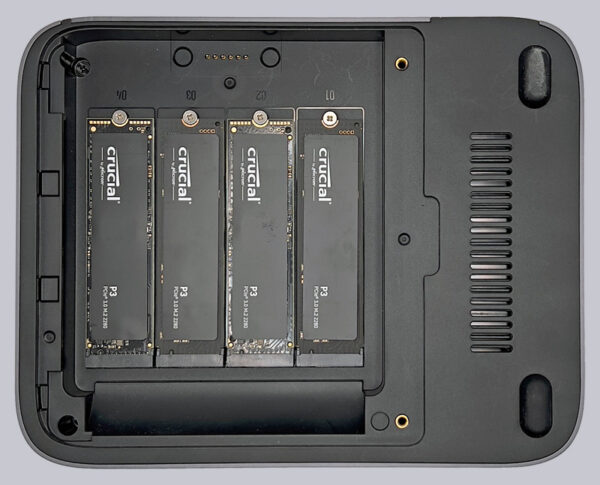
As the test progressed, we replaced the two 1TB SSDs with four 512GB NVMe Gen 3 SSDs, which were kindly provided to us by Crucial. This made it possible to set up a RAID 5 system with 1.35TB capacity.
Ugreen NAS user management and folder sharing …
We can access the user administration via the control panel. Users and groups can be created here and access to existing folders can be defined.
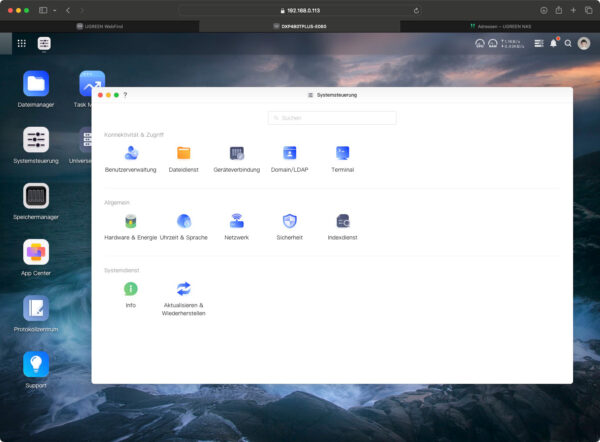
The settings correspond to the usual minimum requirements for a NAS. Ugreen has not reinvented the wheel here. Users are either admin or “normal” users and can belong to different groups with different permissions on shared folders.
The password policy is a little strange, as it requires a capital letter, no matter how complex the password is. You can also specify how much data in MB, GB or TB a user is allowed to store in their own and all shared folders. Folders to which we have explicitly prohibited access are also listed.
Anyone who has activated access to the NAS via terminal, i.e. SSH or Telnet, can only log in via this if the user is an admin user. Normal users do not have terminal access.
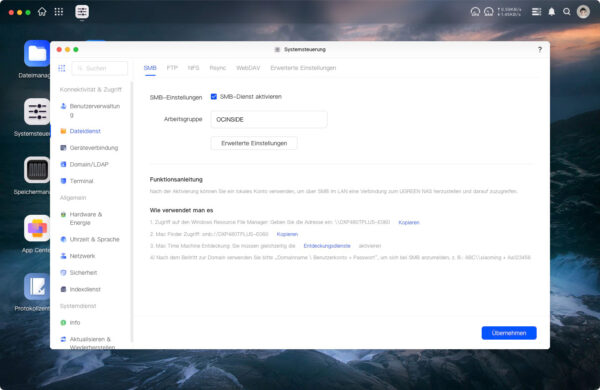
SMB (Windows file sharing), FTP, NFS, RSync and WebDAV are available for file sharing. The Apple protocol AFP is currently not supported. However, Macs also work well with SMB. However, the Bonjour protocol can be activated via the advanced settings and a special Time Machine folder can be created. This allows a Mac in the network to use the NAS directly as Time Machine backup storage.
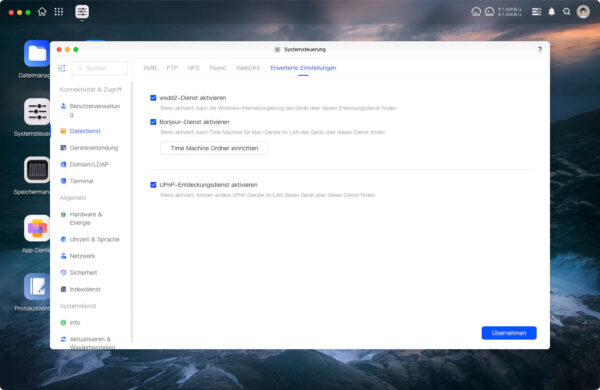
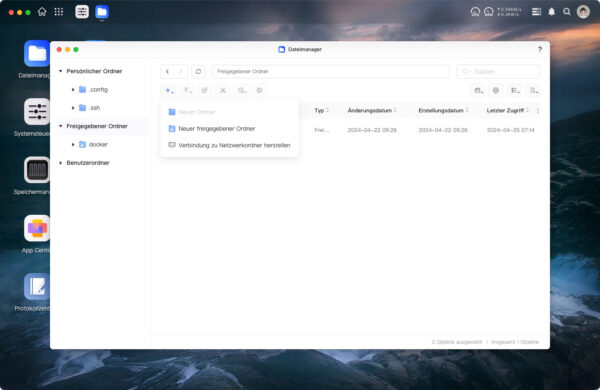
A new share is created in the file manager. There you have the option of creating new folders locally in existing shares or a new shared folder. A storage usage limit can optionally be specified for each folder.
The next step is to specify which users or groups should have access to the folder. A positive feature here is that the existing permissions for each user and group are already displayed.
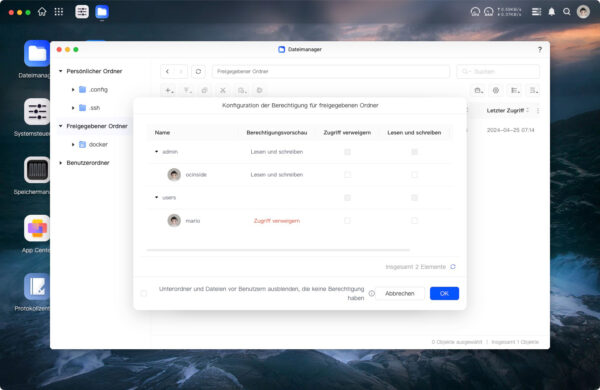
This allows you to see at a glance who currently has access and who does not and can adjust this accordingly. If you use NFS as a file service, you can only adjust the settings for a folder after it has been created; the corresponding options are not displayed during the initial setup.
In terms of basic user and file management functions, the Ugreen NAS system is no different from other systems on the market.
Ugreen NAS apps in the App Center …
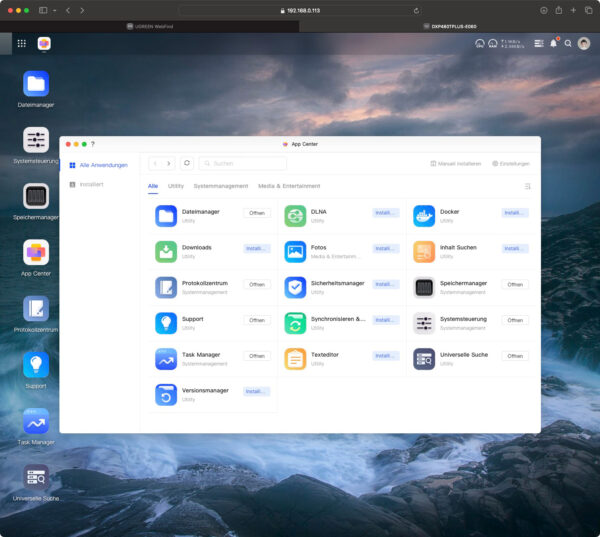
Additional components can be installed on the NAS via the App Center application. This works in the same way as with other systems such as Synology or QNAP. At the moment, the selection is still quite small, as there is no third-party software yet and the selection from Ugreen itself is not yet very large.
Ugreen Video App
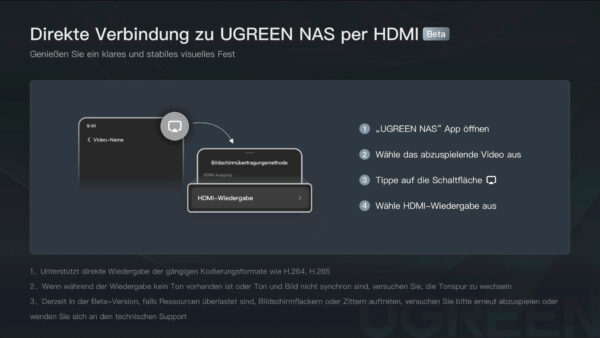
In the media section, there is a photo management function with albums and simple editing tools and a DLNA service that allows media content such as videos and images to be accessed directly from other devices in the network. An additional video app that allows you to play videos directly on the HDMI output of the device has already been announced, but was unfortunately not yet available during our test. With this app, the NAS can be used directly as a media center on a TV or projector.
There are not yet many options in terms of productivity either. A version manager allows you to manage the version history of files in shared folders, while a simple text editor allows you to edit files. If you install the security manager, you get a virus scanner based on ClamAV for files on the NAS.
Docker App
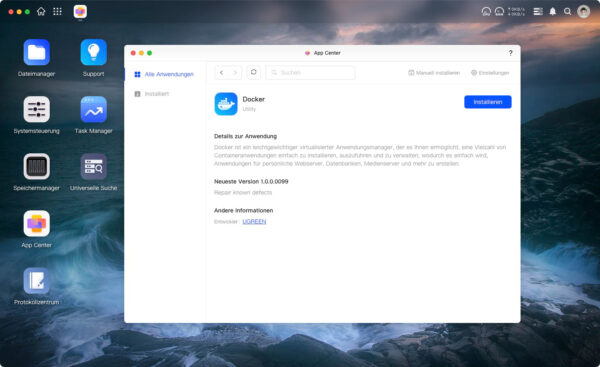
The Docker app, which also appeared in the App Center during our test, is certainly exciting for many. This allows a wide variety of applications to be run as containers on the NAS, which significantly expands the software selection. Sufficient computing power is available in any case and thanks to the fast SSDs, even data-intensive applications are no problem. However, anyone who uses the Docker system intensively and with many containers in parallel should consider whether it makes sense to expand the memory from the 8GB in the basic configuration.
Ugreen NAS backing up and synchronizing data …
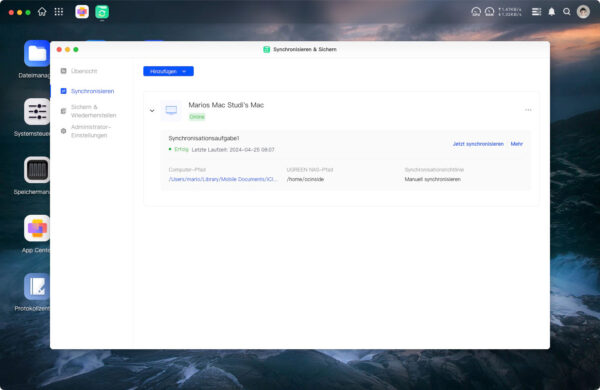
This is much more flexible and also automated with the “Synchronize and backup” tool. Here, devices running the Ugreen app (PC, Mac, Android or iOS) can synchronize data directly with the NAS. You can specify whether synchronization should take place in both directions (from the device and to the device) or only in one direction. The synchronization itself can be done manually, time-controlled or in real time. Several versions of the saved files can also be kept, which can be accessed using the version manager app. However, this function must be activated for the shared folders and the number of versions to be backed up must be specified. This is a little awkwardly hidden in the administrator settings.
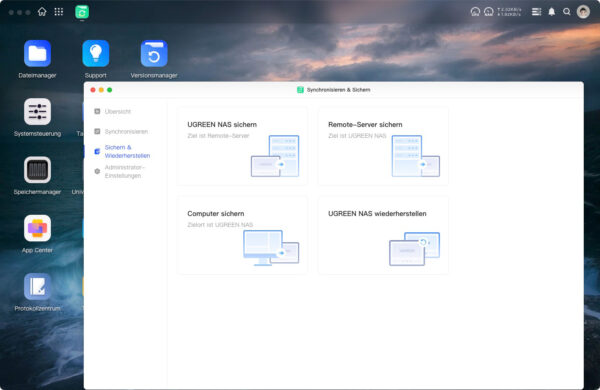
The service can also be used to perform backups from and to remote devices.
Ugreen DXP480T Plus NAS Test setup and results …

